These are the Queen's Domain items: treasures to sell, key items, consumables, and collectibles with specific recipients. The tables give each item's use and where to get it. Treasures go to Umbada's Trading Outpost, while key items serve other purposes.
Which treasures can you sell?
You can sell items from the Treasures category to Umbada; sold treasures become decorations in his shop.
Check the inventory category before treating an unfamiliar object as sale loot. An item's name alone does not tell you its category.
| Item | Use and where to get it |
|---|---|
| Treasures | Sell to Umbada at his Trading Outpost; each treasure can be sold once and then appears on his shelf. |
| Ancient Coins | Buy items at Umbada's Trading Outpost; enemies including Chicket and Skeletal Fighter can drop them. |
Which items unlock routes or complete collections?
The acid vial clears flesh barriers, while eggs, duck figurines, mementos, and Silver Skulls support separate collection goals.
| Item | Use and where to start |
|---|---|
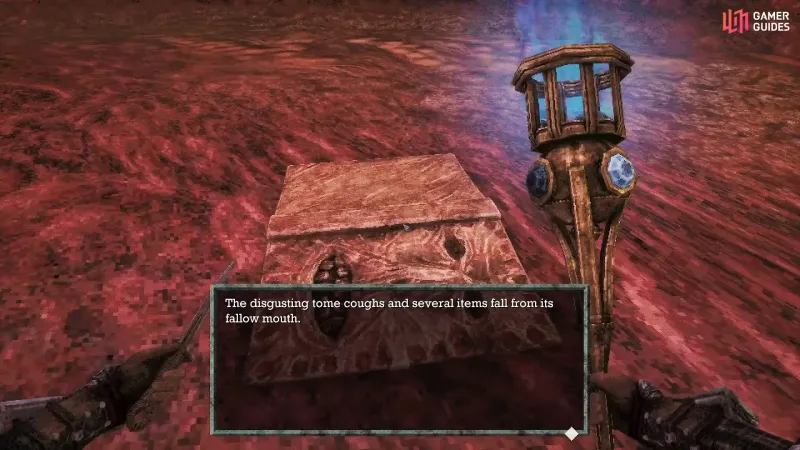
| Acid Vial | Burn The Necronomicon after defeating it; the vial coats basic throwing daggers to break flesh barriers (see flesh faces). |
| Eggs | Bring every Orbewa Egg to Erma, Matron of the Deep, for Sacred Waters. |
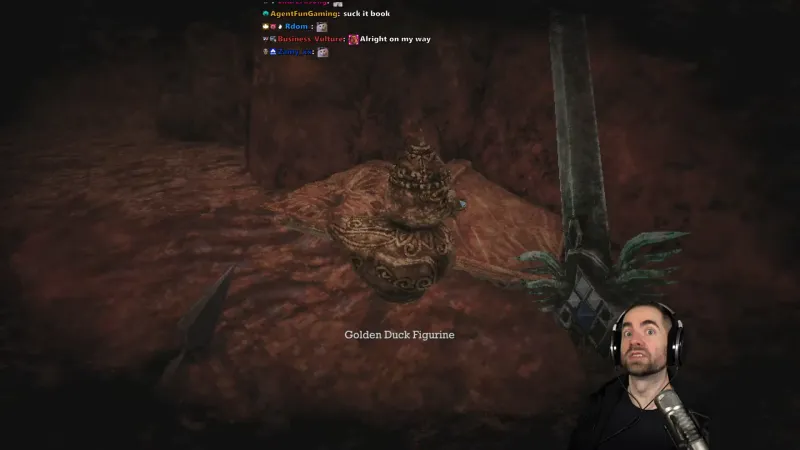
| Duck Figurines | Deliver them to Umbada for A Fine Collection; Shrine Guardian gives the Stone Duck Figurine that unlocks shop access. |
| Memento Mirror | Use the mirror after finishing character quests to collect mementos. |
| Meal Ticket | Hand tickets to Chef Gagi to get special food; you must pick tickets up separately from meals. |
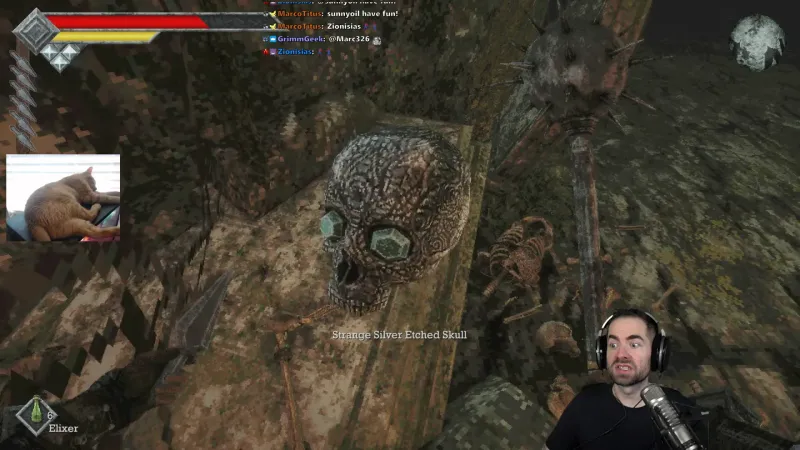
| Silver Skulls | Collect all 69 for the Petrified Garden ritual on the Eat ending route. |
| Witch's Grimoire | Make an inscription for Witchcraft. |
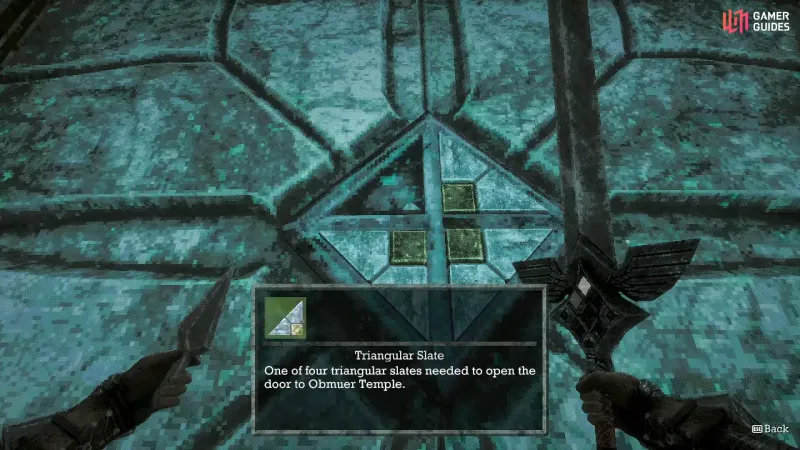
| Triangle Pieces | Four triangular slates in the water area open Obmuer Temple. |
For acid-blocked routes, follow the Tower of Knowledge walkthrough. For mementos and the skull ritual, follow the Queen's Domain endings requirements before collecting everything.
Where can you get these enemy drops?
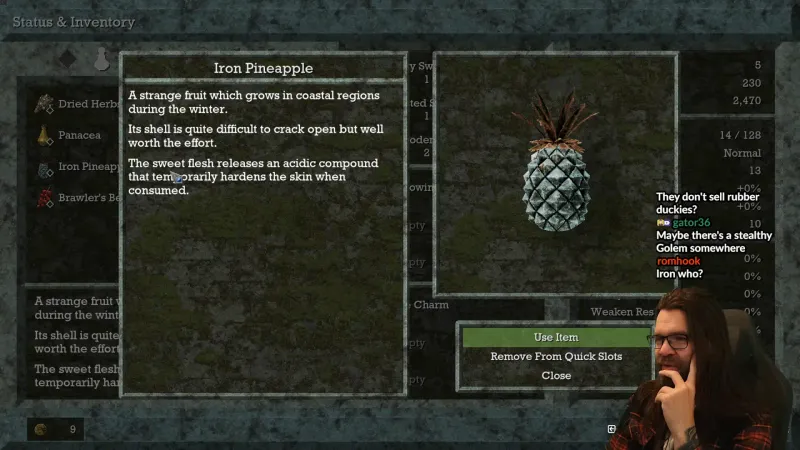
Badu Powder, Filthy Loot Sack, Iron Pineapple, and Silver Ratty Bug Figurine all have named enemy drops.
| Item | Where to get it and use details |
|---|---|
| Badu Powder | Drops from Barnacle, Candle Crawler, and Venerable Skeletal Mercenary. |
| Filthy Loot Sack | Drops from Star Lizard on the Isle of Neasied. |
| Iron Pineapple | Drops from Coelacuda, Glaucusion in Obmuer Temple, and Gargoyle Arbelist. |
| Silver Ratty Bug Figurine | Drops from Mimic on the Isle of Neasied. |
| Steel Ale | A skin-hardening consumable brewed from Iron Pineapple juice; Mimic drops it. |
Use the Queen's Domain bestiary to check enemies, areas, and their other drops. These pickup routes do not establish each item's inventory category.
Which other named items can you look up?
| Item | Use and pickup details |
|---|---|
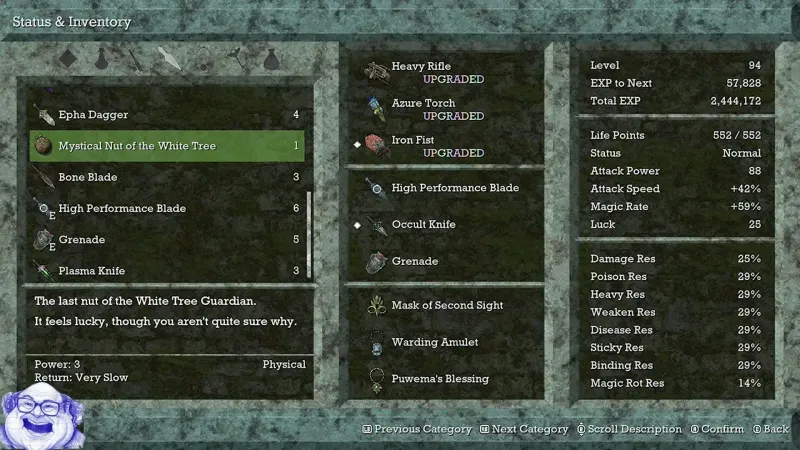
| Mystical Nut of the White Tree | A Physical throwing item that White Tree Guardian drops behind the five-Trident-Key door. |
| Blood Key Stone | Bought from the merchant for 24 Ancient Coins; opens vault doors such as the Tower of Knowledge Blood vault. |
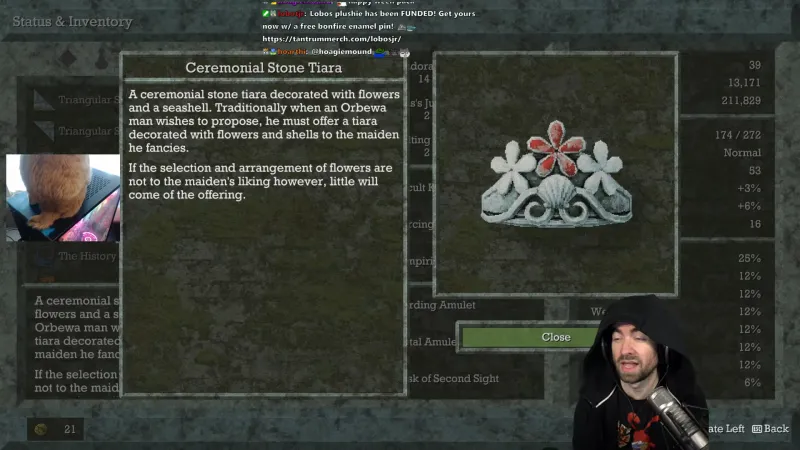
| Ceremonial Stone Tiara | Four tiaras for the Obmuer Temple upper area puzzle; match the red and white flowers to the statues. |
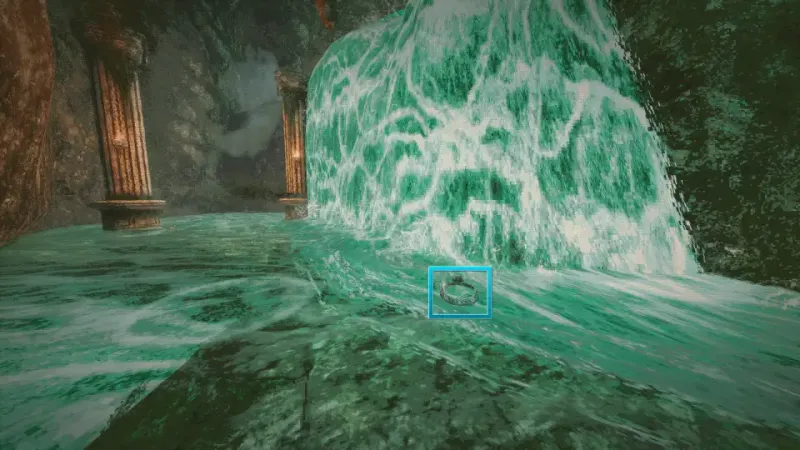
| Charming Jar | A treasure you can sell to Umbada; found in a chest in a small seaside tomb. |
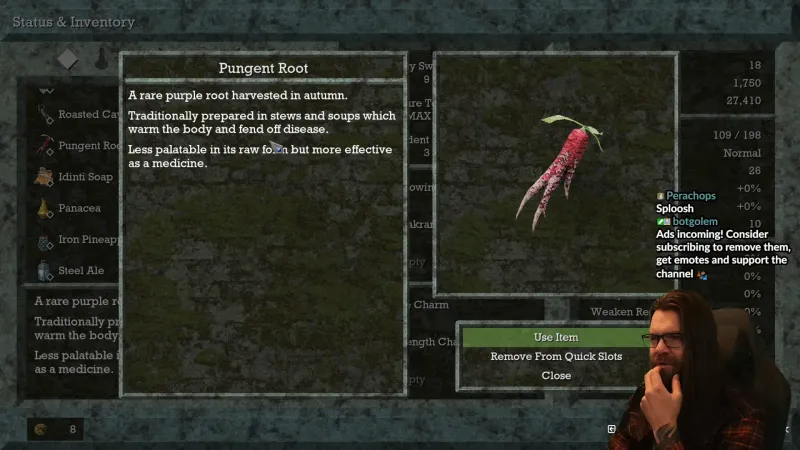
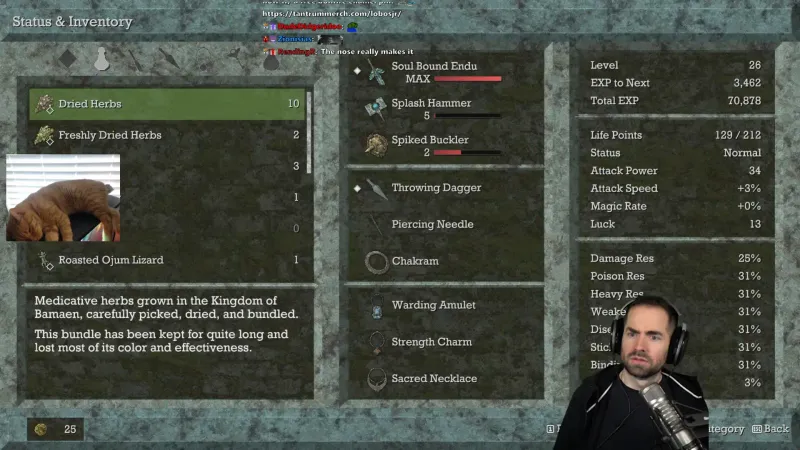
| Pungent Root | A rare purple root you use from Status & Inventory; its description presents it as medicine. |
| Charms | Accessories such as Life Charm, Strength Charm and Silver Bangle; Strength Charm, Silver Bangle and Brutal Amulet are bought in shops. |
| Fossilized Fish | An accessory that raises Luck and ailment resistances; you get it by turning in Silver Skulls. |
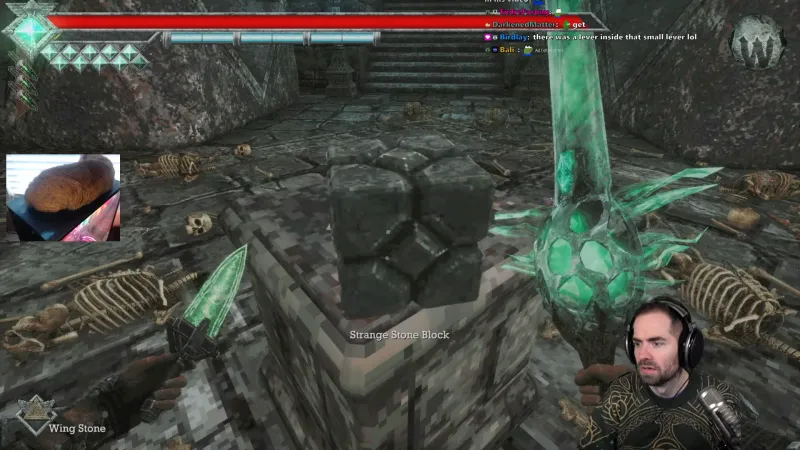
| Strange Stone Block | A square black throwing block on a pillar in a hall; throw it at puzzle switches. |
| Treasures | All 94 treasures to sell to Umbada, by area, with a tick-off checklist. |
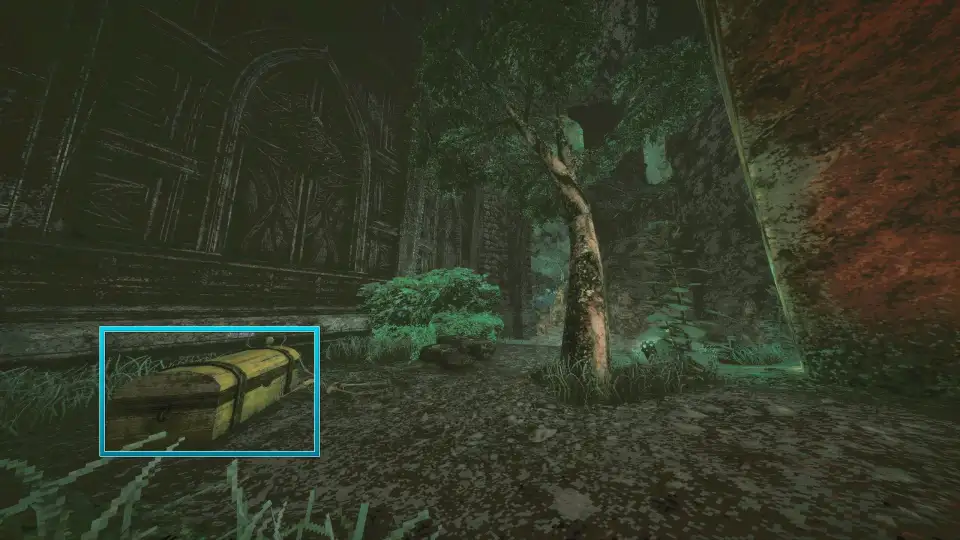
| Yellow Chest | Locked chests such as the one under the Verdant Hollow well; known locations are listed on the page. |
Where are all 108 chests?
Queen's Domain has 108 chests across 13 areas. Open every one for the Emptied Coffers achievement. Tick each chest as you open it; your ticks stay in this browser.
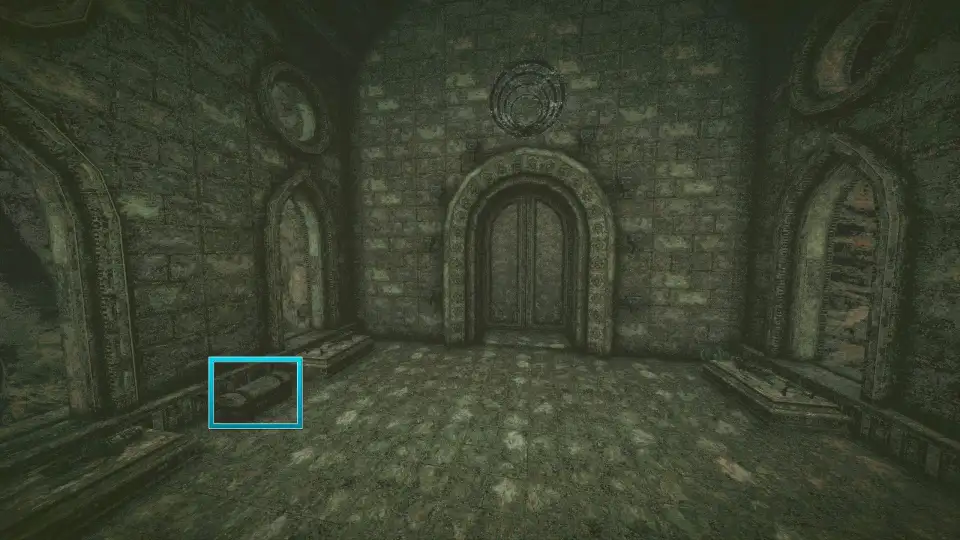
Screenshots in the checklist come from Sdaknight's 100% collection guide on Steam.
Isle of Neasied chests
1. Tower past the save point slope. Follow the slope right of the save point to the end, turn right, and look inside the tower.
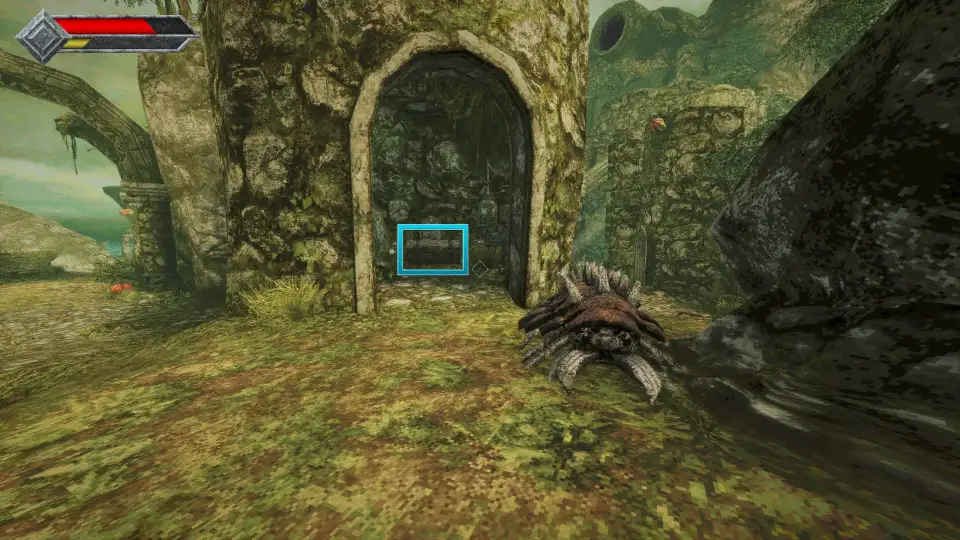
2. Catacomb bottom, right. Enter the catacombs, go straight to the bottom, and turn right.
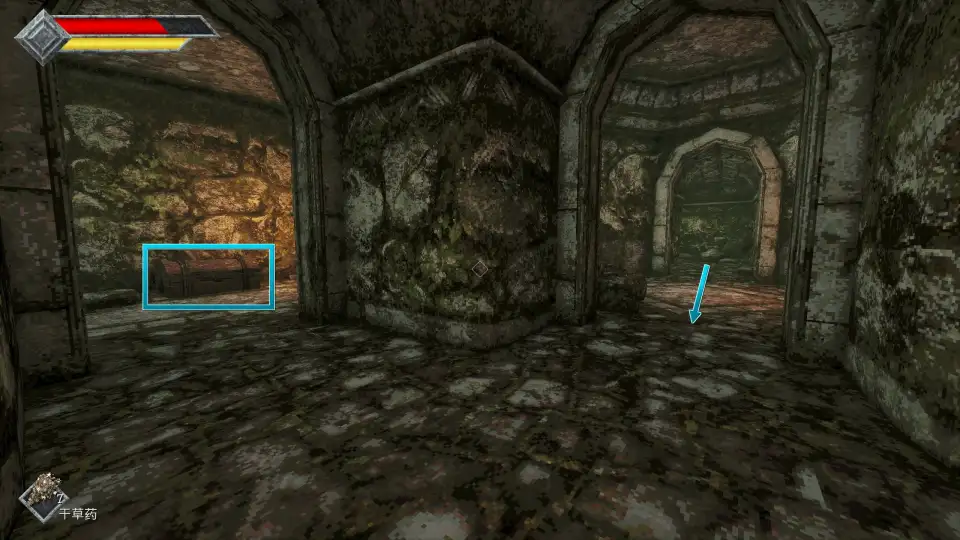
3. Across from secret door 3. At the bottom of the catacombs, opposite secret door 3.
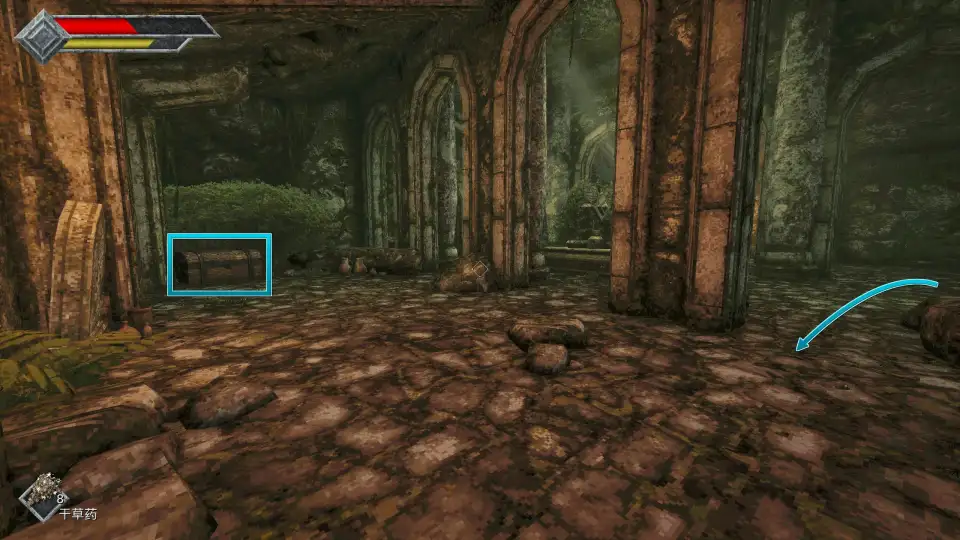
4. Ruins above the catacombs. Climb up above the catacombs, turn left, and check the ruins.
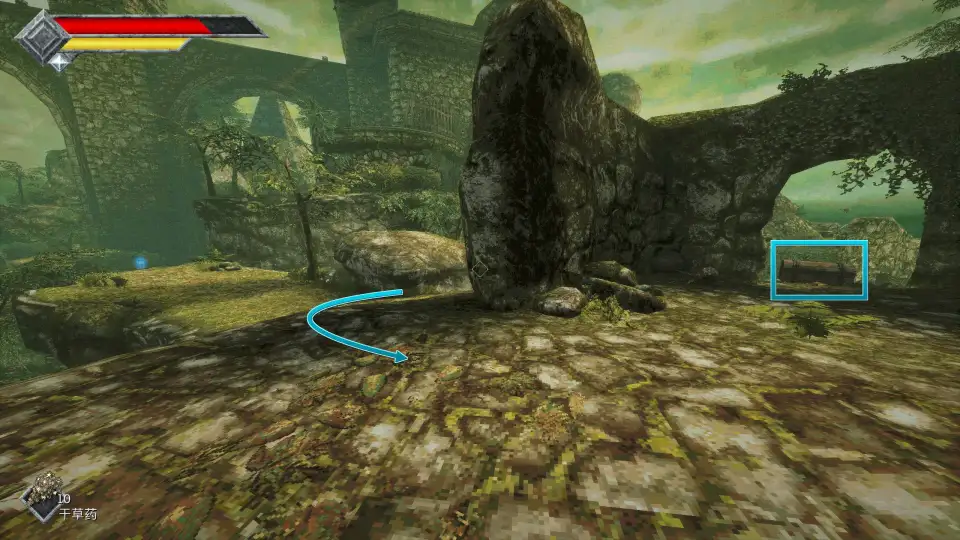
5. Behind secret door 5. Behind secret door 5.
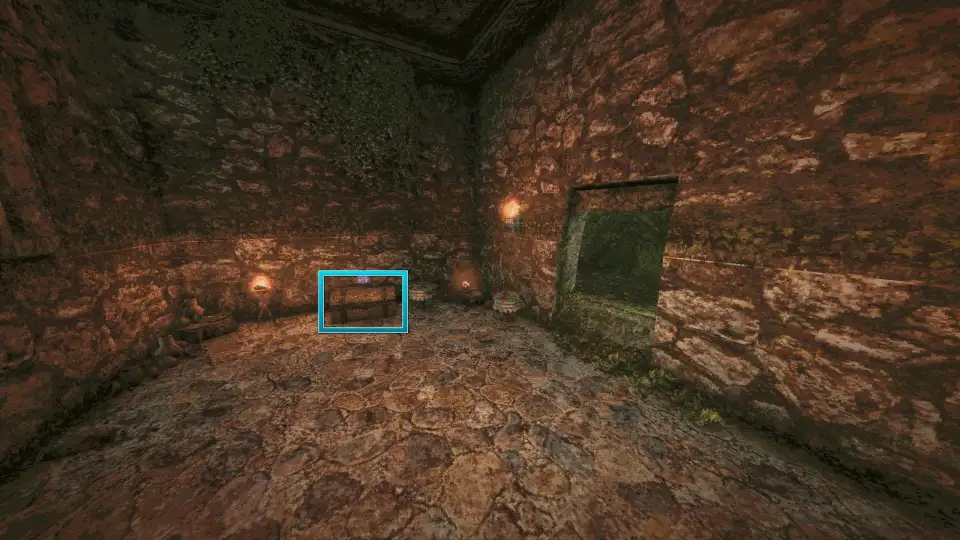
6. Stairs left of the lift. Follow the edge on the left side of the lift to the stairs.
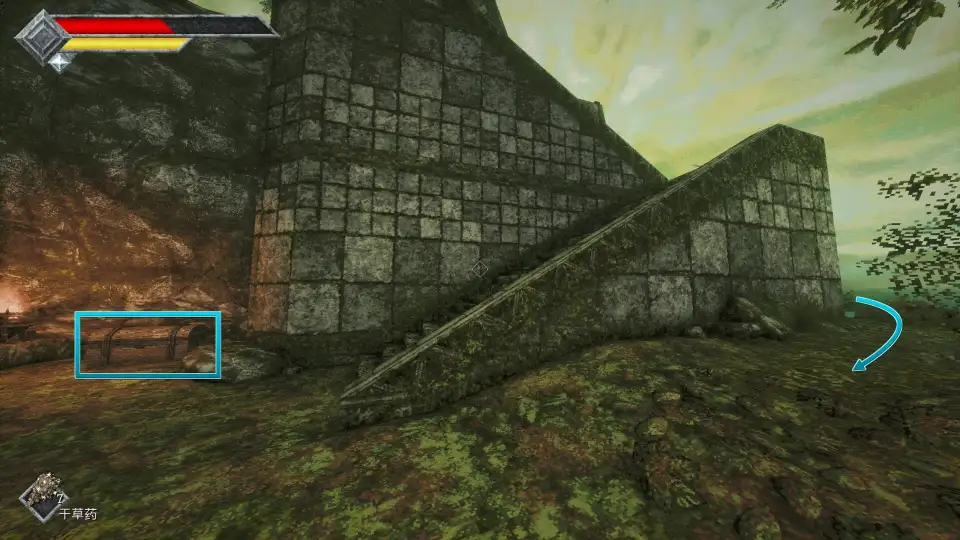
7. Opposite the iron gate. Across from the iron gate.
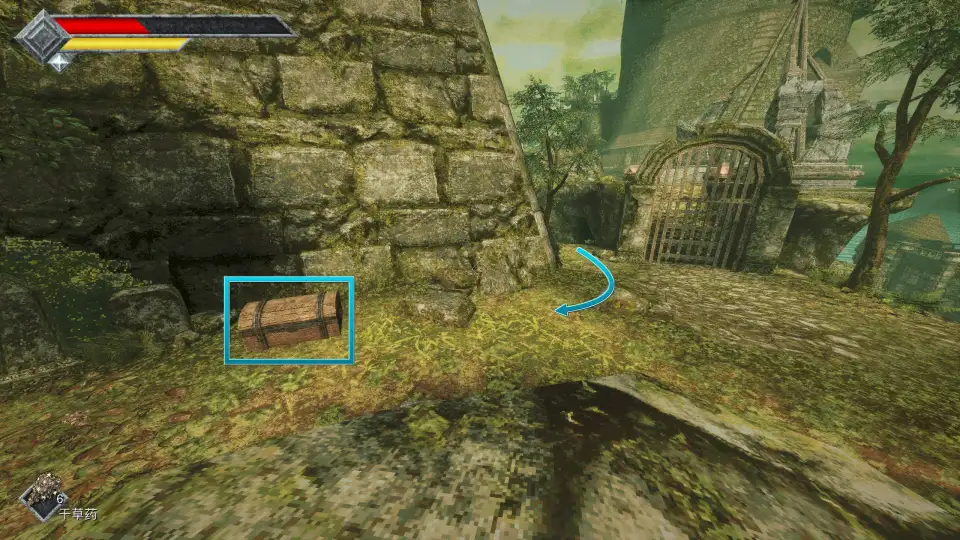
8. Behind secret door 8. Behind secret door 8.
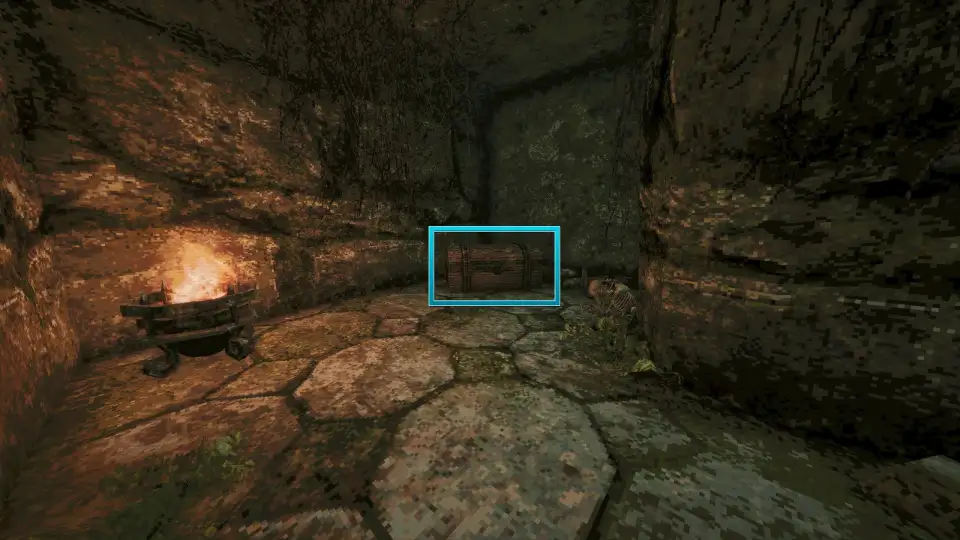
9. Floor hatch behind the tomb. Go round behind the tomb, climb in through the broken hole, pull the lever to open the floor hatch, and drop in.
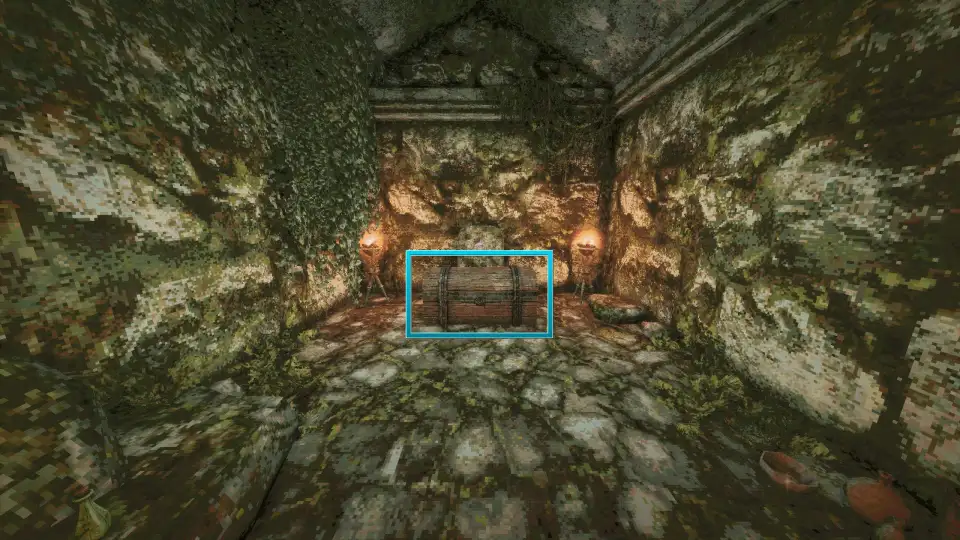
10. Knight's Encampment chest. Once you have the Knight's expedition chest key, go back to the Knight's Encampment and open the chest there.
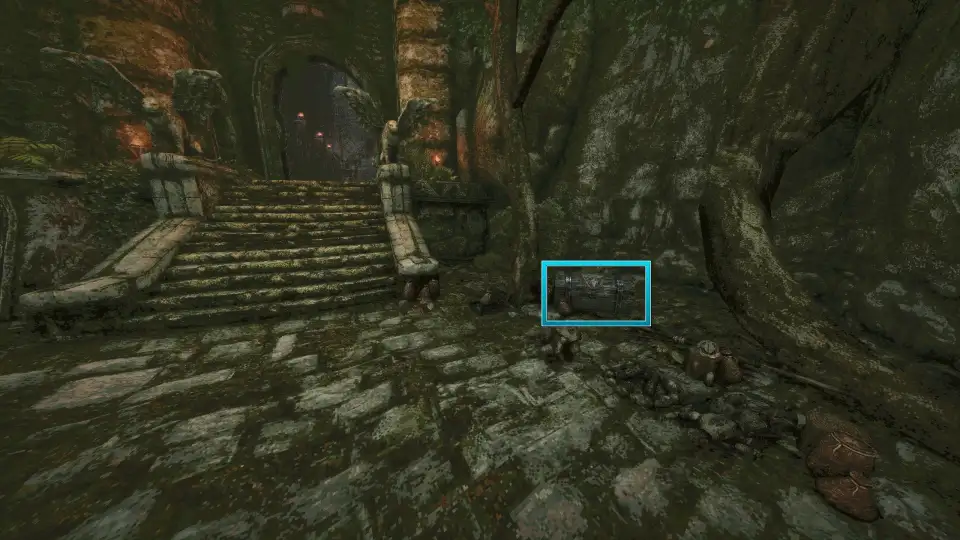
11. Beach rock on the outer island. Dash across to the island offshore; the chest is behind the big rock by the beach.
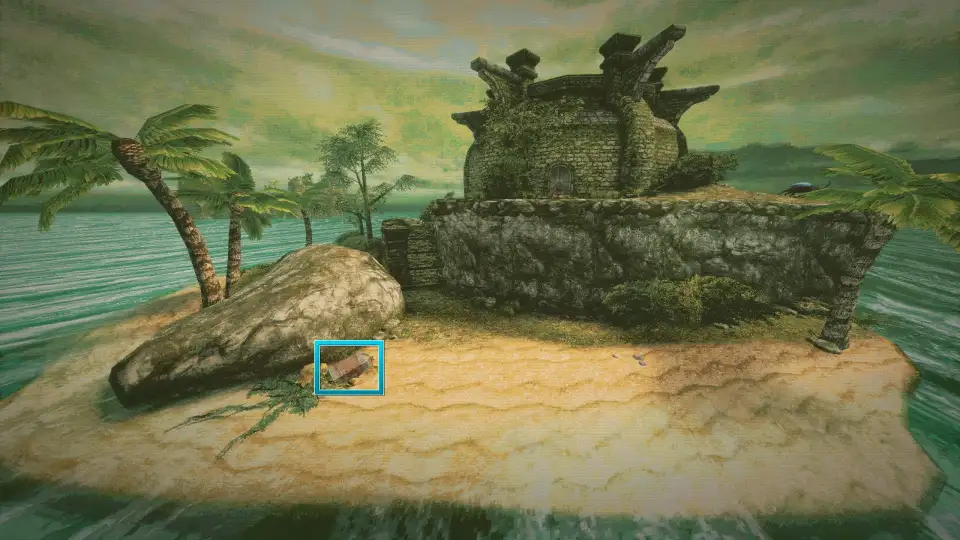
12. Building on the outer island. On the same island, go inside the building.
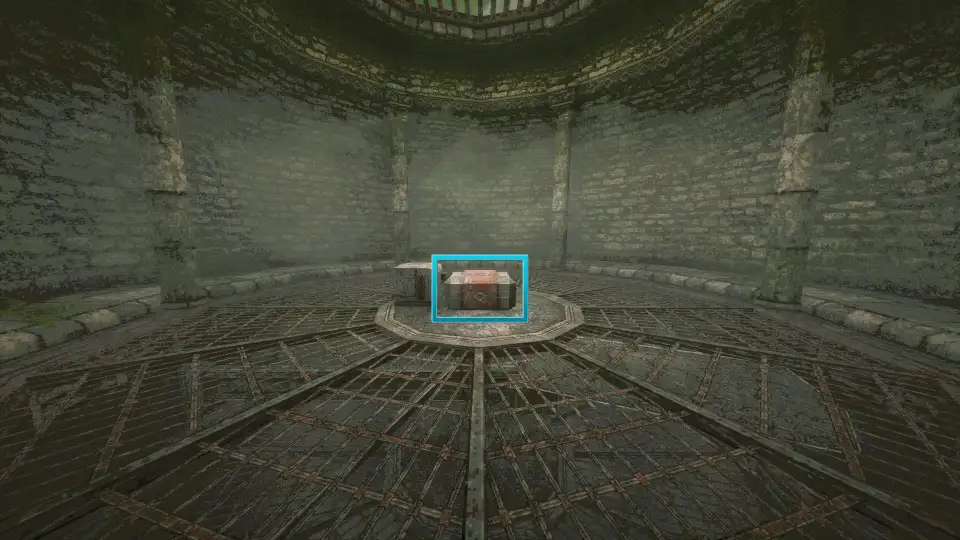
Obmuer Temple chests
13. Three Trident Key gate. With the red, green and blue Trident Keys, go back and open the mechanism gate.
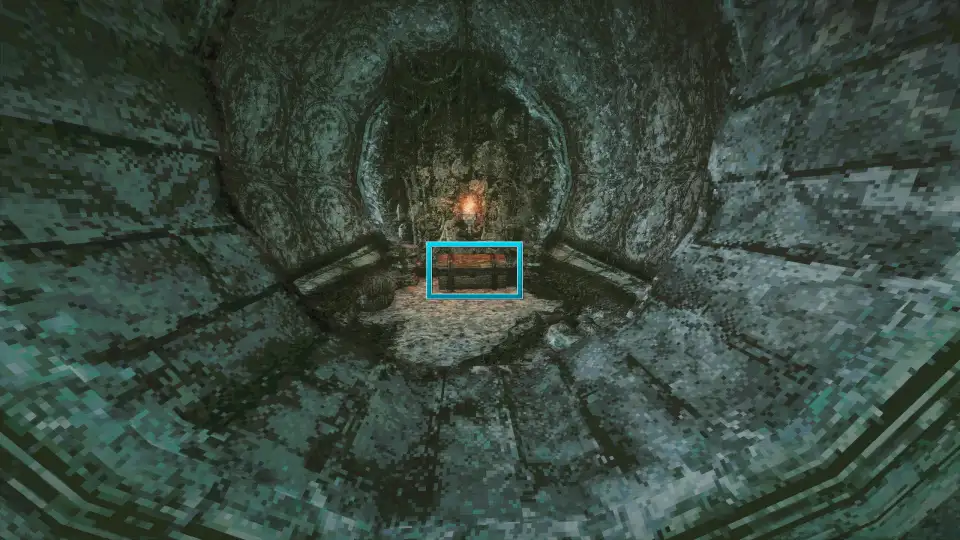
14. Gate below the second save point. From the second save point, dash across, put a Trident Key into the mechanism gate below, and go in.
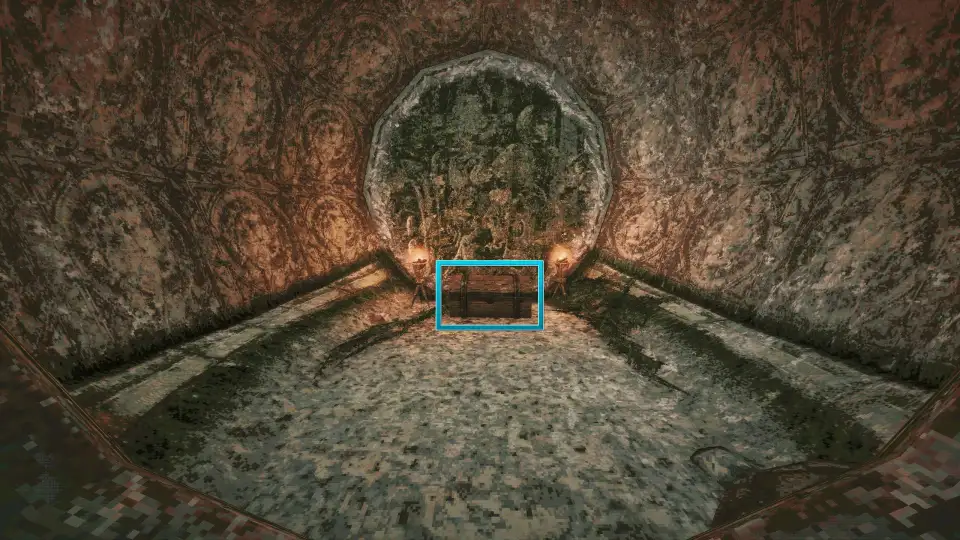
15. Behind secret door 13. In the area behind secret door 13.
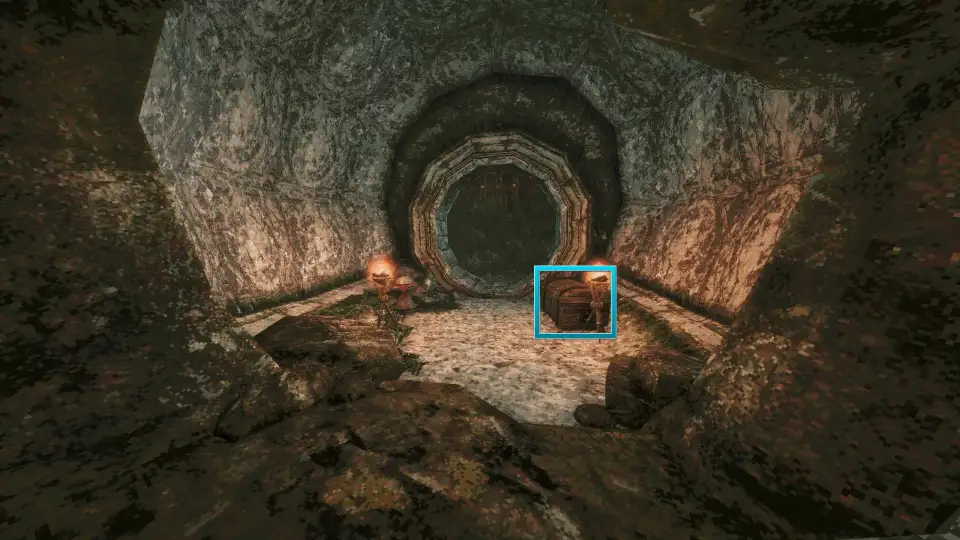
16. Next to the food at the top. Leave the secret door area, drop down, and follow the path to the top. The chest is next to the food.
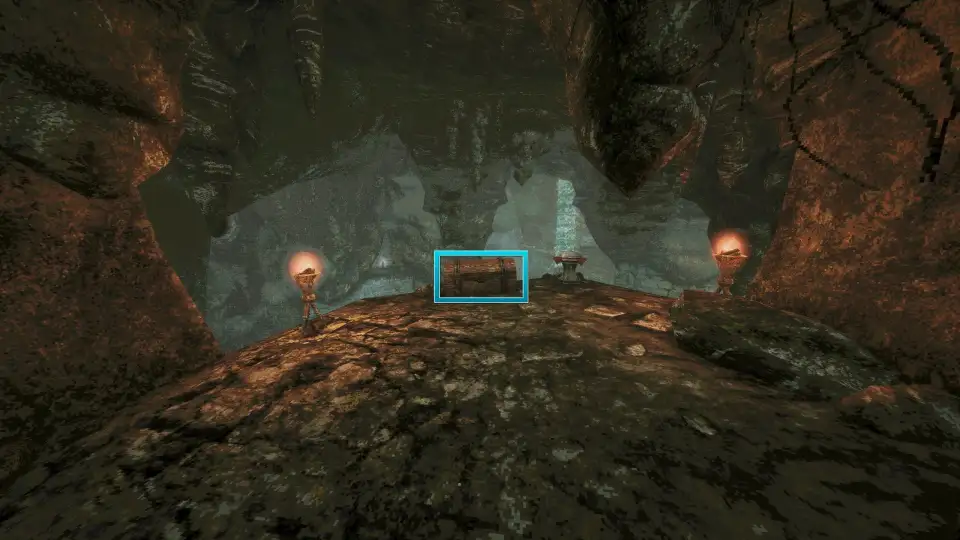
17. Dark temple upper platform. Go back to the dark temple and check the upper platform.
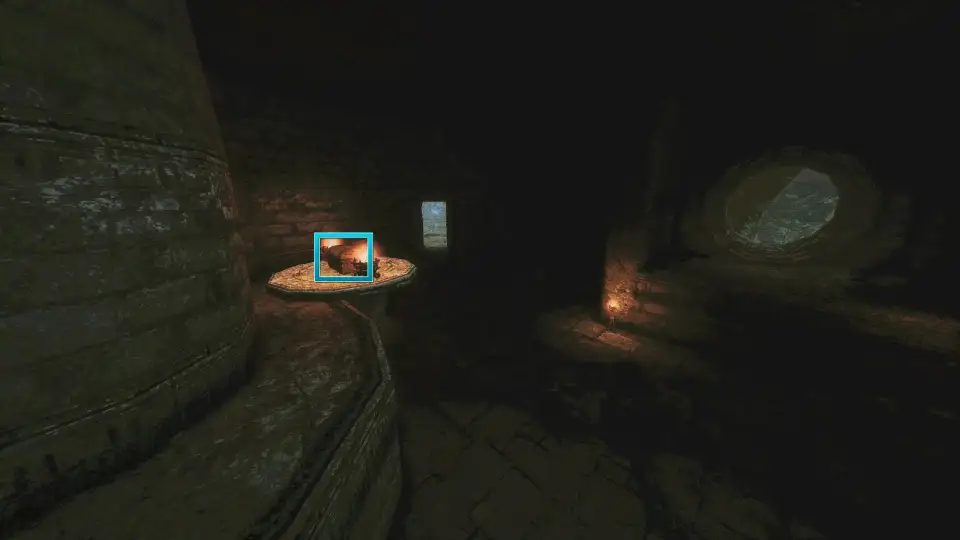
18. Under the stairs. Past the long corridor, under the stairs.
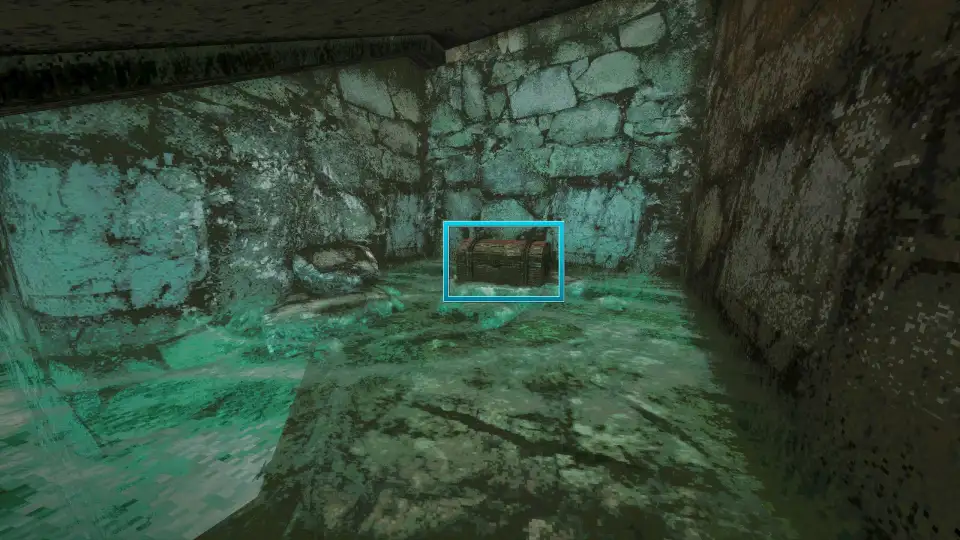
19. Royal guards' cave. In the rock cave where you drop down and fight the two Orbewa royal guards.
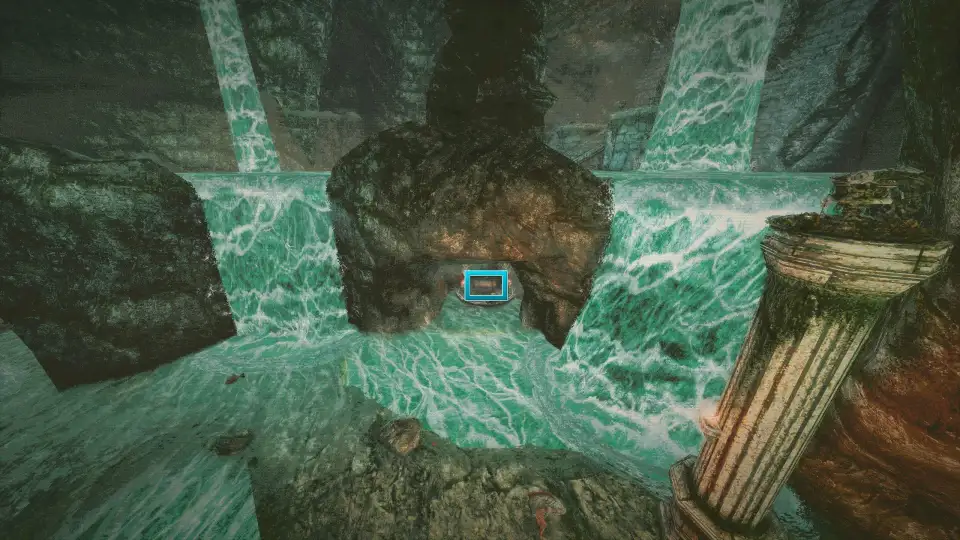
20. Food behind the two-key gate. Ride the big lift halfway, enter the broken hole, open the gate with two Trident Keys, and check next to the food.
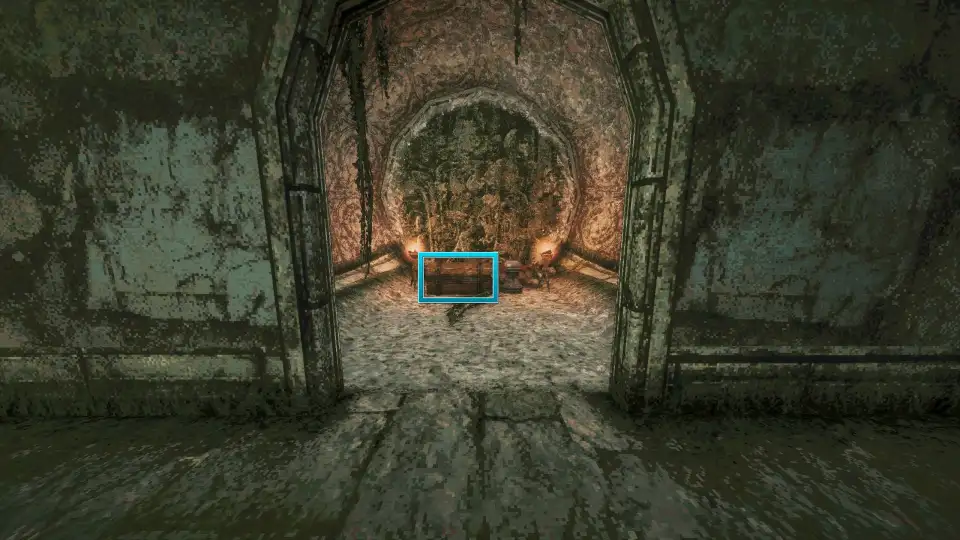
21. Next to the fallen raider. Outside the temple, climb the platform and drop through the round hole in the ceiling. The chest is next to the body.
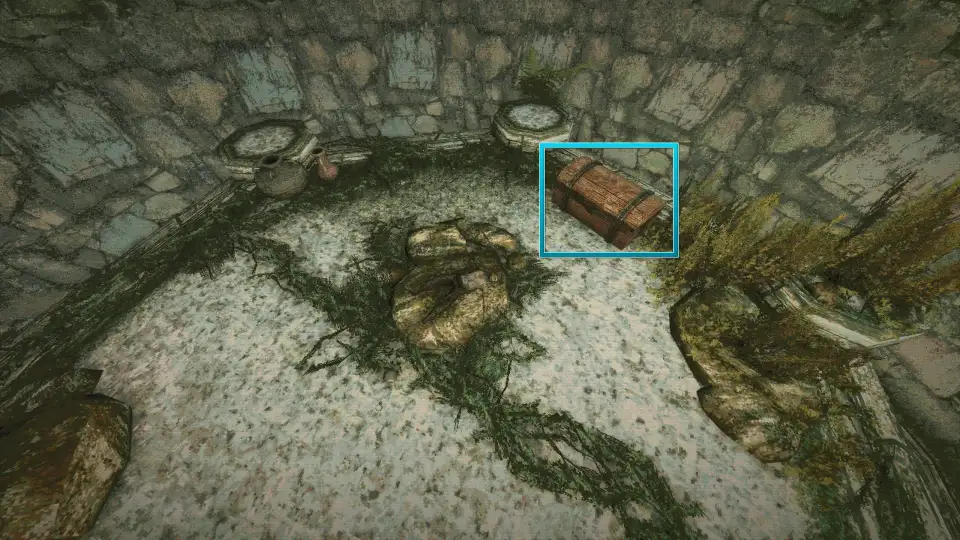
22. Right of the stone platform. On the island across from the tower top, to the right of the second stone platform.
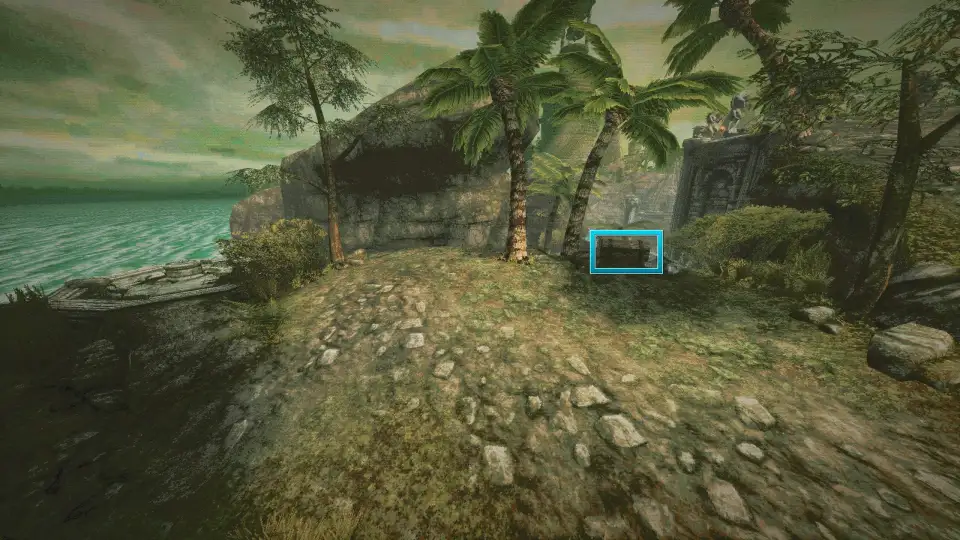
23. Shipwreck chest 1. Hand every Fallen Raider Necklace to Captain Aganmi to finish Fate of the Iryupe Raiders, then open this chest at the shipwreck with the key he gives you.
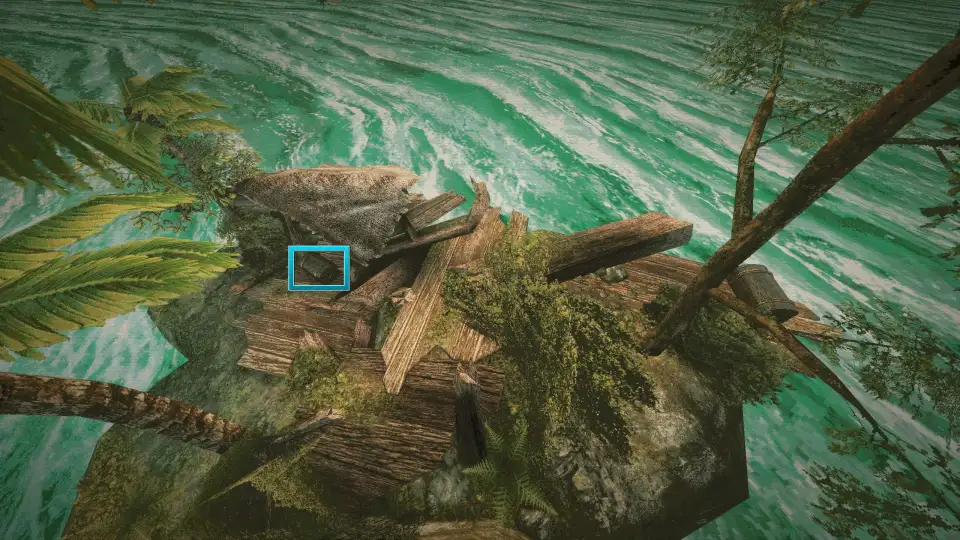
24. Shipwreck chest 2. The second chest at the shipwreck opens with the same key.
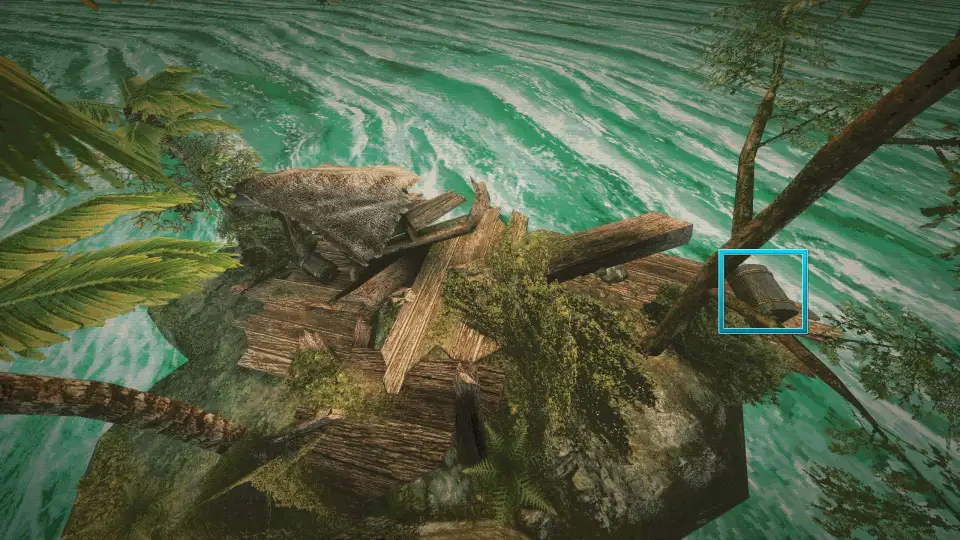
Tower of Knowledge chests
25. Next to the lift. Drop through the trapdoor, turn right at the fork, and follow the main path to the lift.
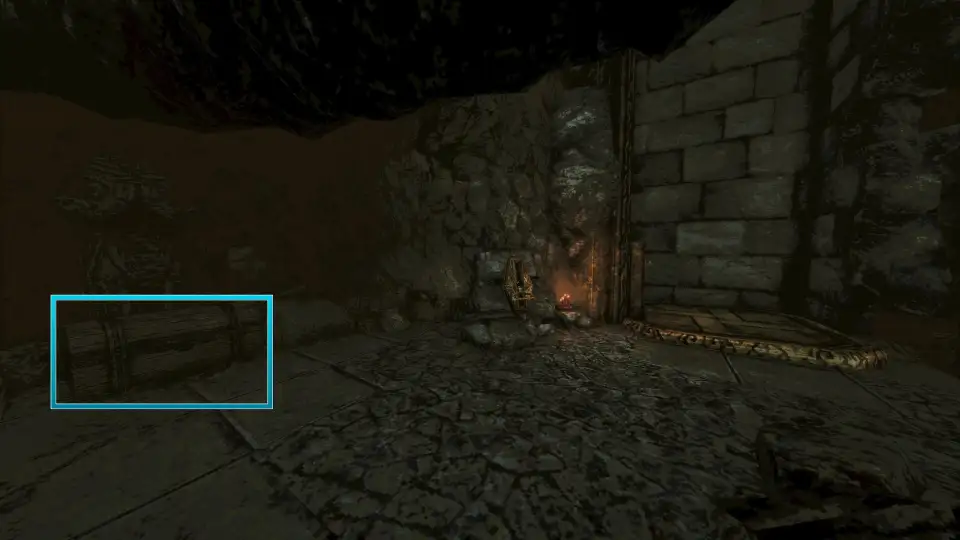
26. Room above the lift. Ride the lift up; the chest is in the room above.
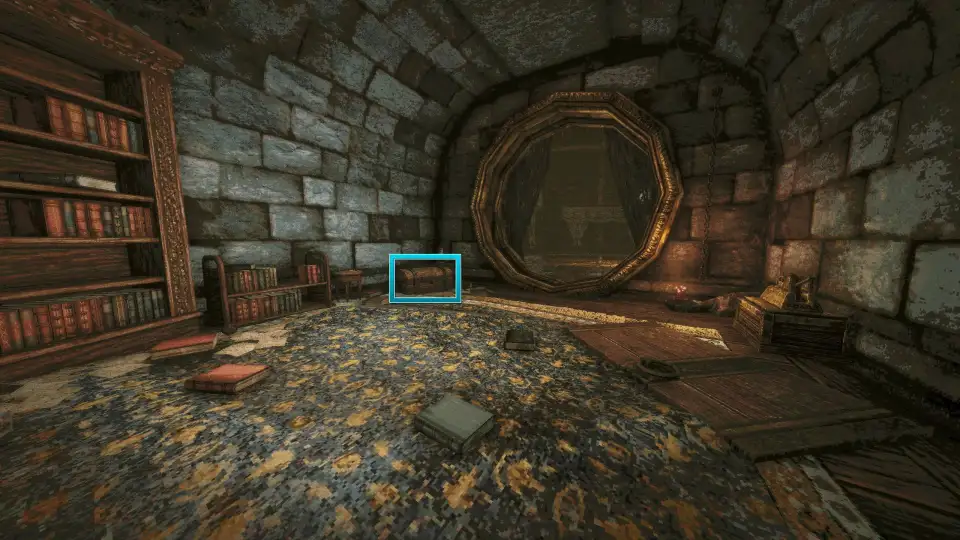
27. Behind the bookshelf. Go back to the trapdoor, climb the stairs, and walk round behind the bookshelf facing you.
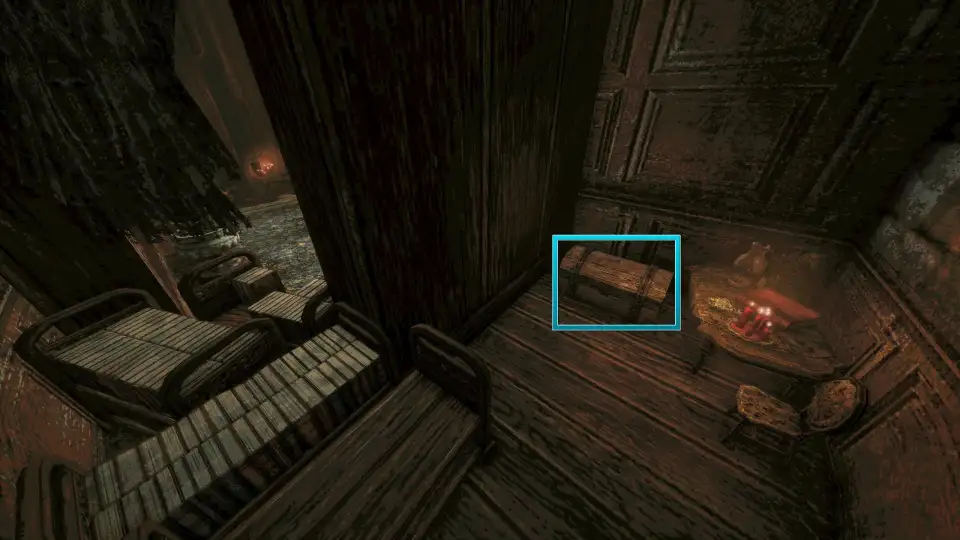
28. Left of the Wing Altar. On the 5F balcony, left of the Wing Altar.
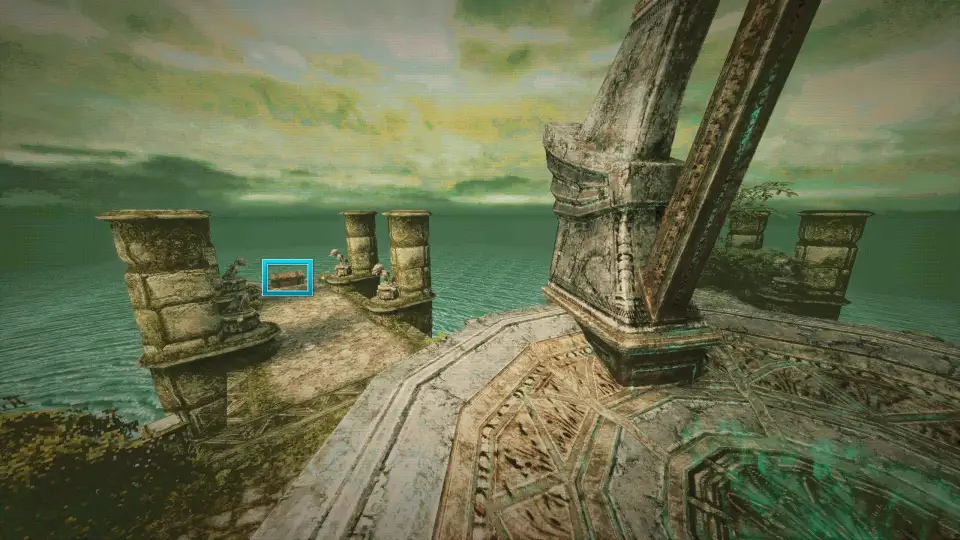
29. Drop right of the food. Drop down on the right side of the food.
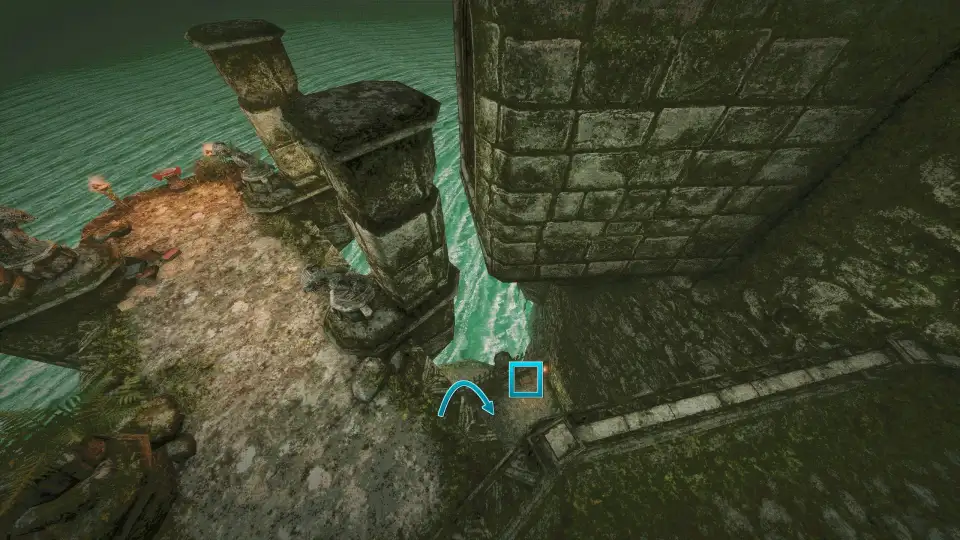
30. One floor further down. From there, drop through the gap one more floor.
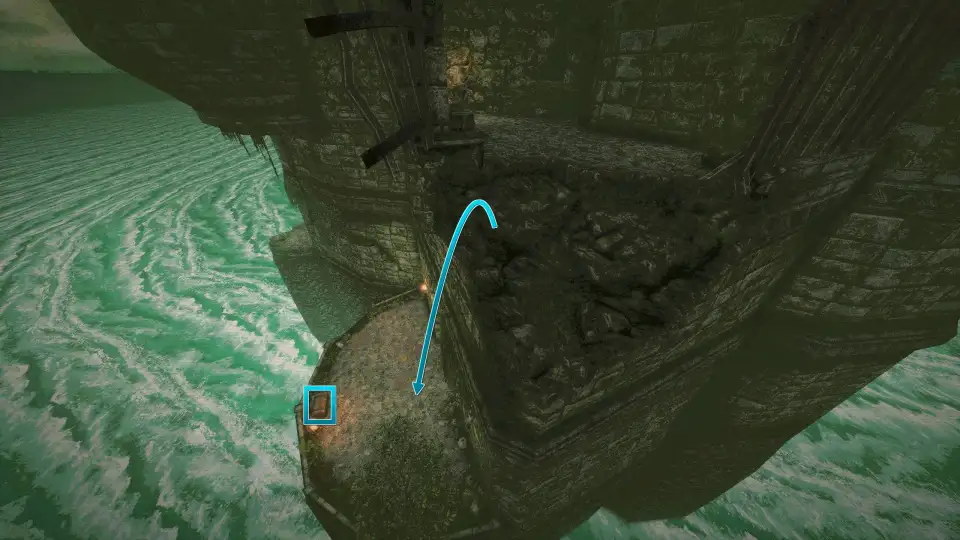
31. Hidden room by the trapdoor. Dash along the edge of the rock wall to the lever room, pull the lever, then go back to the trapdoor and enter the hidden room.
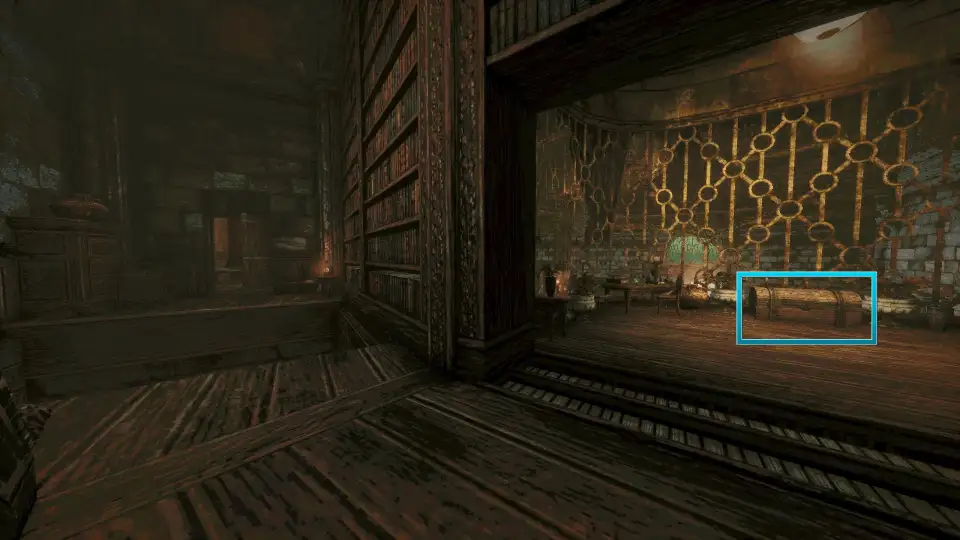
32. Up the wooden stairs. Go up the wooden stairs.
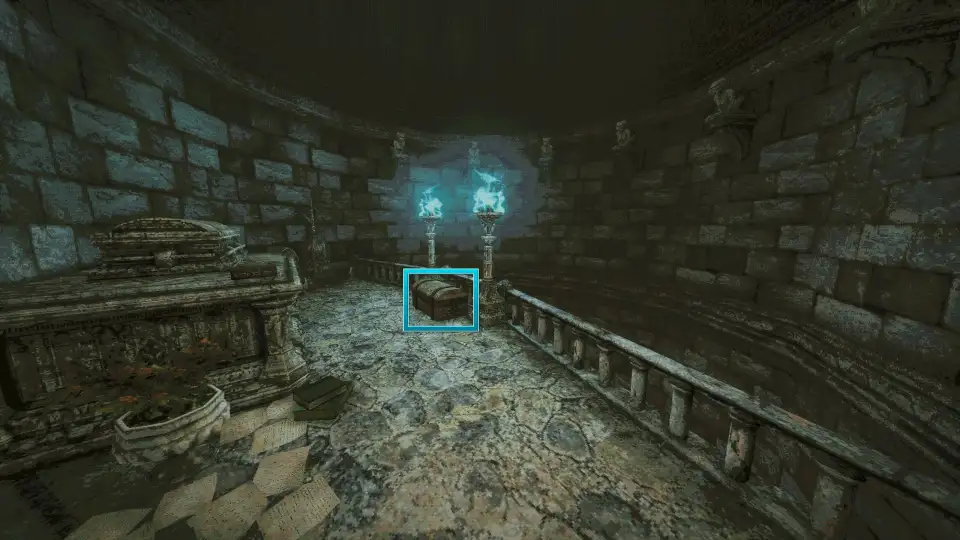
33. Behind the flesh growth. Clear the flesh growth and go into the area behind it.
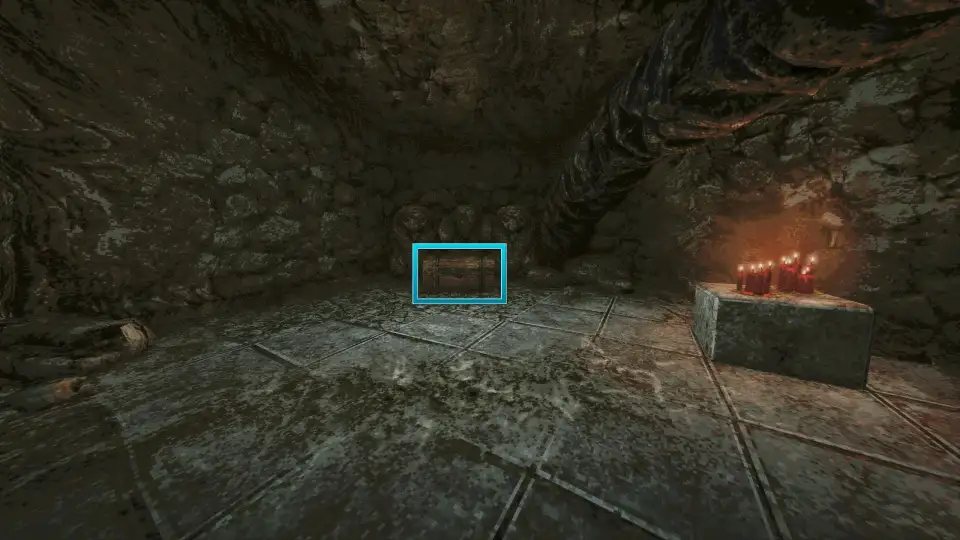
34. Bookshelf chest on 7F and 8F. On the left halves of 7F and 8F, put any two of the four lore books into the left-hand bookshelf. See the book puzzle.
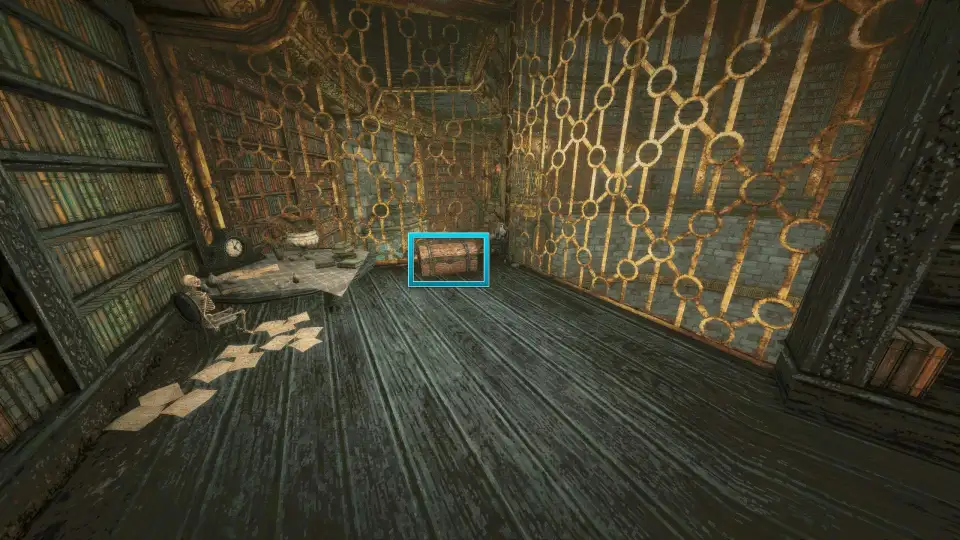
35. Brass chest at the top. With the Flying Mushroom Fossil, fly to the top of the tower, beat the Brass Driller for the Brass Key, and open the chest.
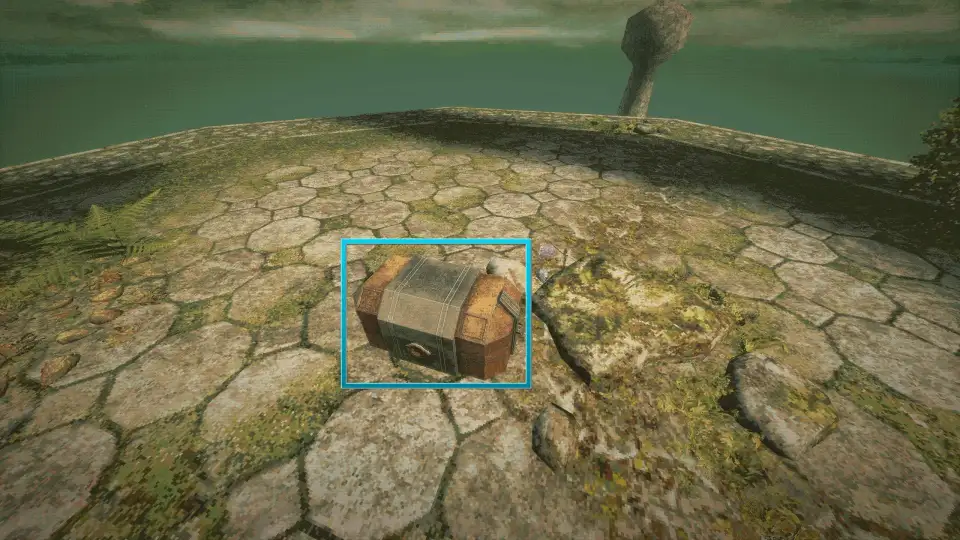
Deimpo Mausoleum chests
36. End of the left passage. Take the passage left of the rising stone pillar to the end.
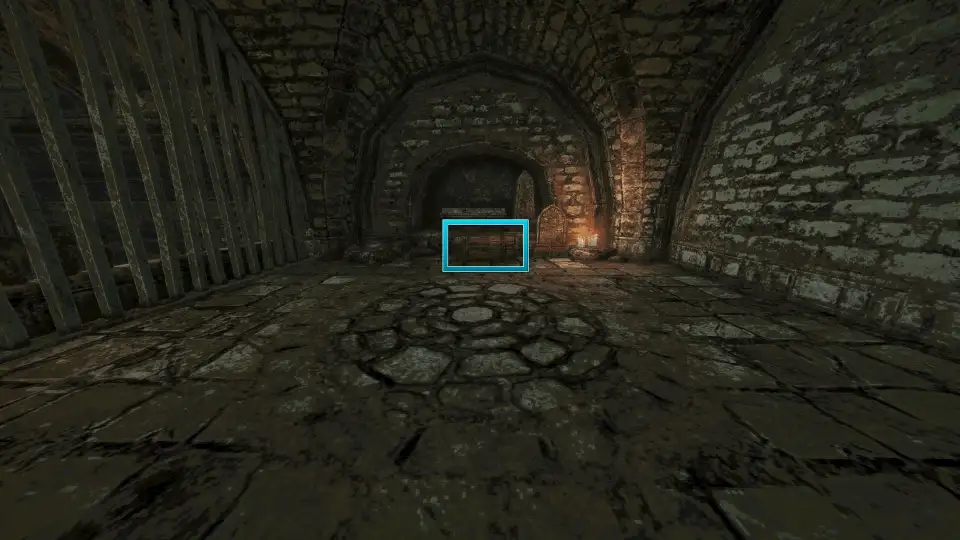
37. Statue past the right door. Go through the right-hand door first; the chest is by the statue at the end.
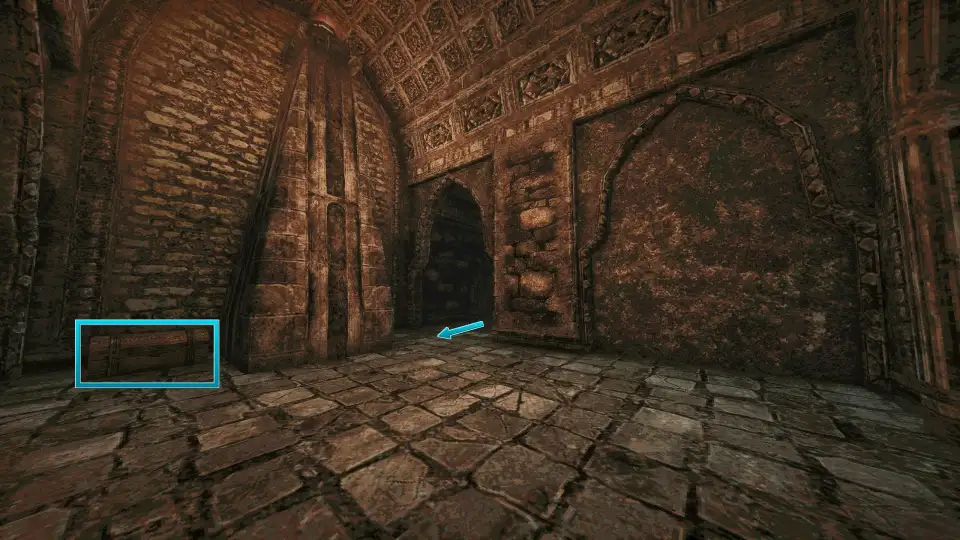
38. Cave below the save point. Take the door left of the save point, go down to the bottom passage, and check the caves.
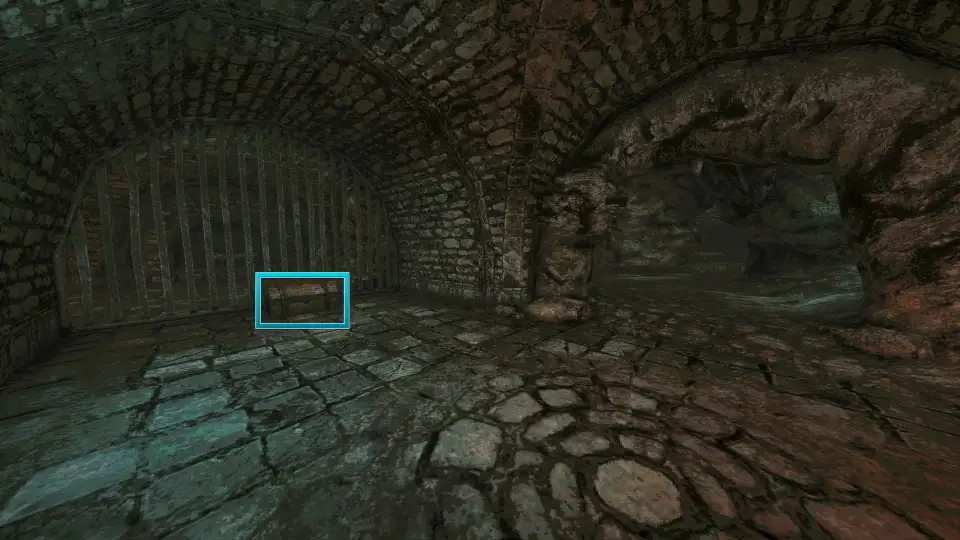
39. Small tomb on the shortcut. Dash over and go through the gate. Before taking the central spiral stairs, follow the shortcut path beside them into a small tomb.
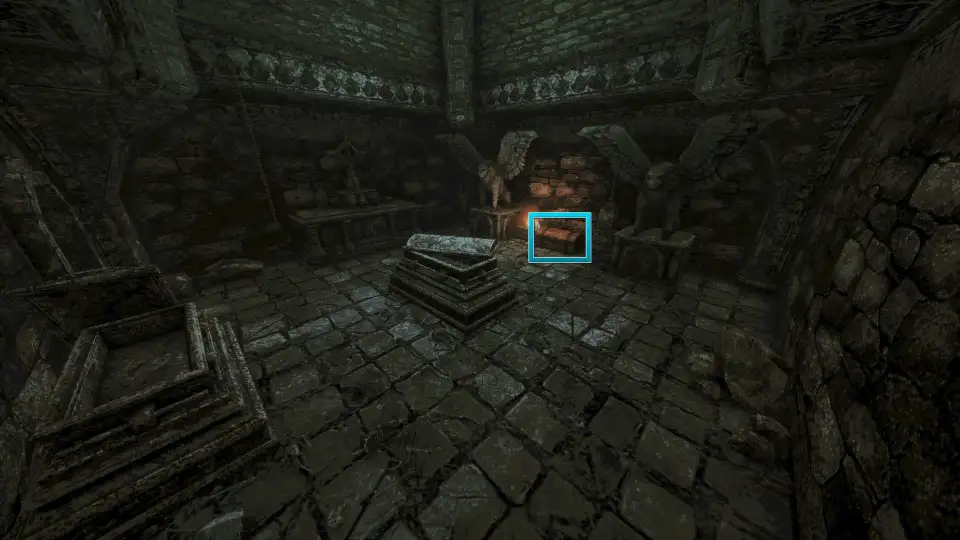
40. Cliff at the end of the left fork. Then take the left fork to the cliff at the end.
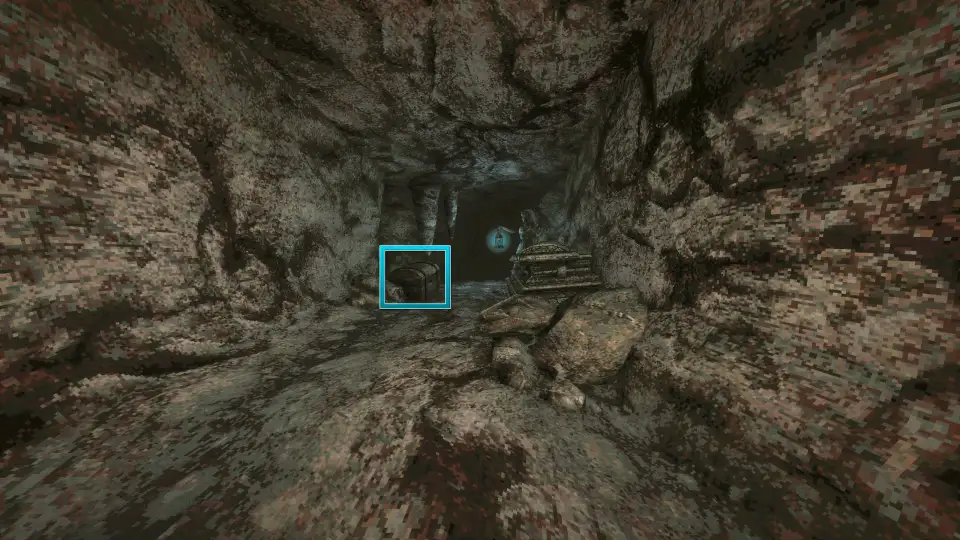
41. Room opened by the bridge lever. Pull the lever behind the statue at the end of the stone bridge, then go back and enter the room.
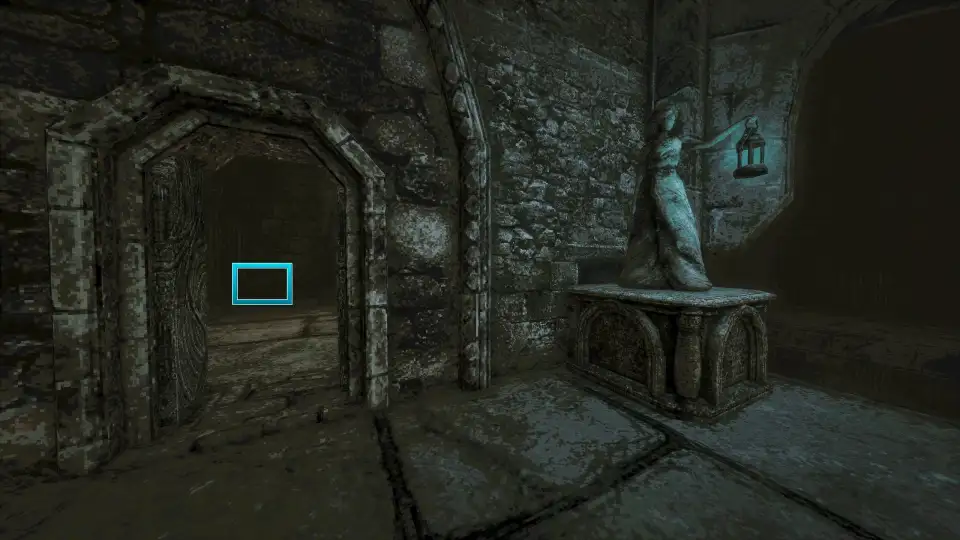
42. Room past the diamond gate. Go through the diamond-shaped gate and enter the room on the left.
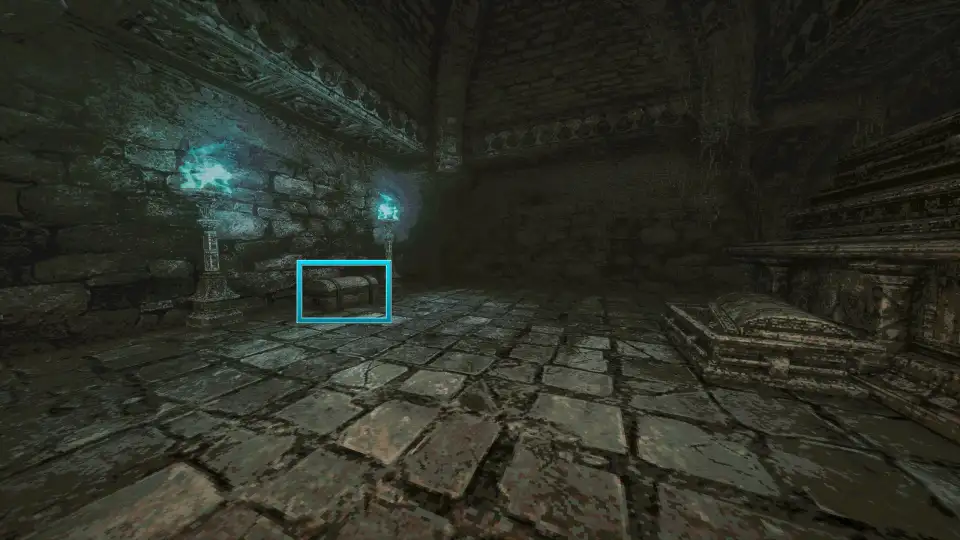
43. Corner opposite the mask. In the corner opposite the spot where you get the Mask of Second Sight.
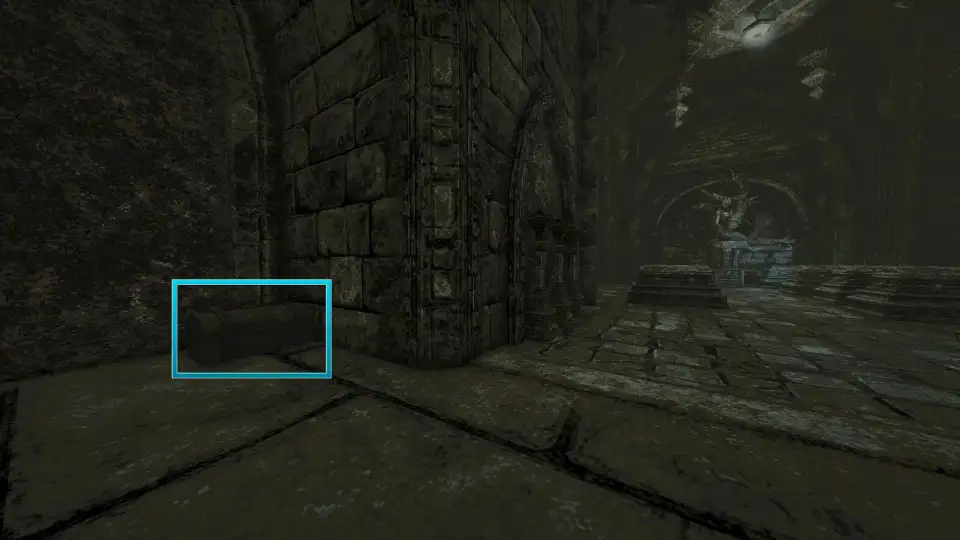
44. Soldier's chest. Once you have the Knight's expedition chest key, go back to the soldier and open it.
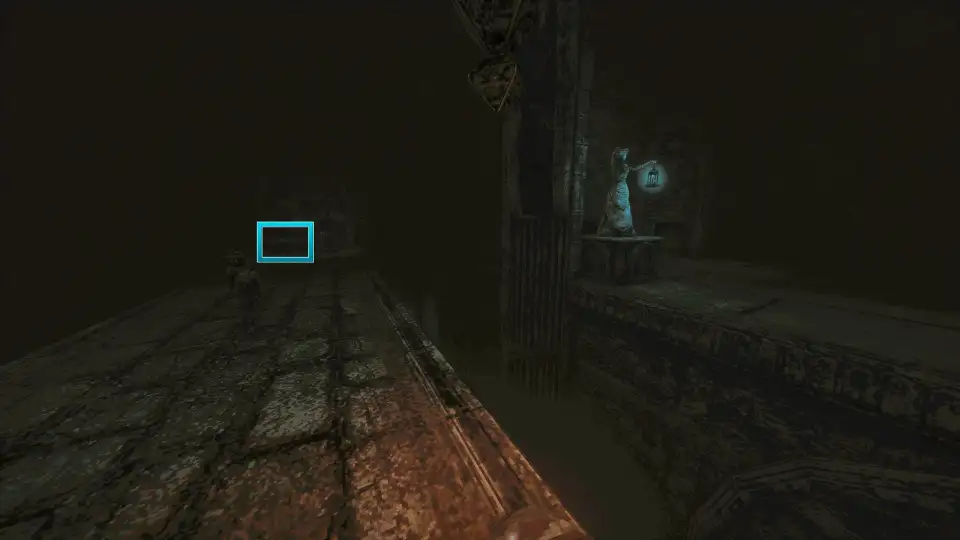
Ancient World chests
45. Vent off the half-floor. When you drop down the shaft, land on the half-floor first and go into the vent on the right.
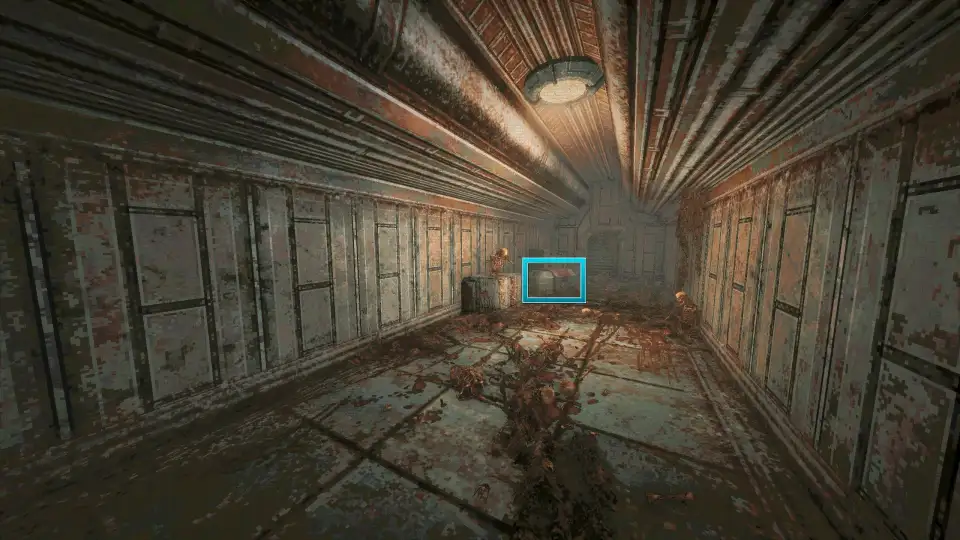
46. Room after the long corridor. Past the long corridor, in the next room. This chest holds the Wind Blaster.
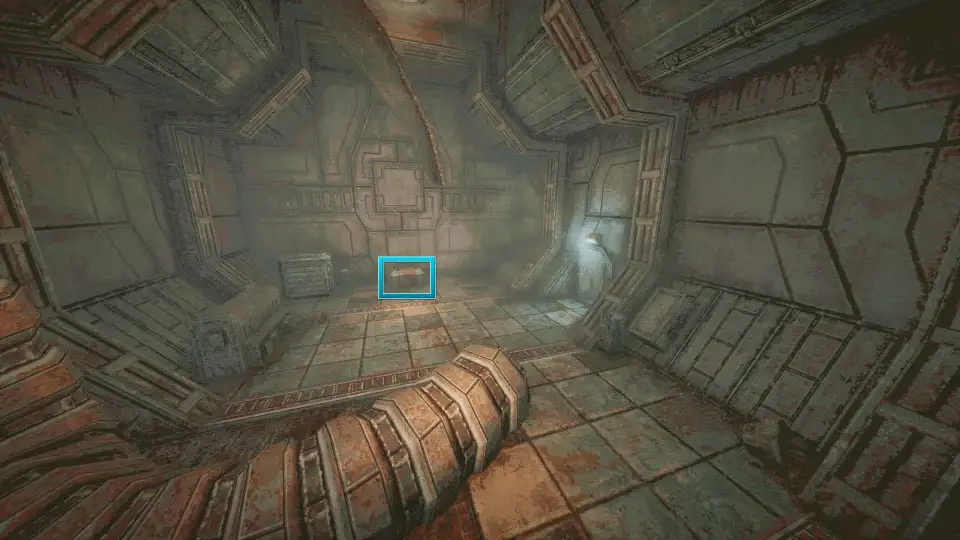
47. Flooded room. In the flooded room, turn round to the left and dash across.
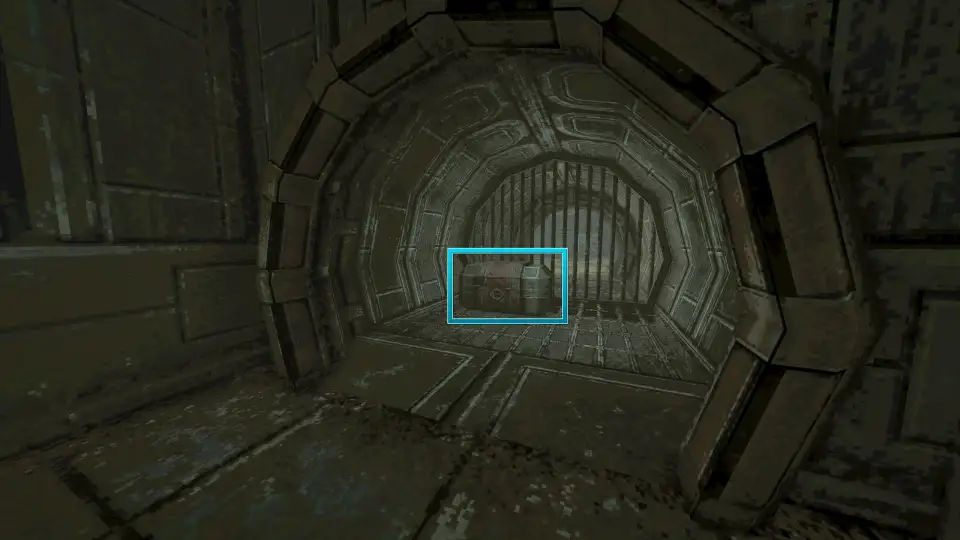
48. Behind secret door 36. Behind secret door 36.
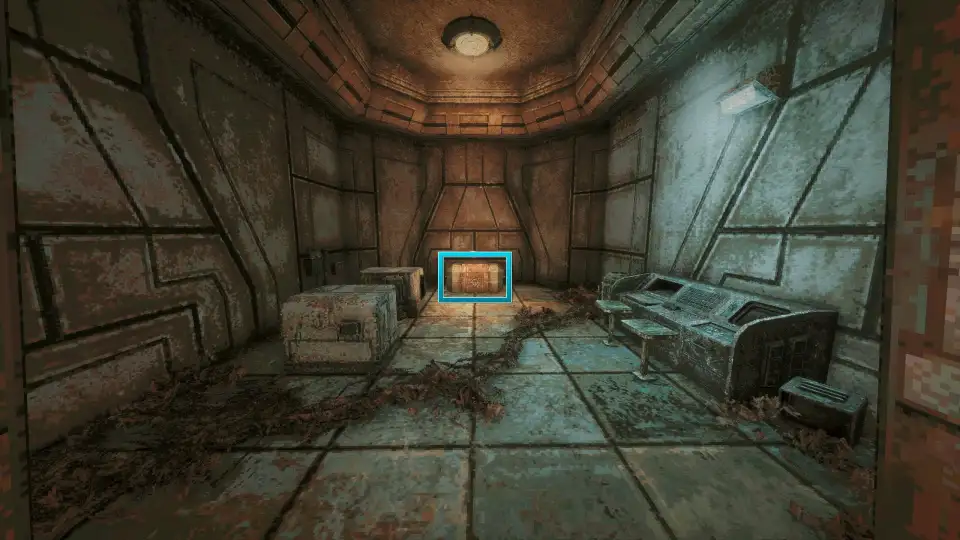
49. Left path at the first stone stairs. At the first stone staircase, take the small path on the left first.
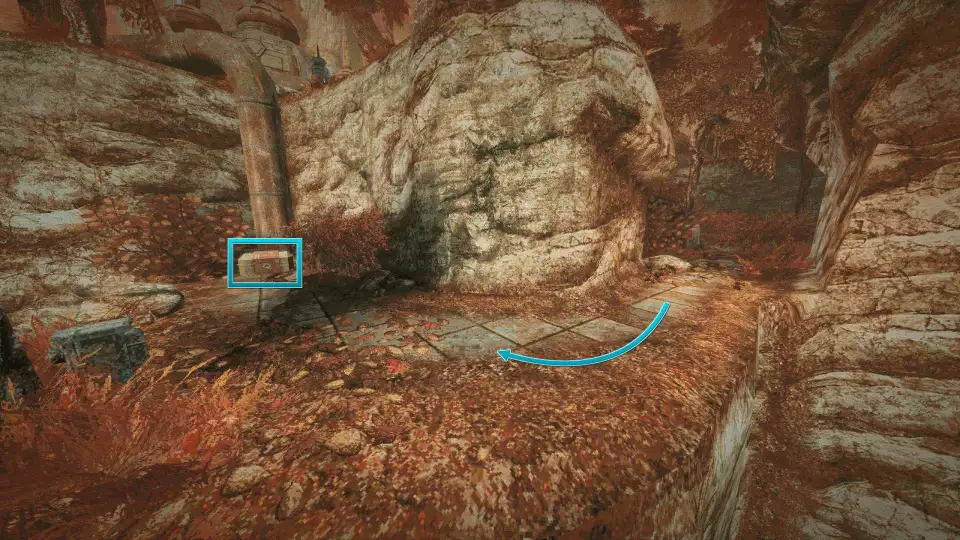
50. Platform across the stone stairs. Climb the stone stairs and dash to the platform opposite.
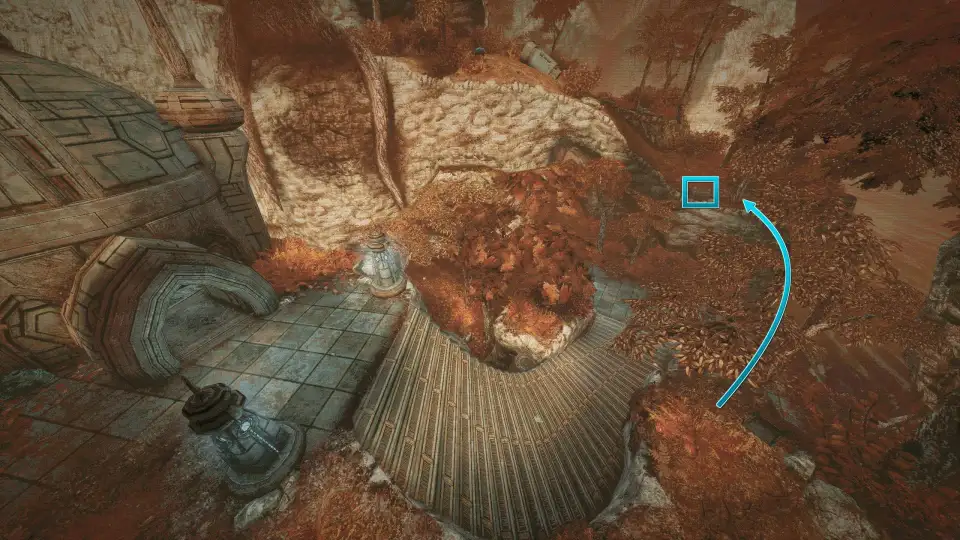
51. Under the big tree. Keep climbing the slope; the chest is under the big tree.
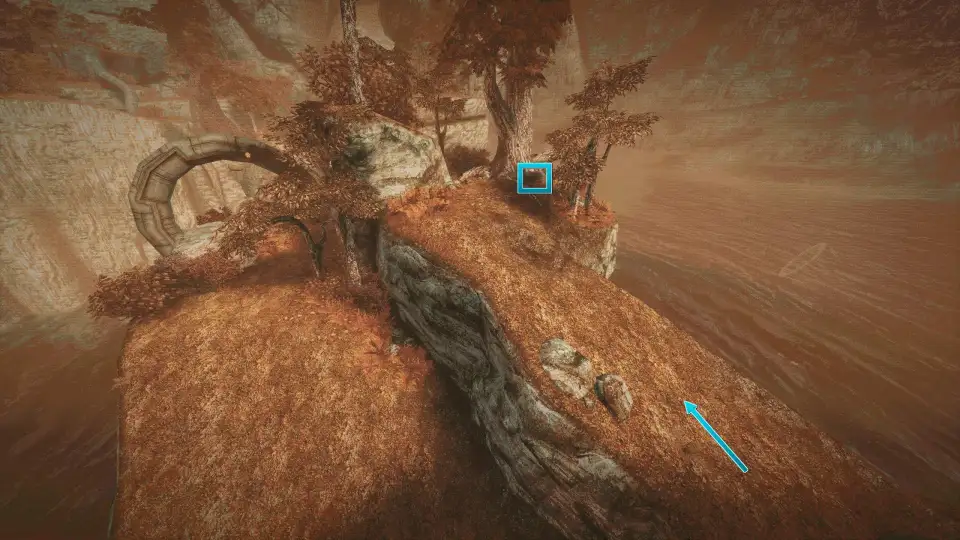
52. Seal door on the big island. On the big island, take the small path on the left, hop the rock pile to the high ground opposite, and open the door with the Blue Seal Breaker.
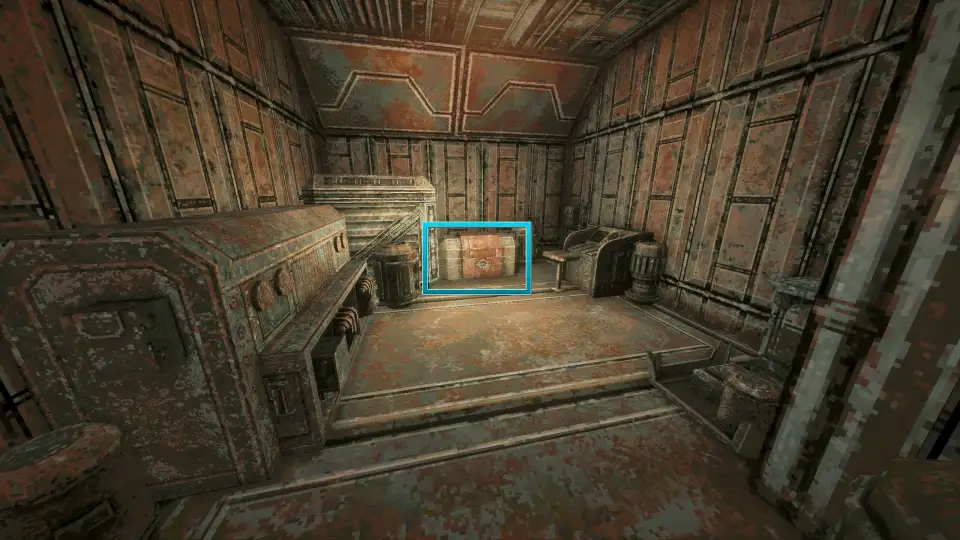
53. By the lab pipes. Next to the pipes outside Ossi's lab.
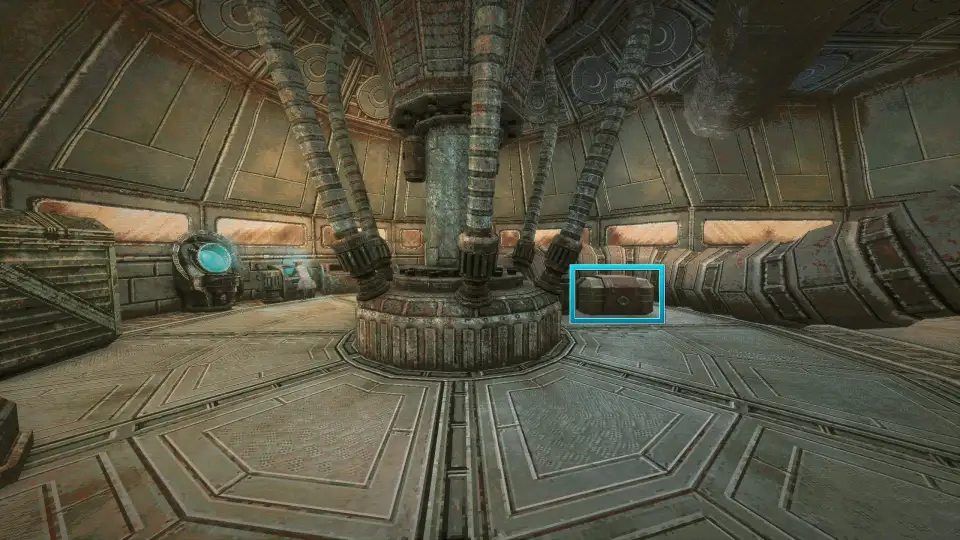
54. Behind secret door 42. Behind secret door 42.
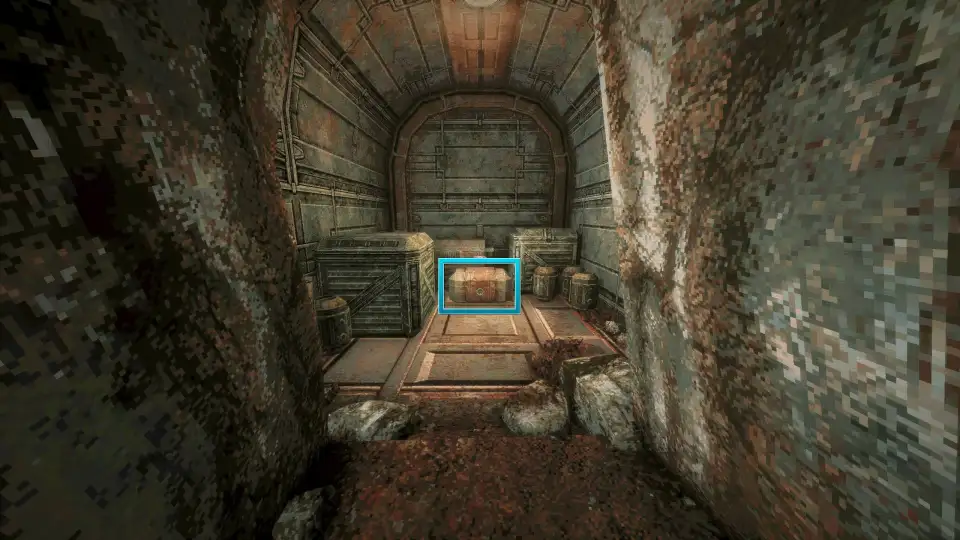
55. Lower floor left of the Wing Altar. Enter the building left of the Wing Altar, take the lift down, and open the door with the Blue Seal Breaker.
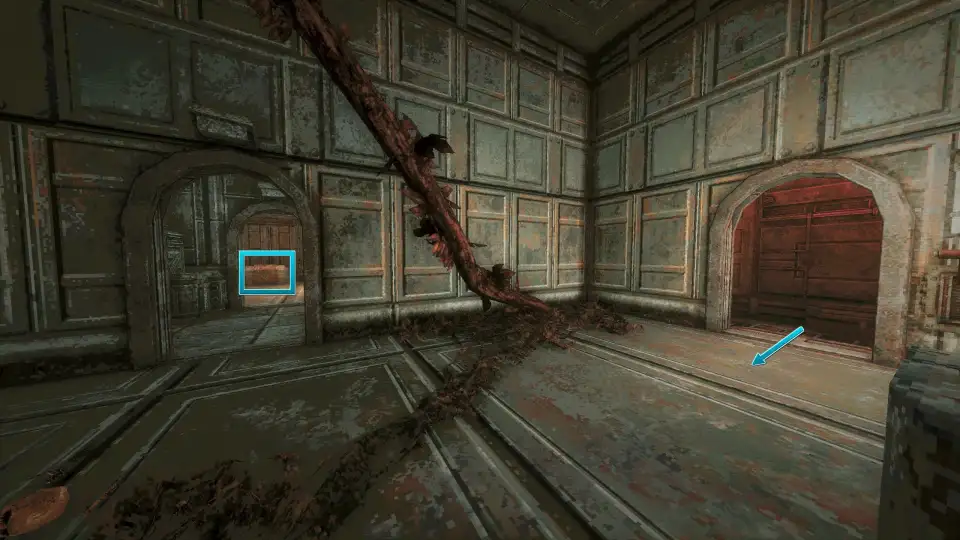
56. Building left of the big bridge. Go inside the building on the left of the big bridge.
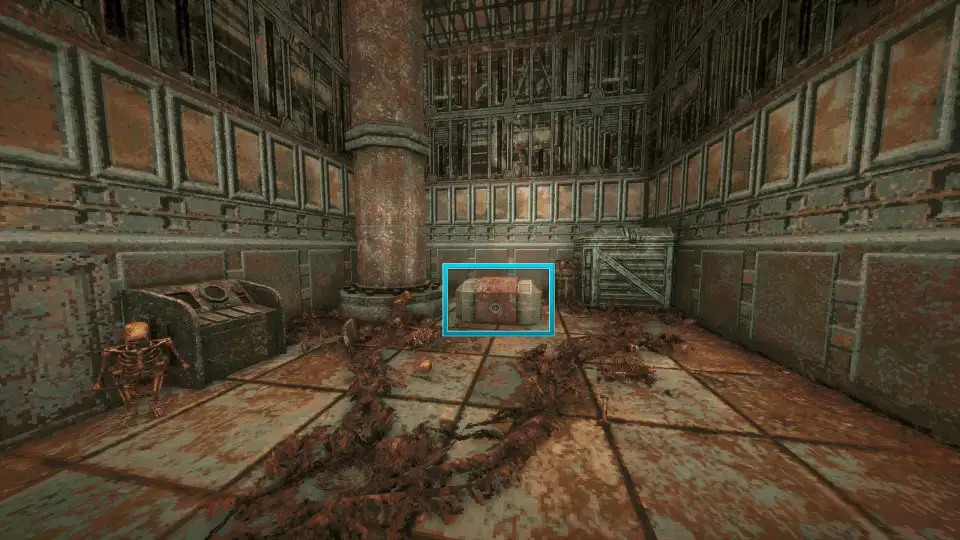
57. End of the bridge's right side. Take the right side of the big bridge; the chest is in the left corner of the building at the end.
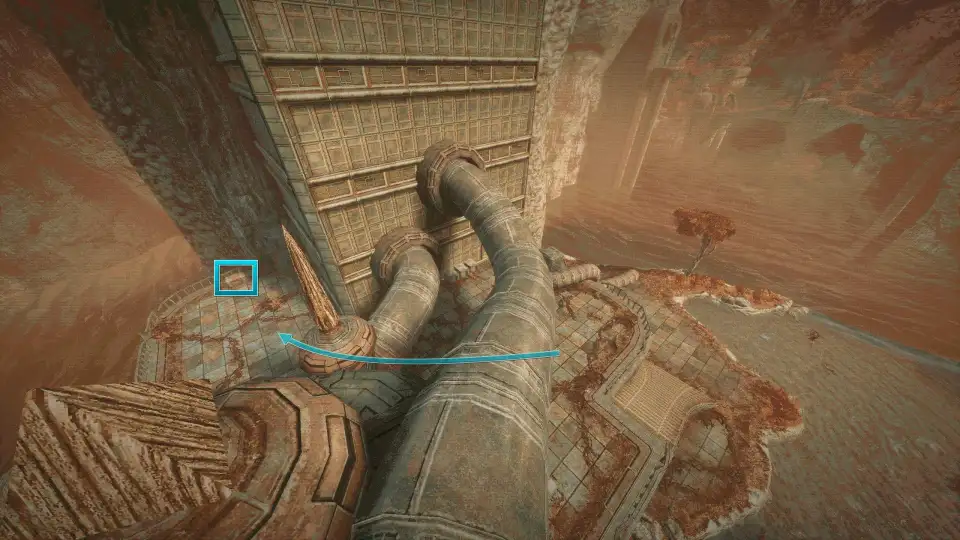
58. Building on the islet. Leave the cave, dash to the islet opposite, and go inside the building.
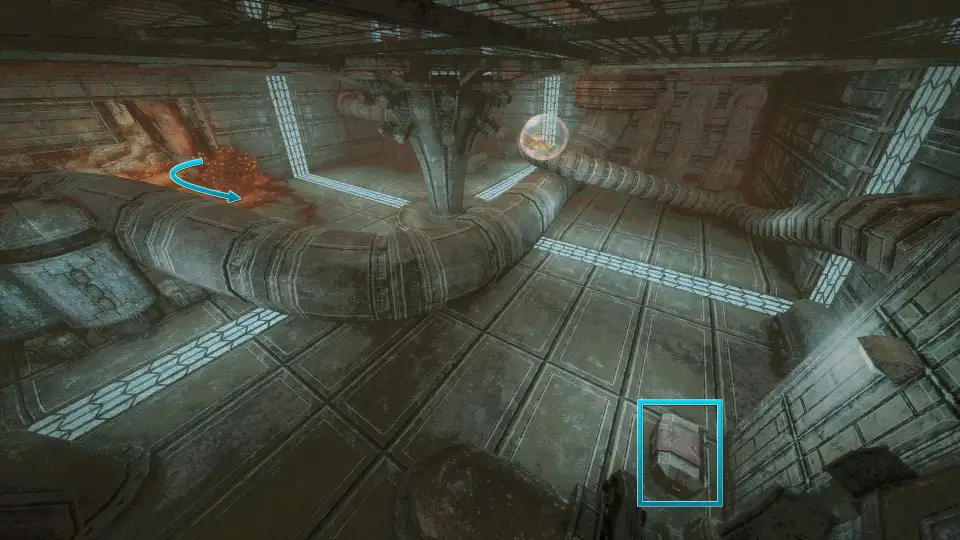
59. Room past secret door 48. In the room right after secret door 48.
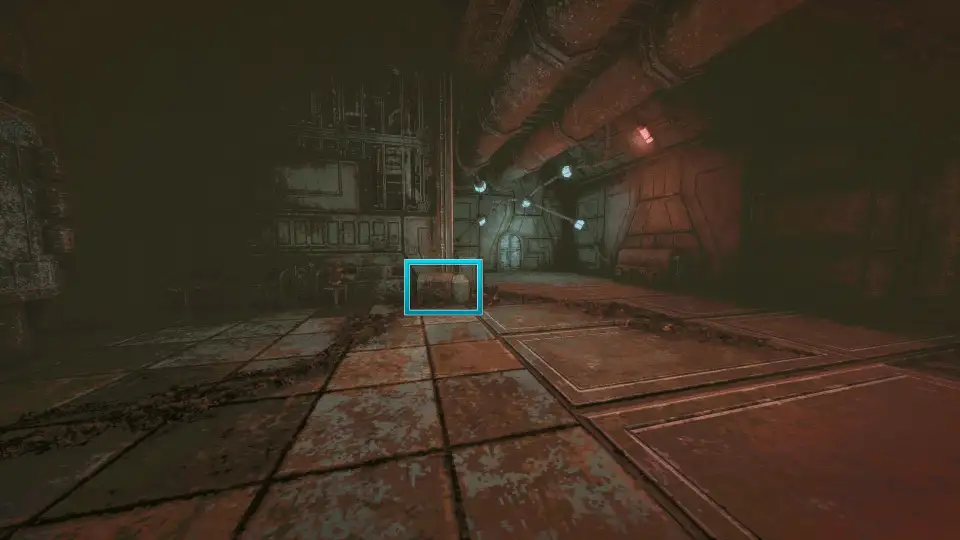
60. Lift platform. Pull the lever and ride the lift platform up one floor.
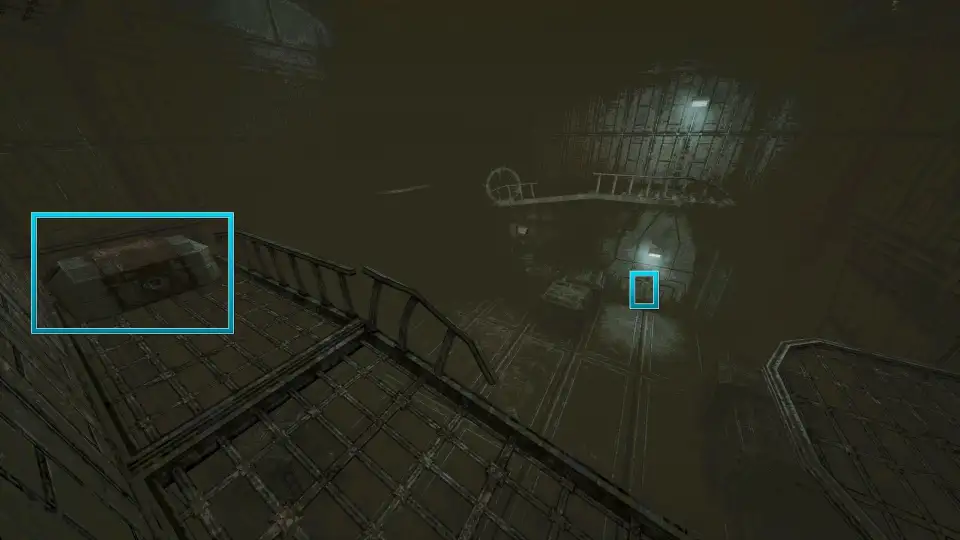
61. End of the scrapyard path. From the scrapyard save point, go straight, turn left, and go to the end.
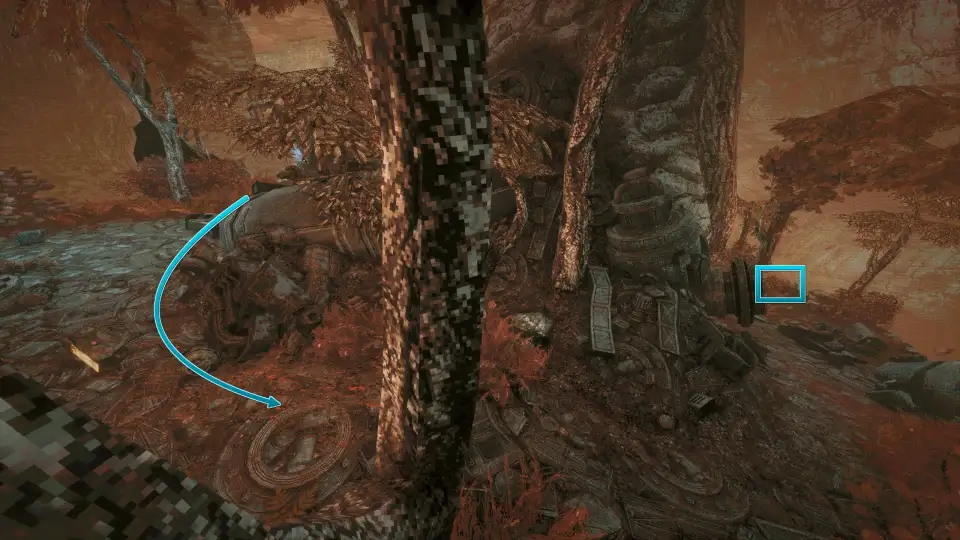
62. Behind the iron crate. Ride the lift platform; the chest is behind the iron crate.
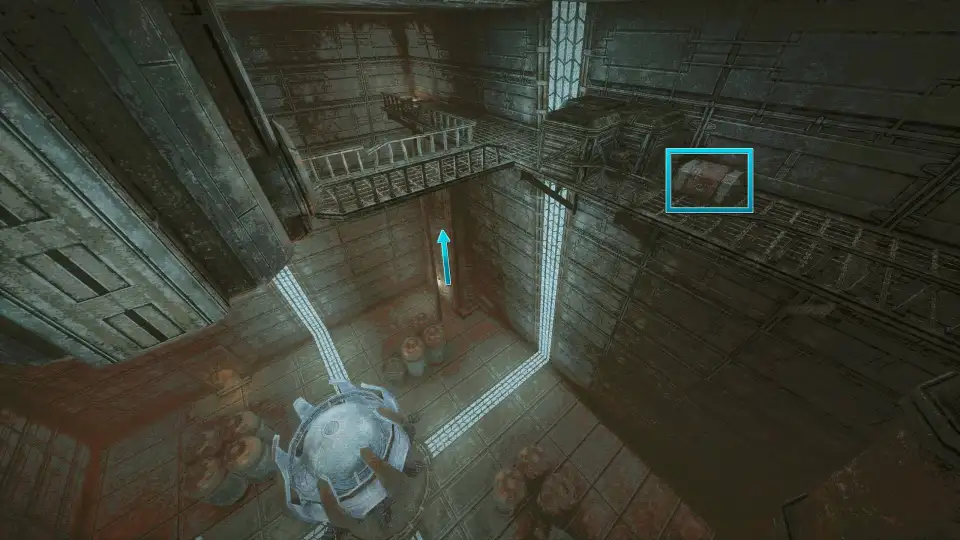
63. Above the first teleport room. Go back to the first teleport room near the lookout save point and dash up to the platform directly above.
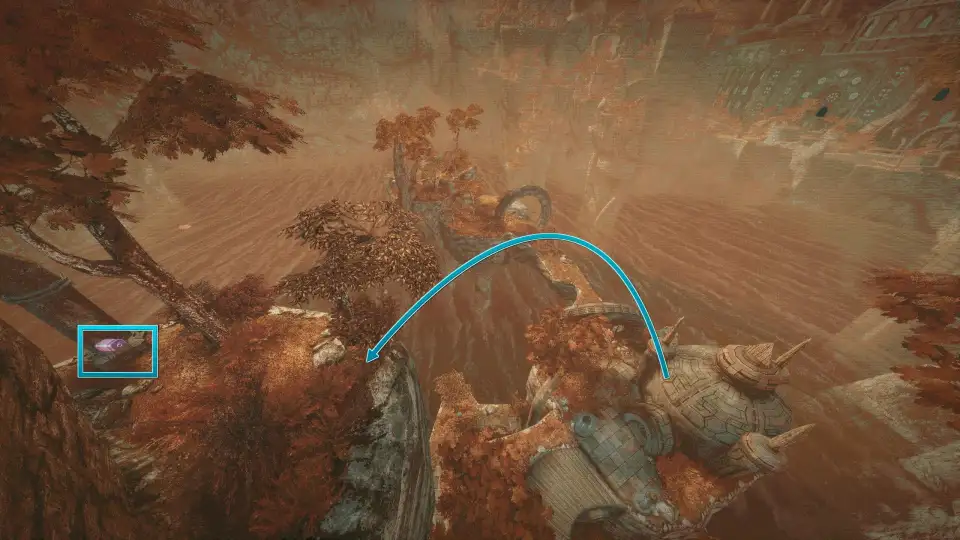
Siraatsu Castle chests
64. Corner of the far platform. In the hall's 1F left area, take the left fork and drop into the deep pit, then dash ahead to the right and follow the route to the corner of the platform at the end.
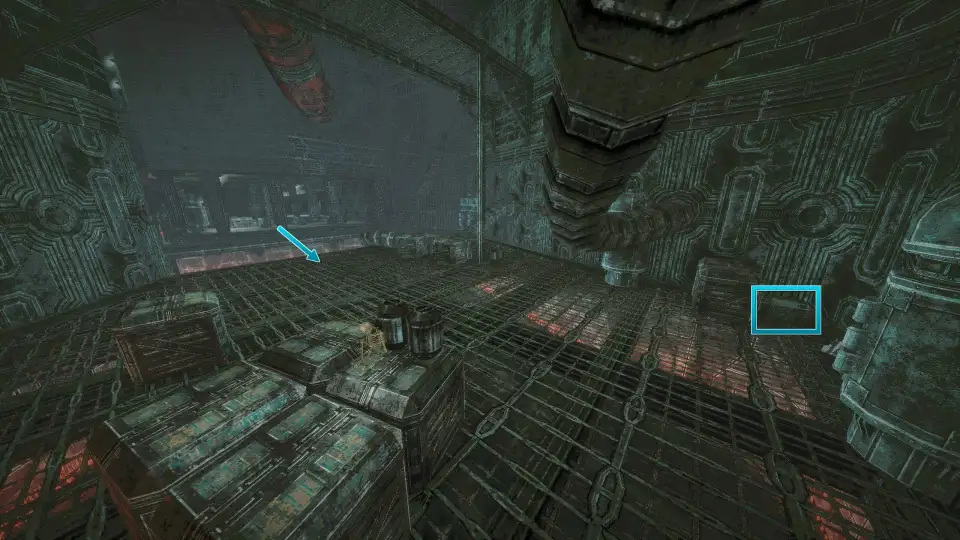
65. Iron grate platform. Keep going; the chest is on the iron grate platform.
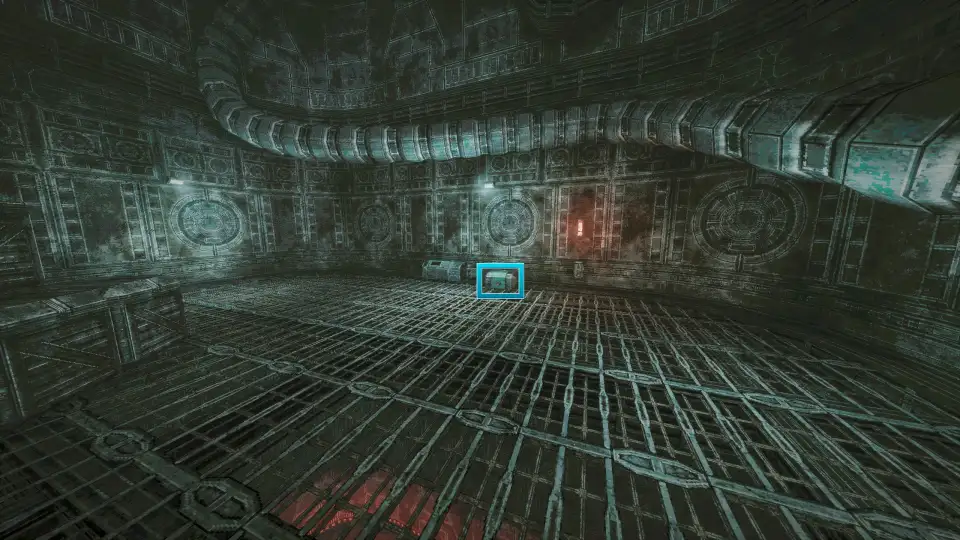
66. Under the stairs at the top. Keep riding the lift up and enter the room at the end; the chest is under the stairs and holds the Iron Fist.
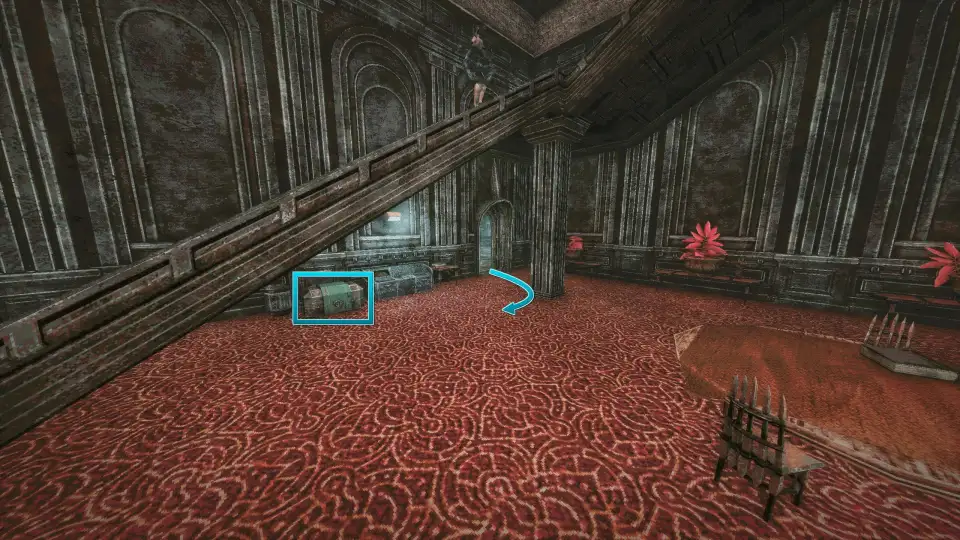
67. 2F corner. In the second-floor corner.
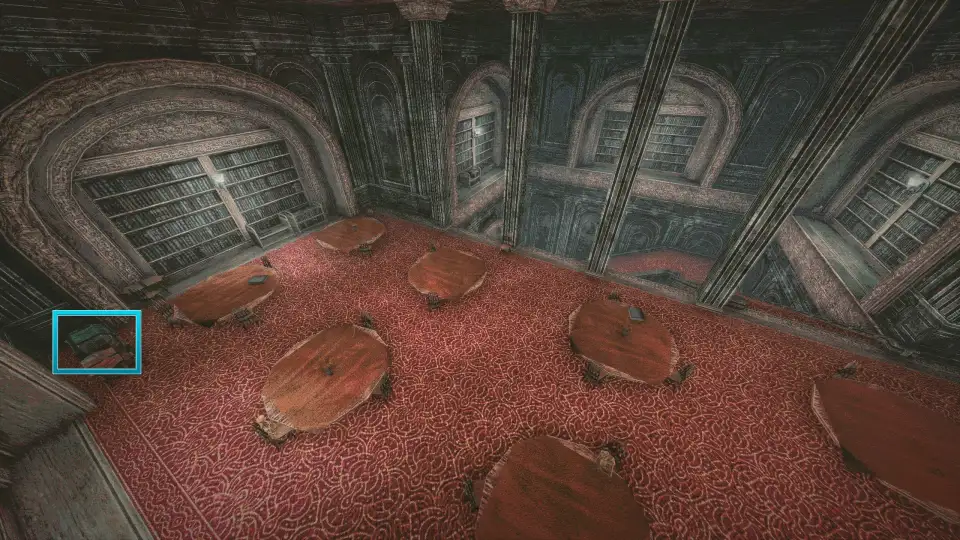
68. Grail seal door. Go back to the left fork in the hall's 1F left area and open the door with the Grail Seal Breaker.
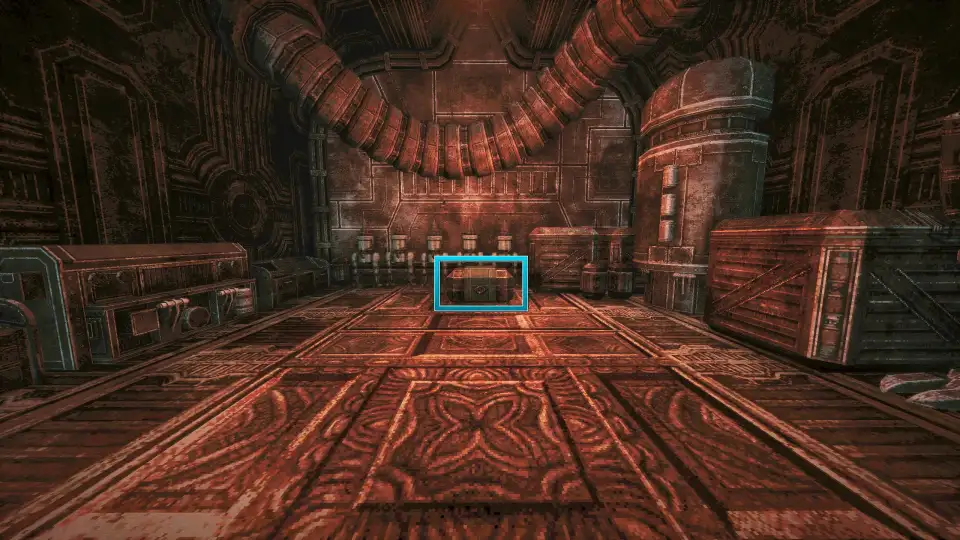
69. Behind the bar. Behind the bar.
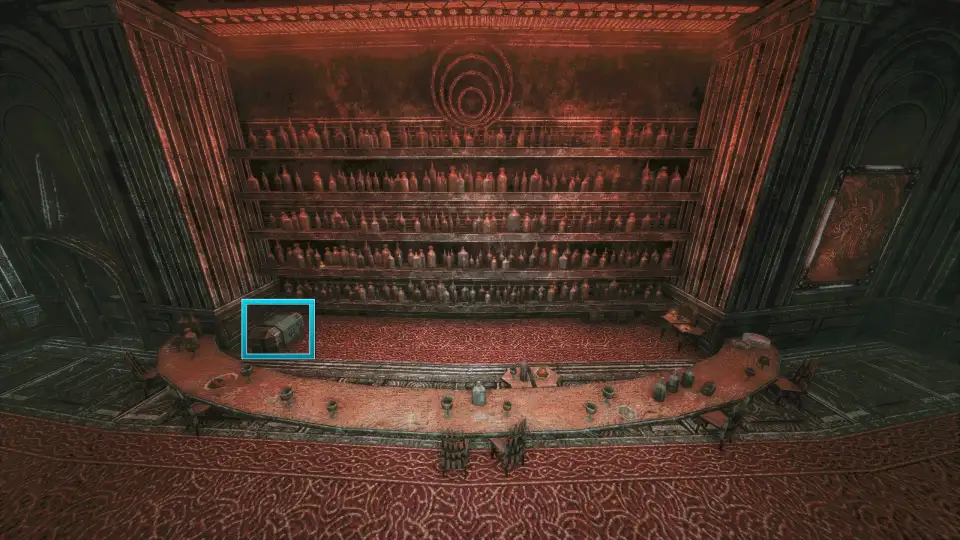
70. Room behind secret door 56. In the corner of the room behind secret door 56.
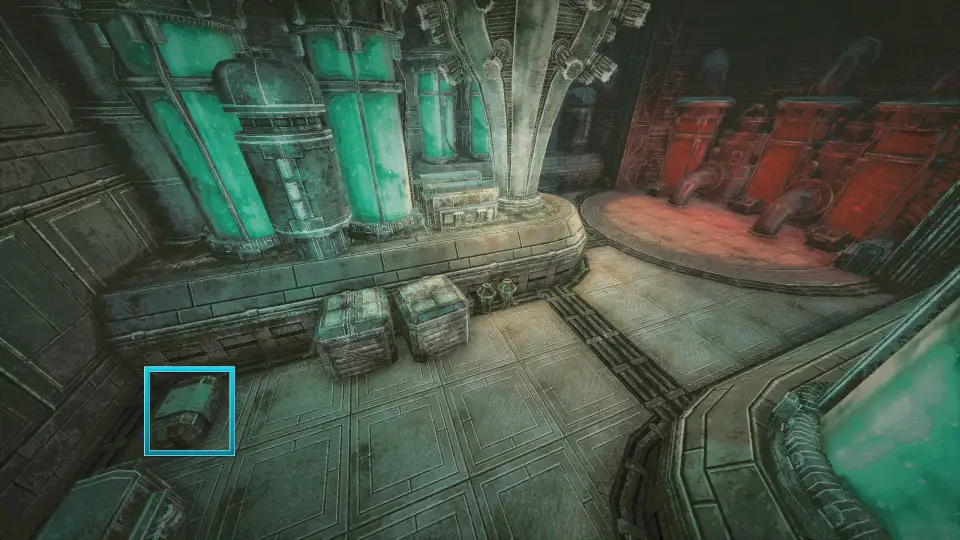
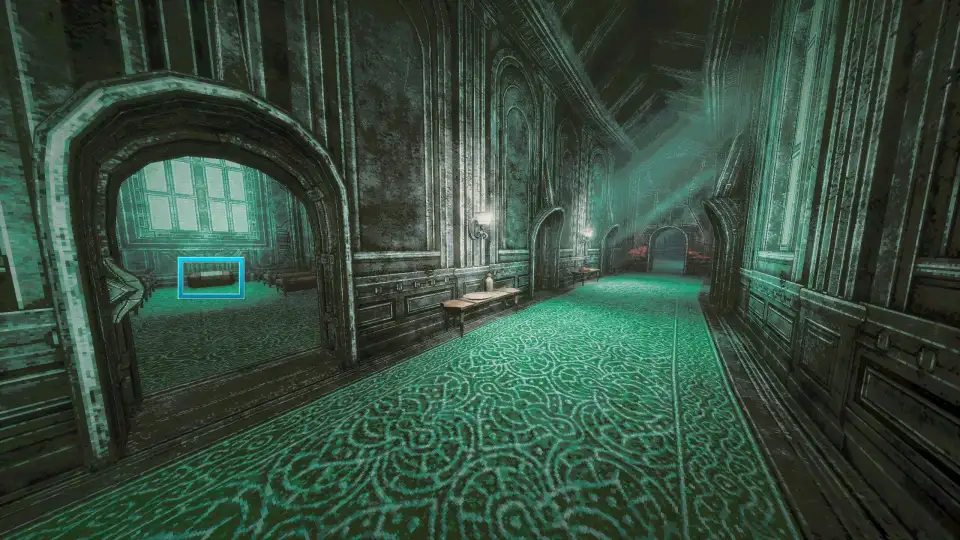
71. Star coin room off the green carpet. Go back to the green-carpet hallway and enter the star coin room.
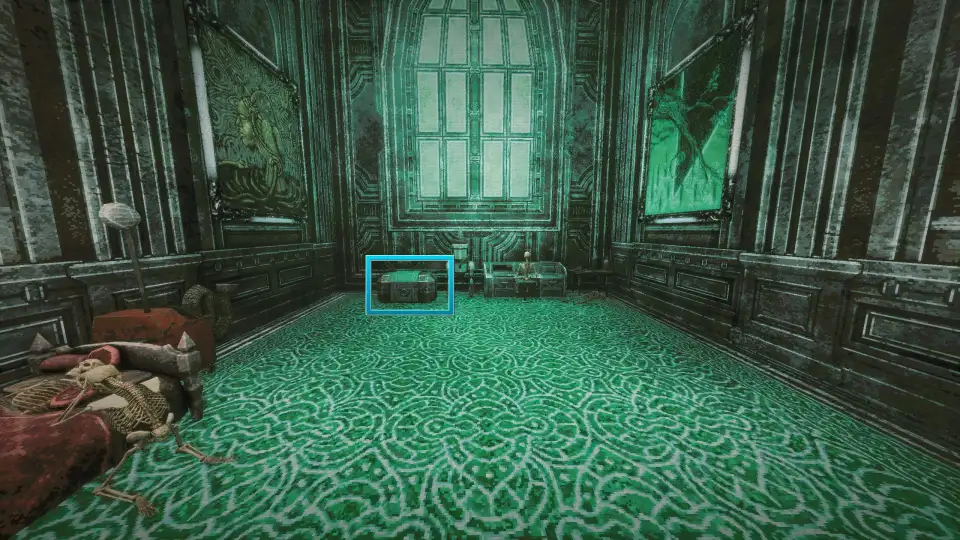
72. Star coin room on the hall's 2F. Enter the star coin room on the right side of the hall's second floor.
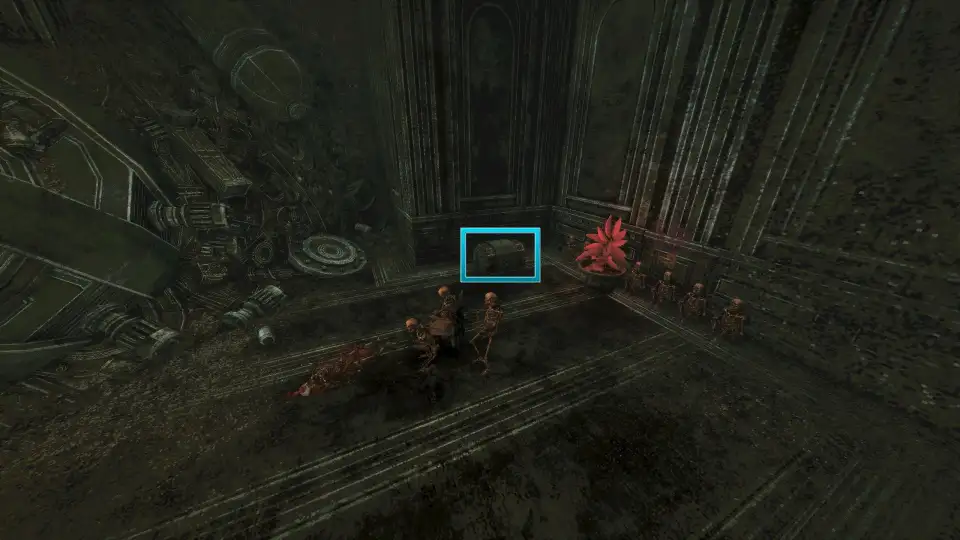
73. Behind the far iron tank. After the platform with secret door 57, head ahead to the left; the chest is behind the iron tank at the very back.
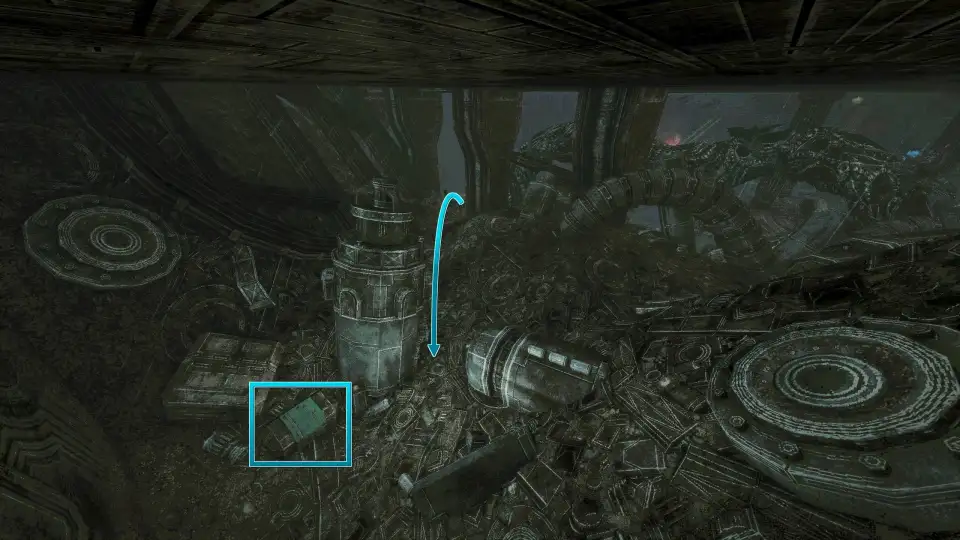
74. Platform further on. Keep going and dash up onto the platform.
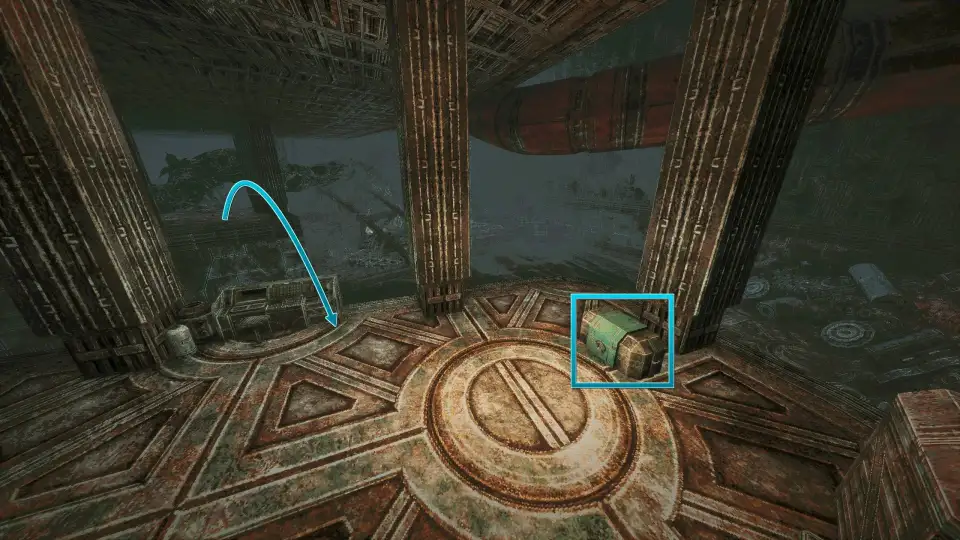
75. Door before the window. Follow the pipe and, before you go through the window, take the door on the right.
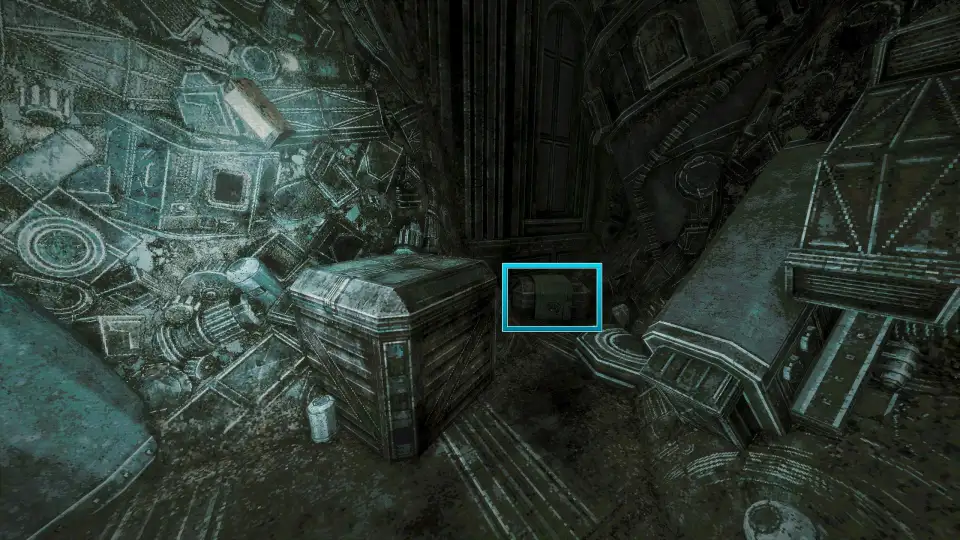
76. Sword room. Once you have the Blood Angel Key, go back to the 2F green-carpet area and enter the sword room.
Verdant Hollow chests
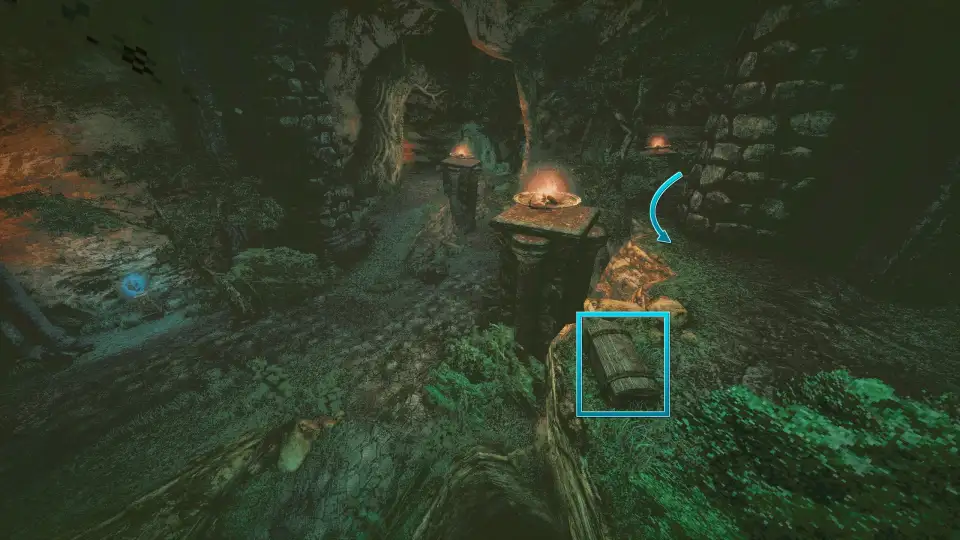
77. Past the slope right of the save point. Take the path right of the save point, opposite the broken bridge, climb the slope, jump across, and walk a little further.
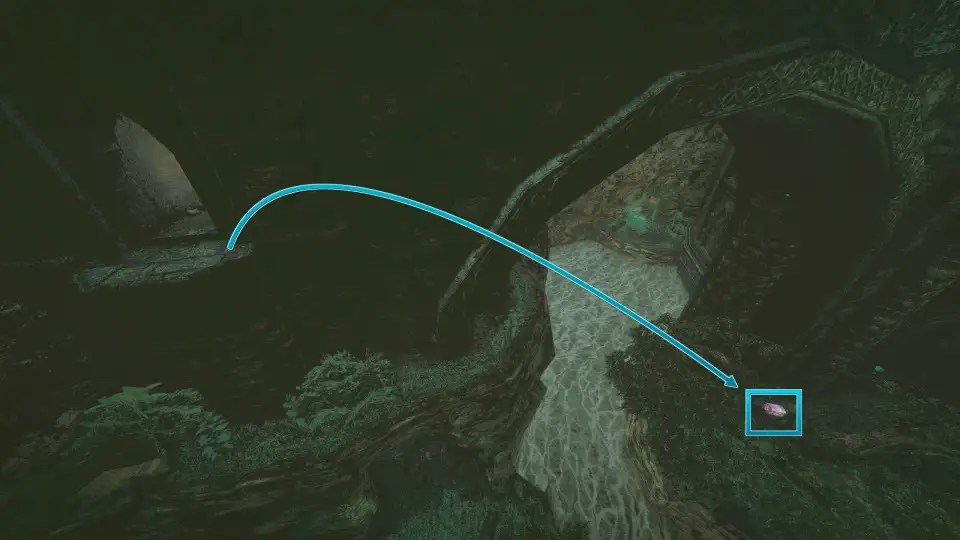
78. Treetop below the intact bridge. From the small platform with secret door 58, jump to the treetop below on the right.
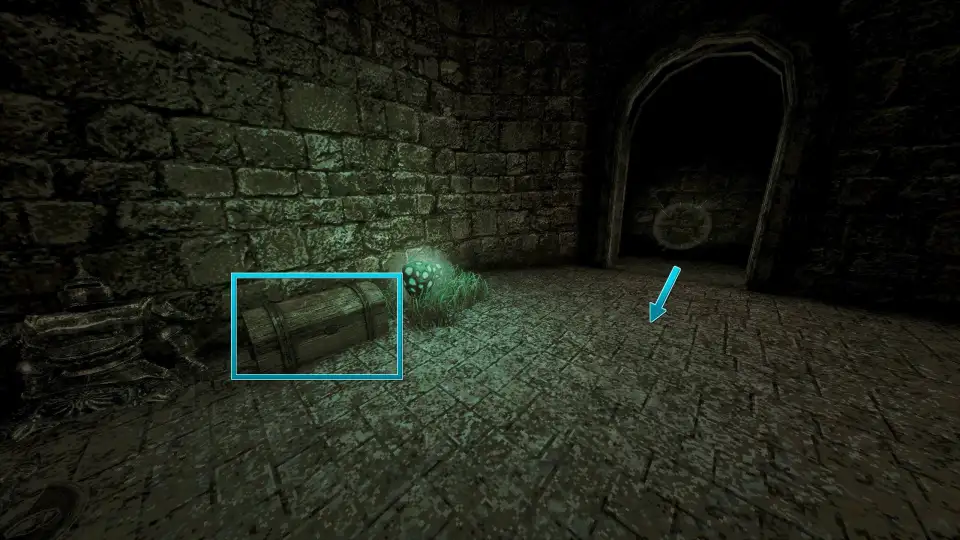
79. Through the next door. Back at the save point, walk round behind the lift room, go a little further, and go through the next door.
80. Behind secret door 60. Behind secret door 60.
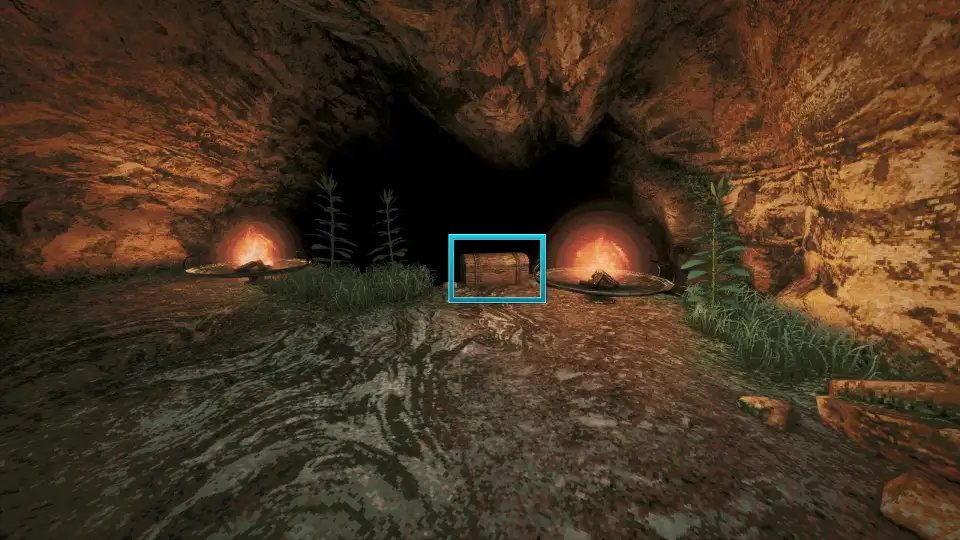
81. Rock ledge under the broken bridge. From the wreckage, jump to the rock ledge below the broken bridge.
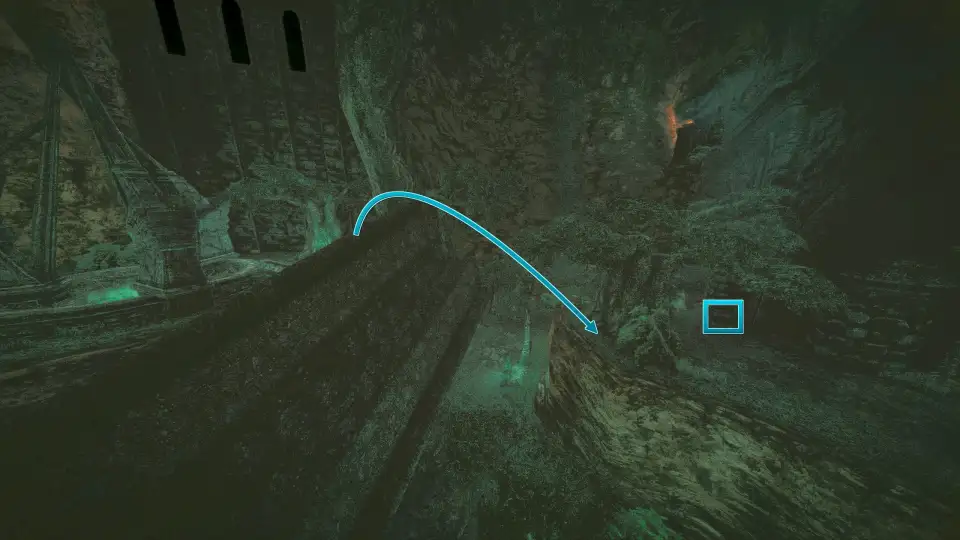
82. Behind secret door 61. Behind secret door 61.
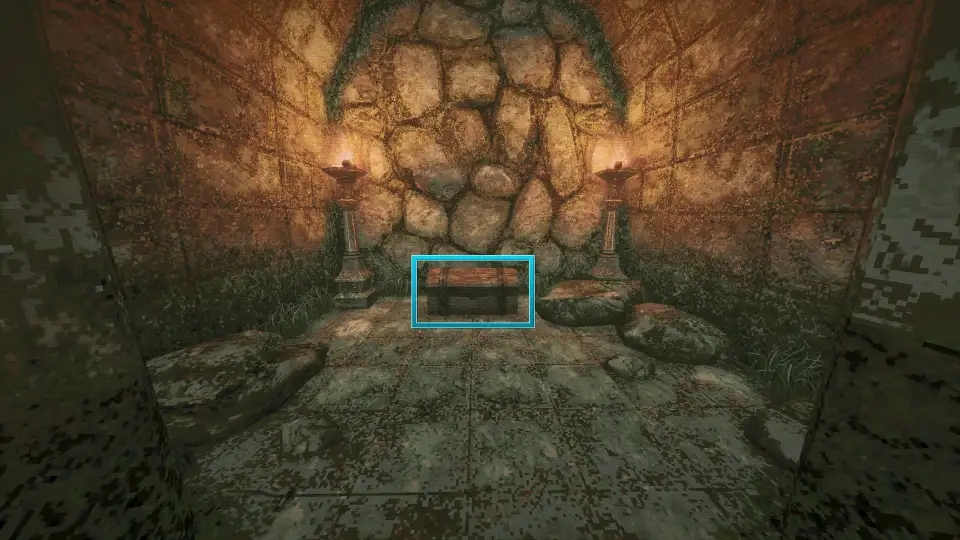
83. Other half of the broken bridge. On the other half of the broken bridge.
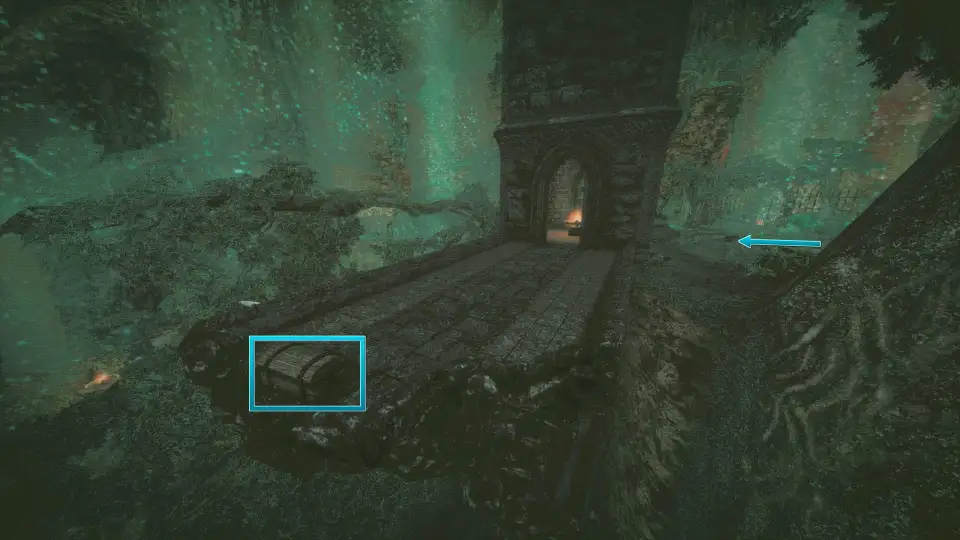
84. Left fork in the tree hollow. Keep going deeper into the tree hollow; the chest is at the left fork.
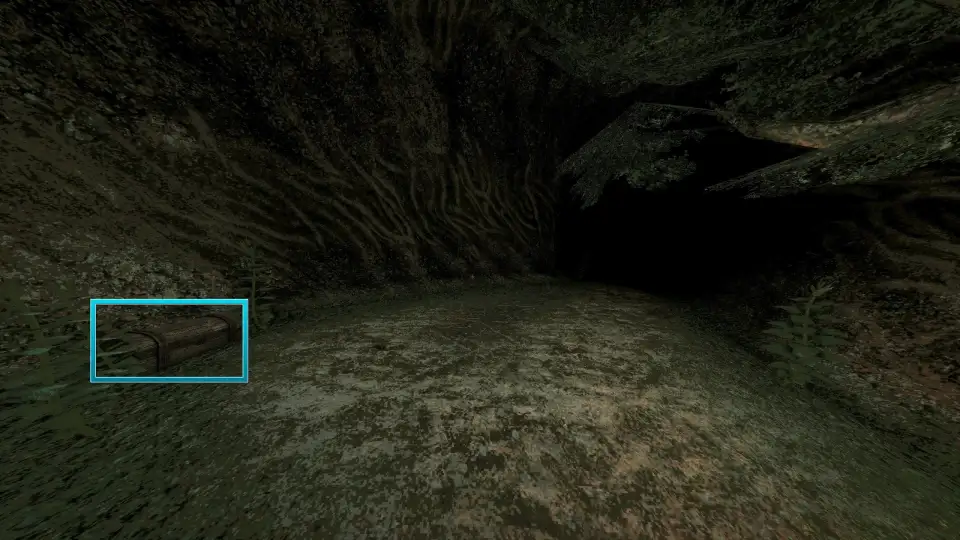
85. Hanging building, lower floor. Jump into the lower floor of the hanging building.
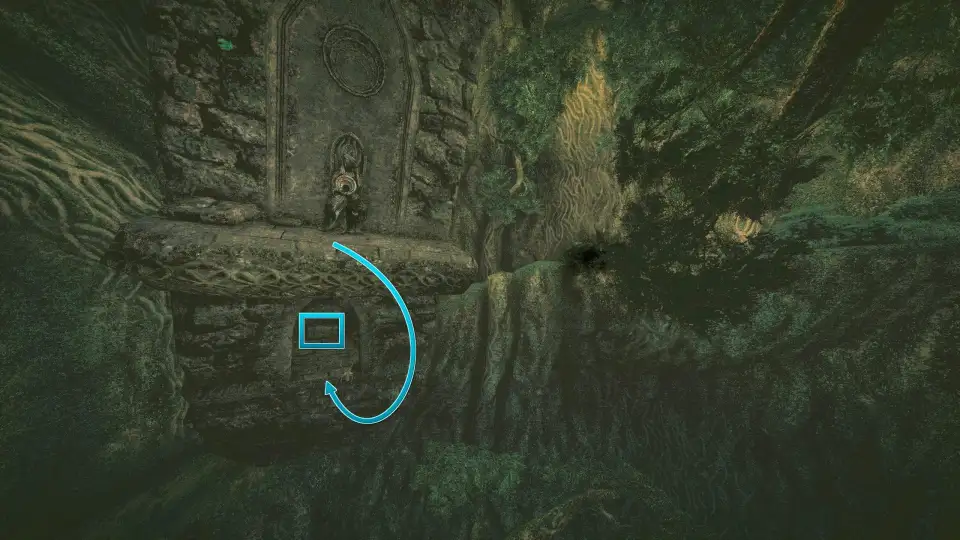
86. Down the slope, right, to the end. Keep going, head down the slope, turn right, and go to the end.
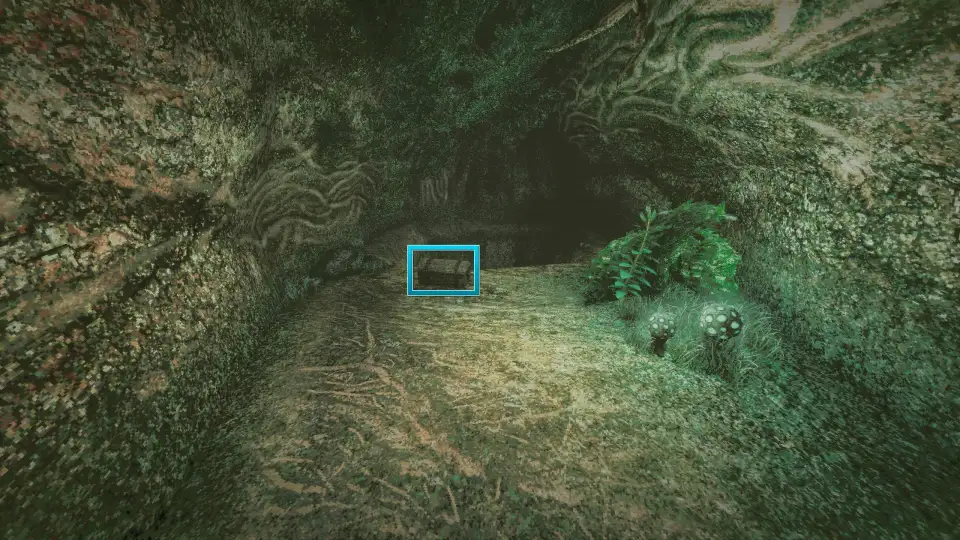
87. Under the broken temple statue. Enter the temple on the right; the chest is under the broken central statue and holds Sipeha's Lens.
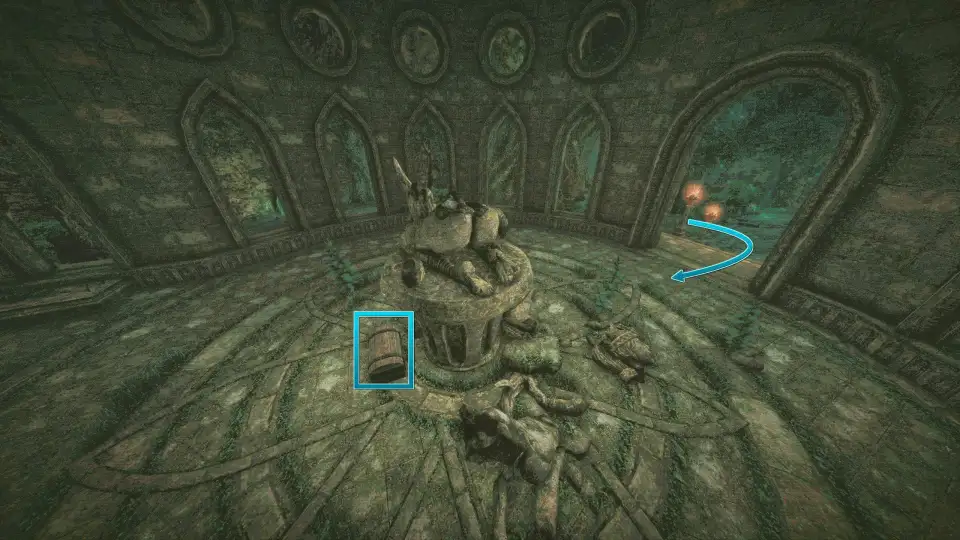
88. Left of the temple gate. To the left of the temple gate.
89. Yellow chest below the well. Go back to where you dropped down the well and open the yellow chest with Umbada's Missing Cargo Box Key.
Forgotten Dungeon chests
90. Top of the lift from Verdant Hollow. From the first Verdant Hollow save point, enter the lift room next to it, ride to the top, and step outside.
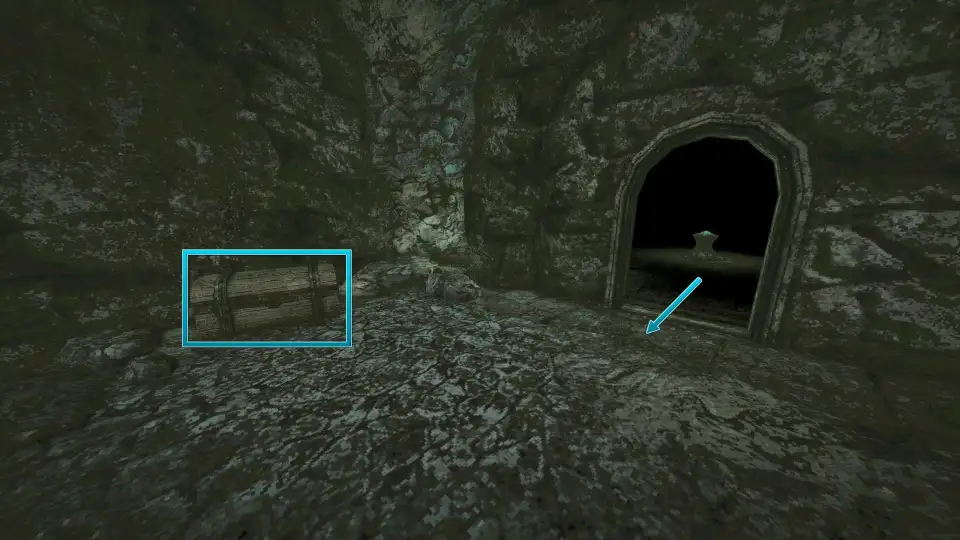
91. Red-lit cave, left chest. Head back and open the cell door of the cave glowing red; this is the chest on the left.
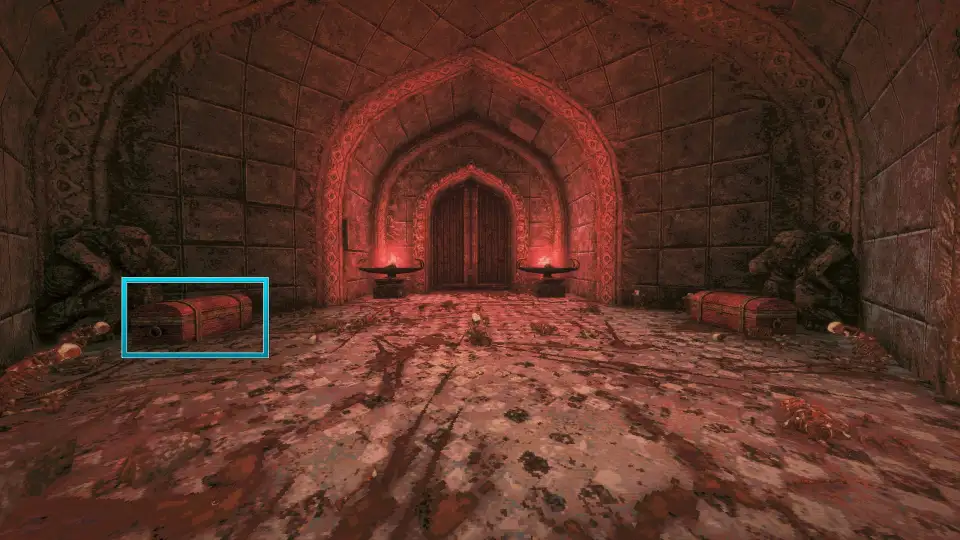
92. Red-lit cave, right chest. The chest on the right in the same red-lit cave.
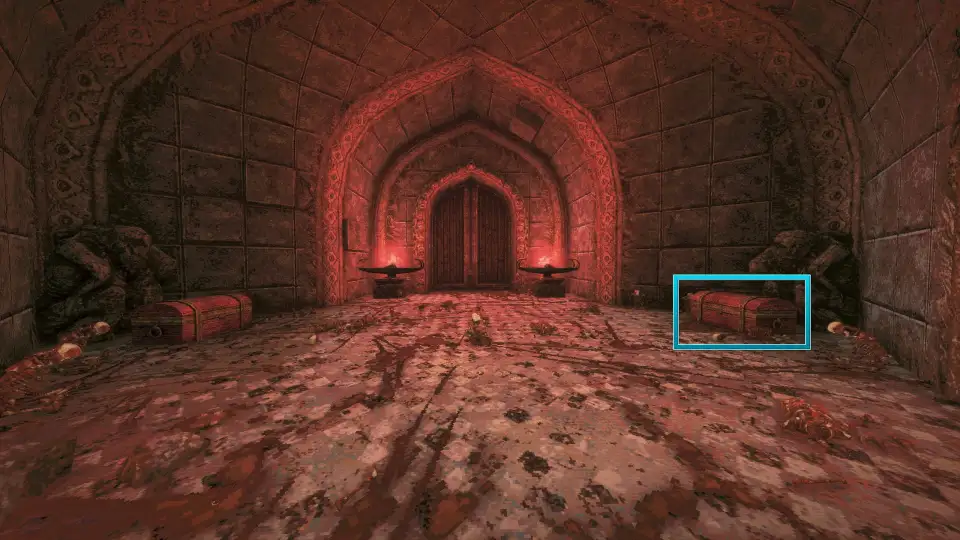
Underworld chests
93. Behind secret door 71. Behind secret door 71.
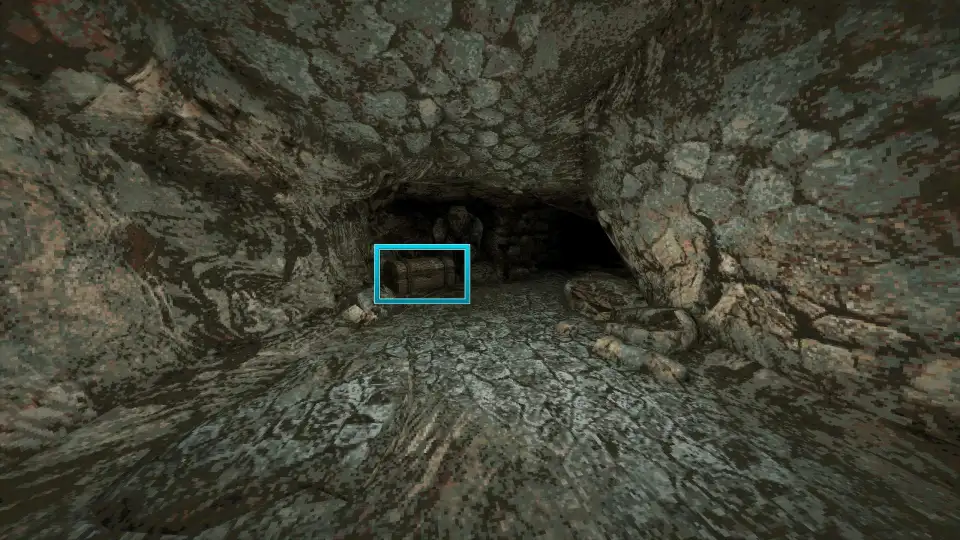
94. Right at the brazier. This time turn right at the brazier.
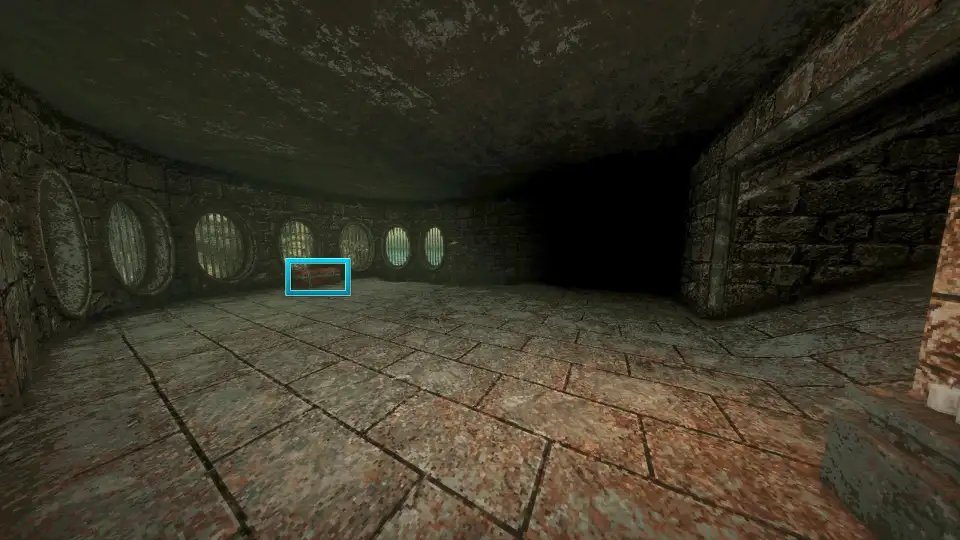
95. Through the floor hole. Go back and drop through the hole in the floor.
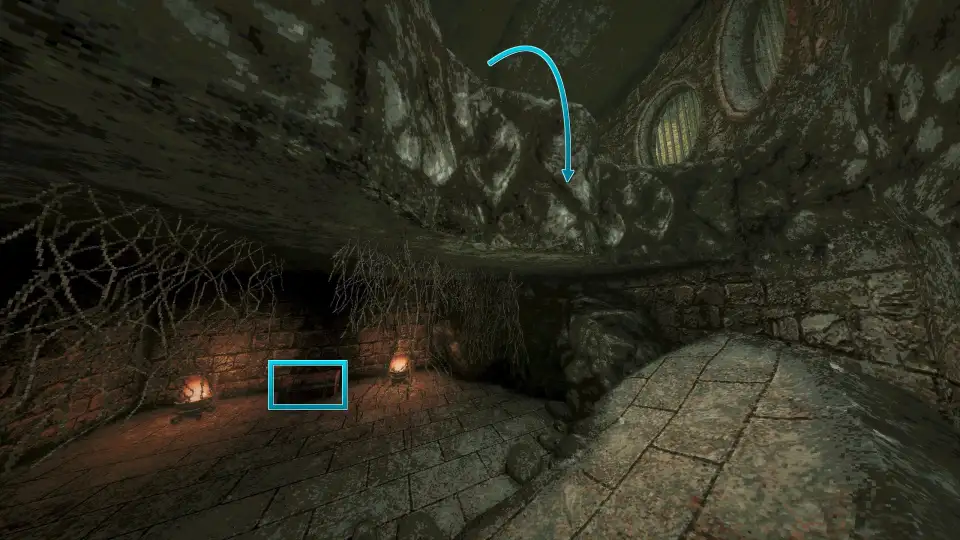
Rotting Cavern chests
96. Left fork in the cave. Follow the slope down past the stone building, dash into the cave opposite, and take the left fork.
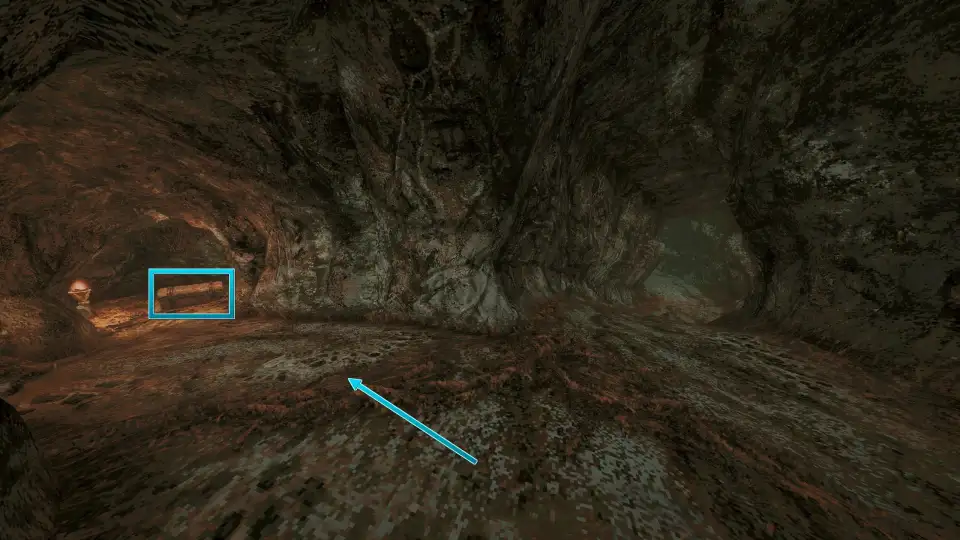
97. Right path down the slope. This time take the path on the right side of the slope.
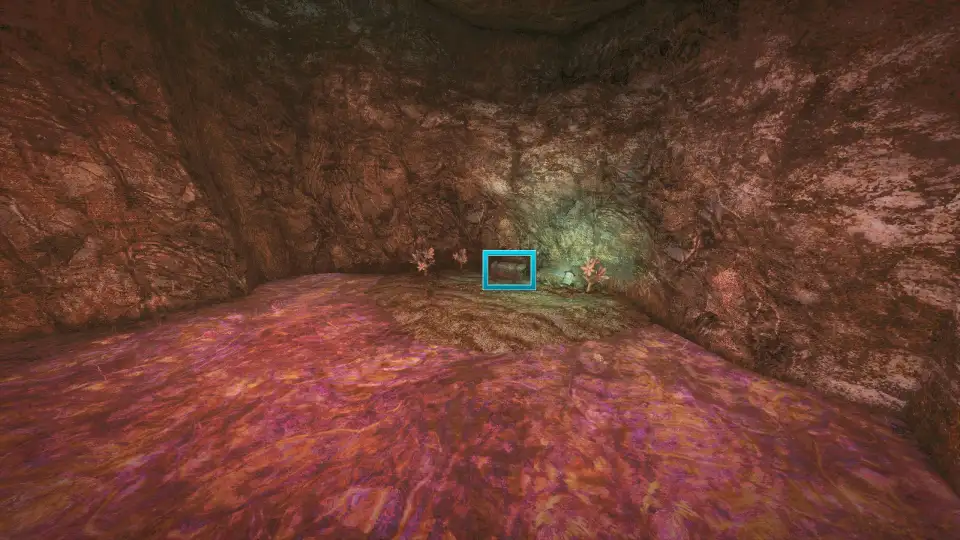
98. Behind secret door 80. Behind secret door 80.
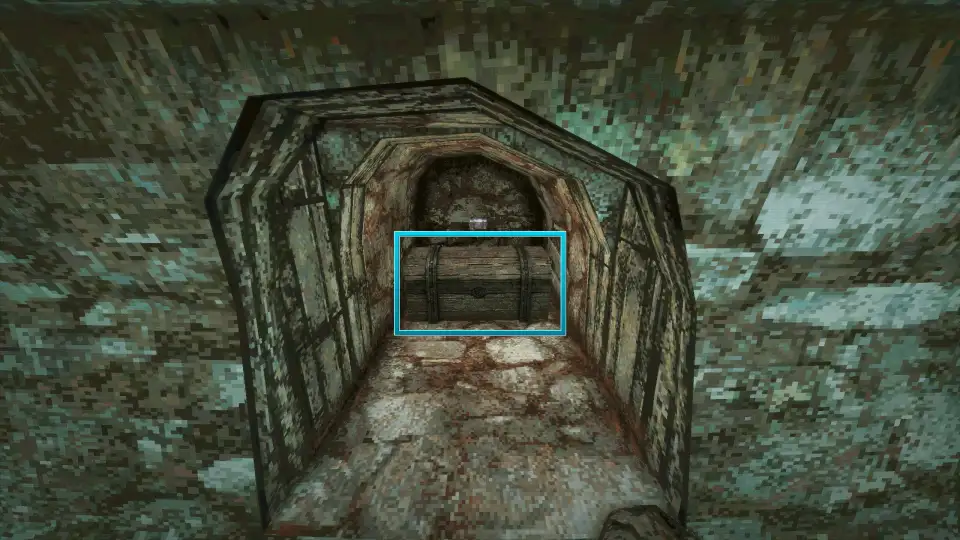
99. Iron gate to Verdant Hollow. Once you have the Blood Angel Key, open the chest right of the iron gate that leads to Verdant Hollow.
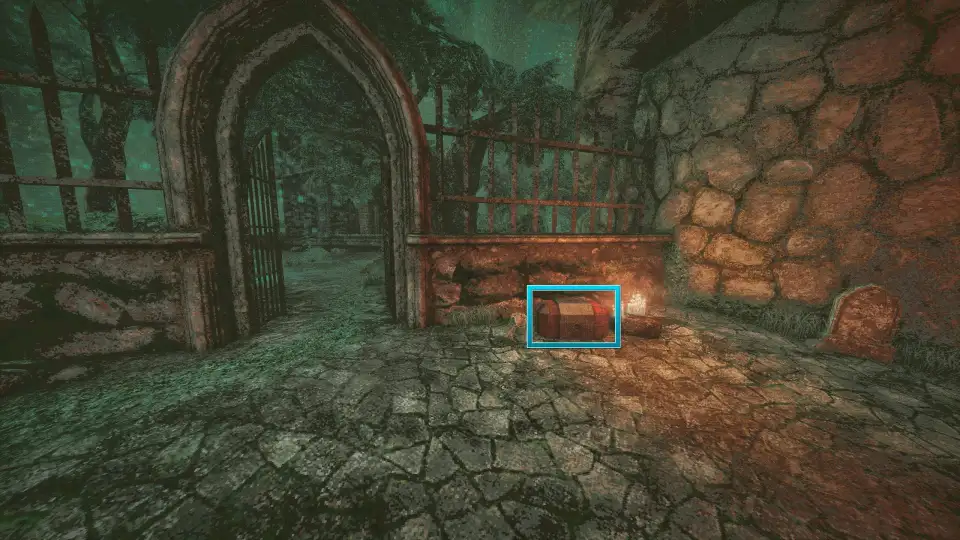
100. Slope to the blood pool. Open the chest left of the slope down to the blood pool.
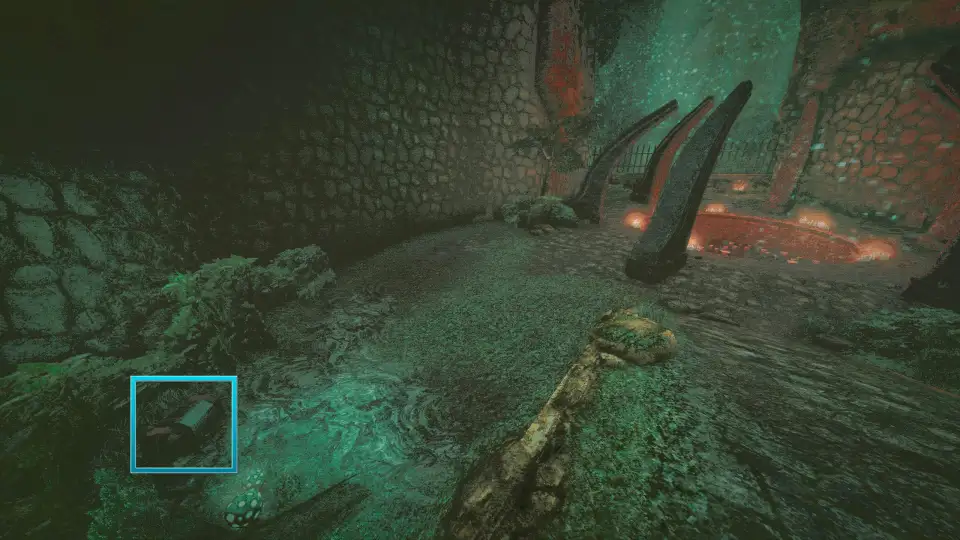
101. Below the platform's right side. Drop off the right side of the platform.
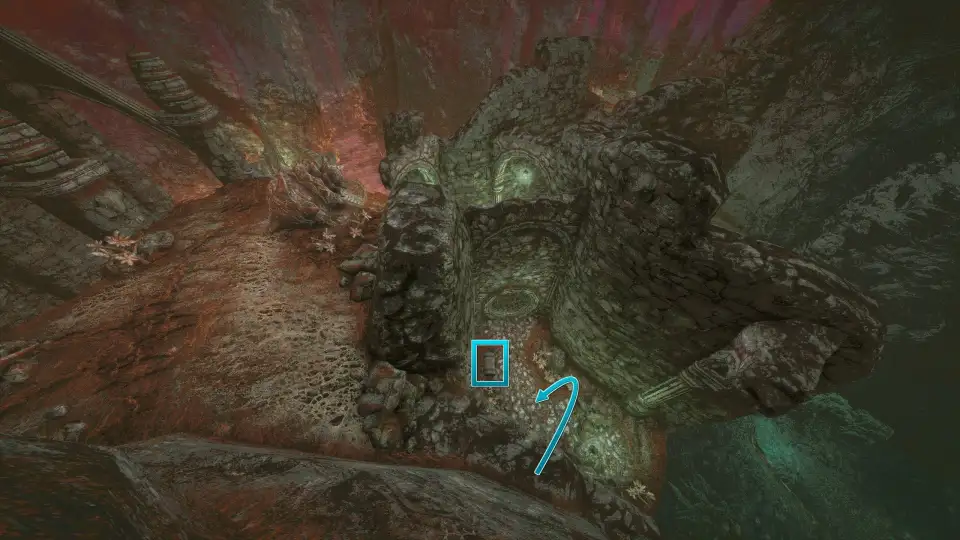
102. Cave behind the poison waterfall. Equip Jigeki's Lens and break the venom statue, then go back to the sewer exit and enter the cave the poison waterfall used to block.
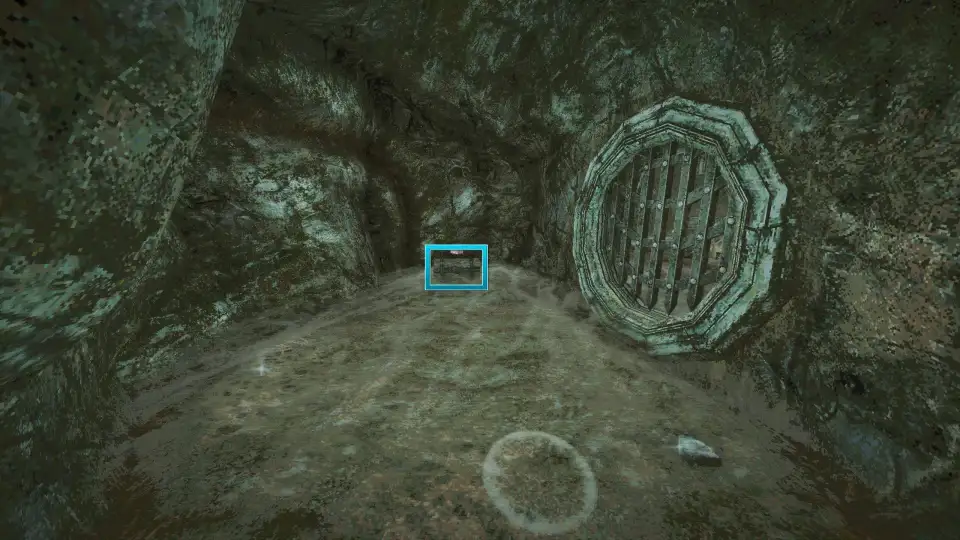
Record of Sin chests
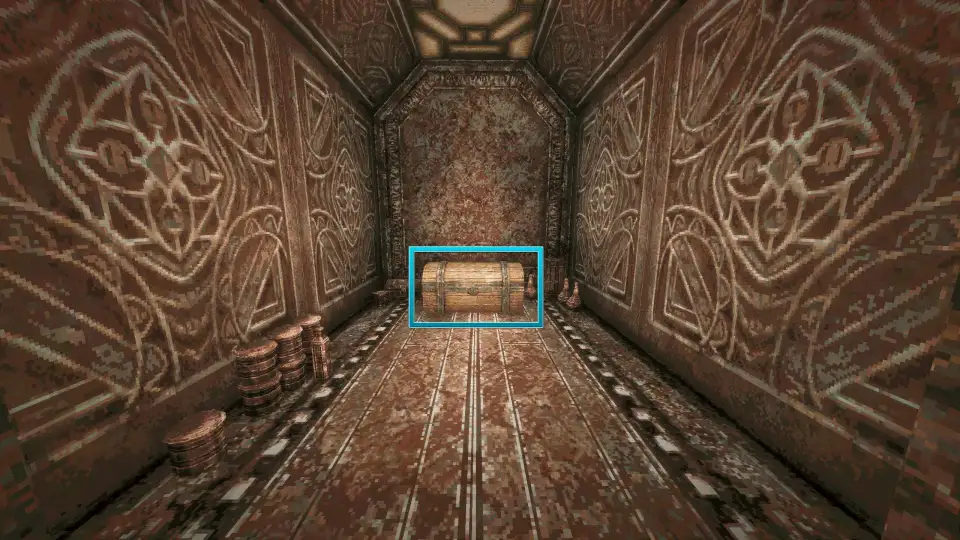
103. Cliff at the end of the right path. Go back to the cave entrance and take the right path to the cliff edge at the end.
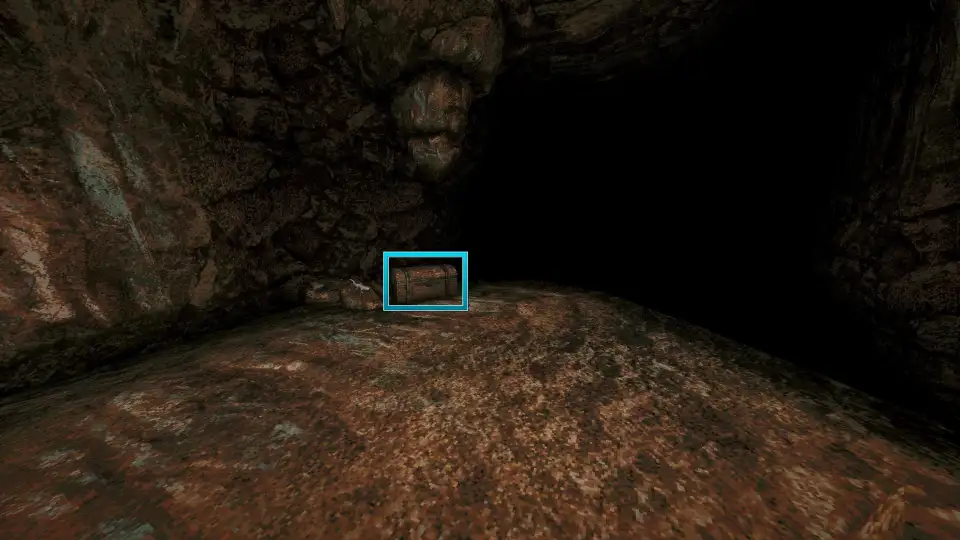
104. Behind secret door 87. Behind secret door 87.
Petrified Garden chests
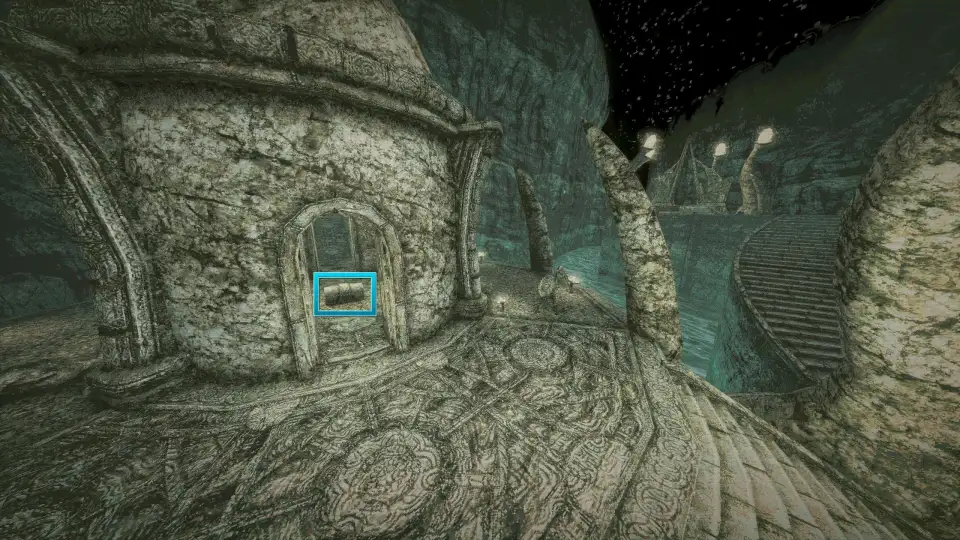
105. Hut by the Wing Altar. Insert all five Trident Keys in the order of the gem colours on the central statue to wake the garden. The chest is in the stone hut near the Wing Altar. See the Petrified Garden page.
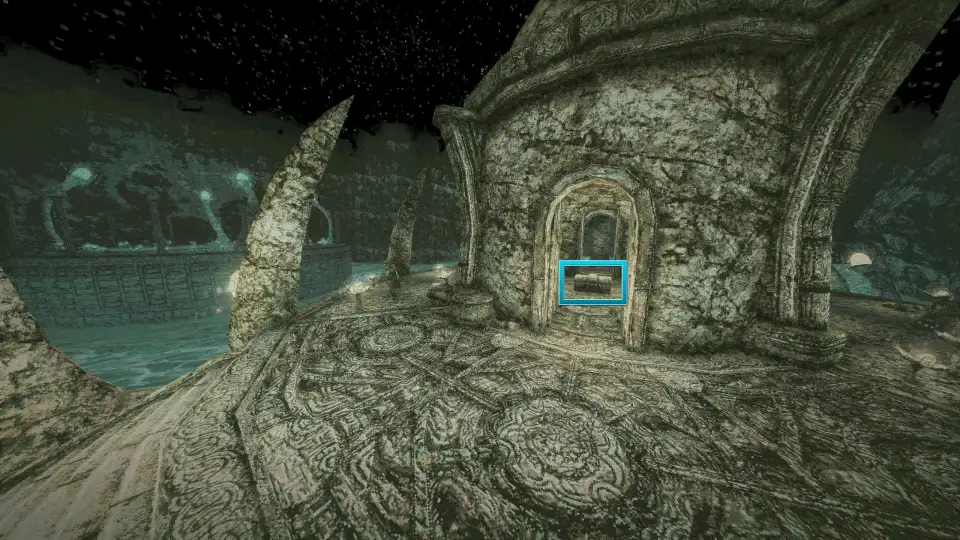
106. Hut by the Crystal Monument. In the stone hut near the Crystal Monument.
Umbada's Island chests
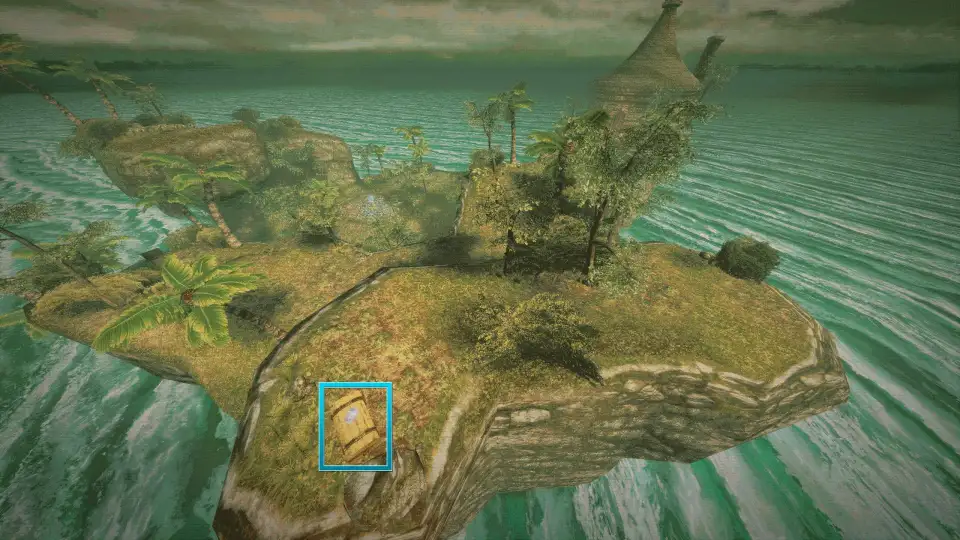
107. Top of the cave. Go through the cave to the area above.
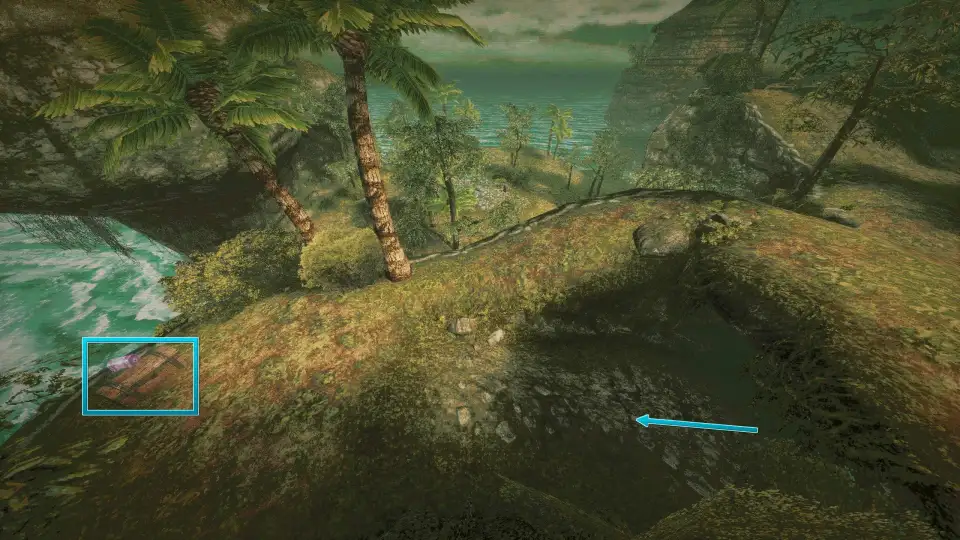
108. Yellow chest at the top. Climb further up and open the yellow chest with Umbada's Missing Cargo Box Key, which you get after spending 1,000 coins in his shop.
How do you unlock the shop and restock supplies?
Defeat Shrine Guardian for the Stone Duck Figurine, then visit a Crystal Monument to reach Umbada's Trading Outpost.
Your next Crystal Monument visit automatically takes you to the shop. Afterward, select Shop at any Crystal Monument to return.
Dried Herbs and Radiant Fruits can be bought repeatedly while you have Ancient Coins. Accessories usually have one copy available, while throwing weapon purchases are usually limited to two or three. Each particular melee weapon can only be bought once.
Food can raise your stats. Throwing weapons serve a separate combat role, with more than 20 types available. Check throwing weapons for locations, effects, and how their charges recharge.
FAQ
You can sell treasures, unlock Umbada's shop through Shrine Guardian, and restock selected supplies with Ancient Coins.
Treasures are for selling, while items with other uses belong in the key items category. Check the item's category before selling.
Sold treasures appear on the shelf behind Umbada. Each treasure can only be sold once.
Defeat Shrine Guardian and receive the Stone Duck Figurine. Your next Crystal Monument visit takes you to the shop.
Yes. Your available Ancient Coins limit how many you can buy.
No. Each particular melee weapon can only be bought once. Throwing weapons usually allow two or three purchases; accessories usually allow one.
108, across 13 areas including Umbada's Island. The Ancient World has the most with 19.
Yes. Ticks stay in this browser, so you can close the page and pick up where you left off. They don't carry over to another browser or device.