You move through Queen's Domain area by area: each area gives you a key, a Wind Gem or a boss reward that opens the next one. Follow the sections below in order. The route is mapped as far as Siraatsu Castle and grows as more of the island is cleared.
Queen's Domain Walkthrough Route
| Step | Area | What you get | Boss | Next |
|---|---|---|---|---|
| 1 | Opening Shrine | Holy Sword Endu, Azure Torch, second Wind Gem | Shrine Guardian | Broken bridge to the west |
| 2 | Obmuer Temple | Third Wind Gem, Trident Keys | Dagoom the Sea King | Back to the Tower of Knowledge |
| 3 | Tower of Knowledge | Storm Gem, Forbidden Archives Key, acid vial | The Necronomicon | Barrier near Boudin |
| 4 | Deimpo Mausoleum | The way to the big door at the start | – | Siraatsu Castle |
| 5 | Siraatsu Castle | The giant door | Three bosses | Being mapped |
Opening Shrine
You need the crypt key to reach the Shrine Guardian, whose defeat lets you collect the Holy Sword Endu.
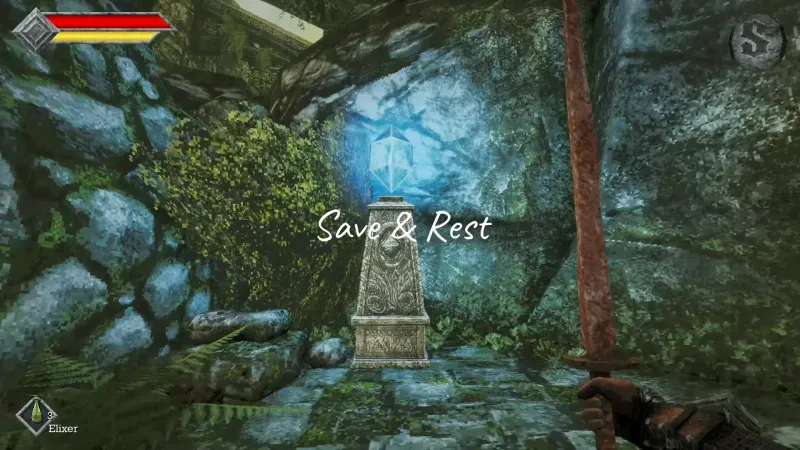
Talk to the soldiers at the campfire for a rusty sword.
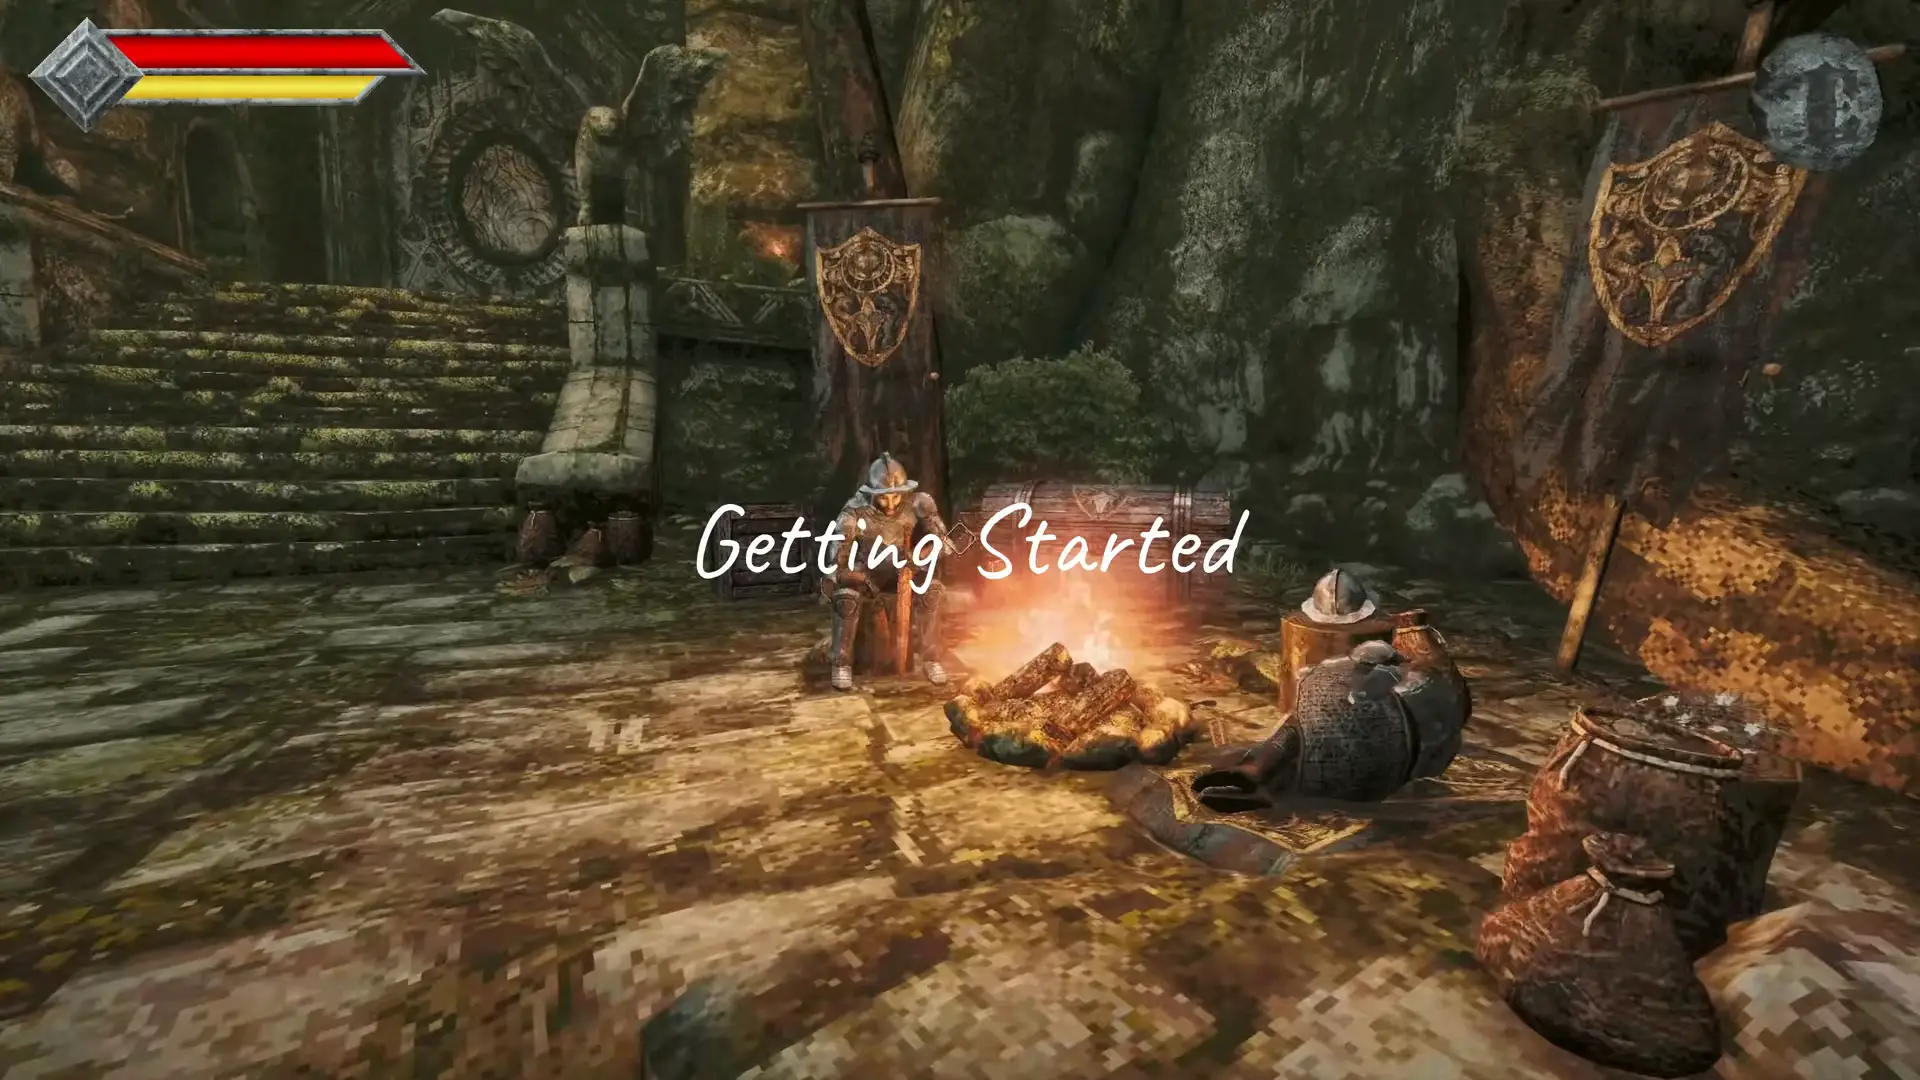
The guard at the campfire hands you the rusty sword.
Shown at 00:10 in The Tavern Times’s video.Break the wooden barrier, then find the first Crystal Monument on your left. Collect your Dagger Belt early so you can use throwing weapons.
Loop around the beach to reach the crypt. Throw a dagger at the entrance switch, then descend for the crypt key. Take the elevator back, rest, and unlock the shrine gate.
Defeat Shrine Guardian with the Wooden Club from the crypt; impact damage exploits its weakness. Collect the Holy Sword Endu and its Wind Gem to gain an air dash.
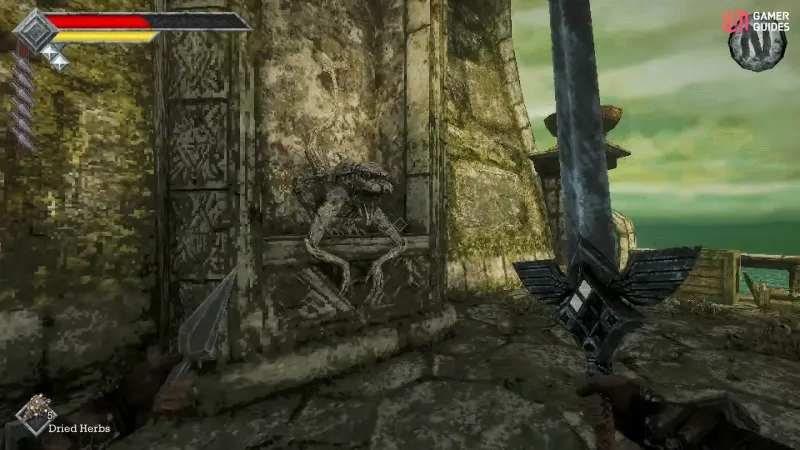
Head east to the Tower of Knowledge entrance and collect the Azure Torch from the gargoyle statue. Return to the first save point, climb the hill, and dash across toward the second save point. Climb the rocks between the pillars to reach your second Wind Gem.
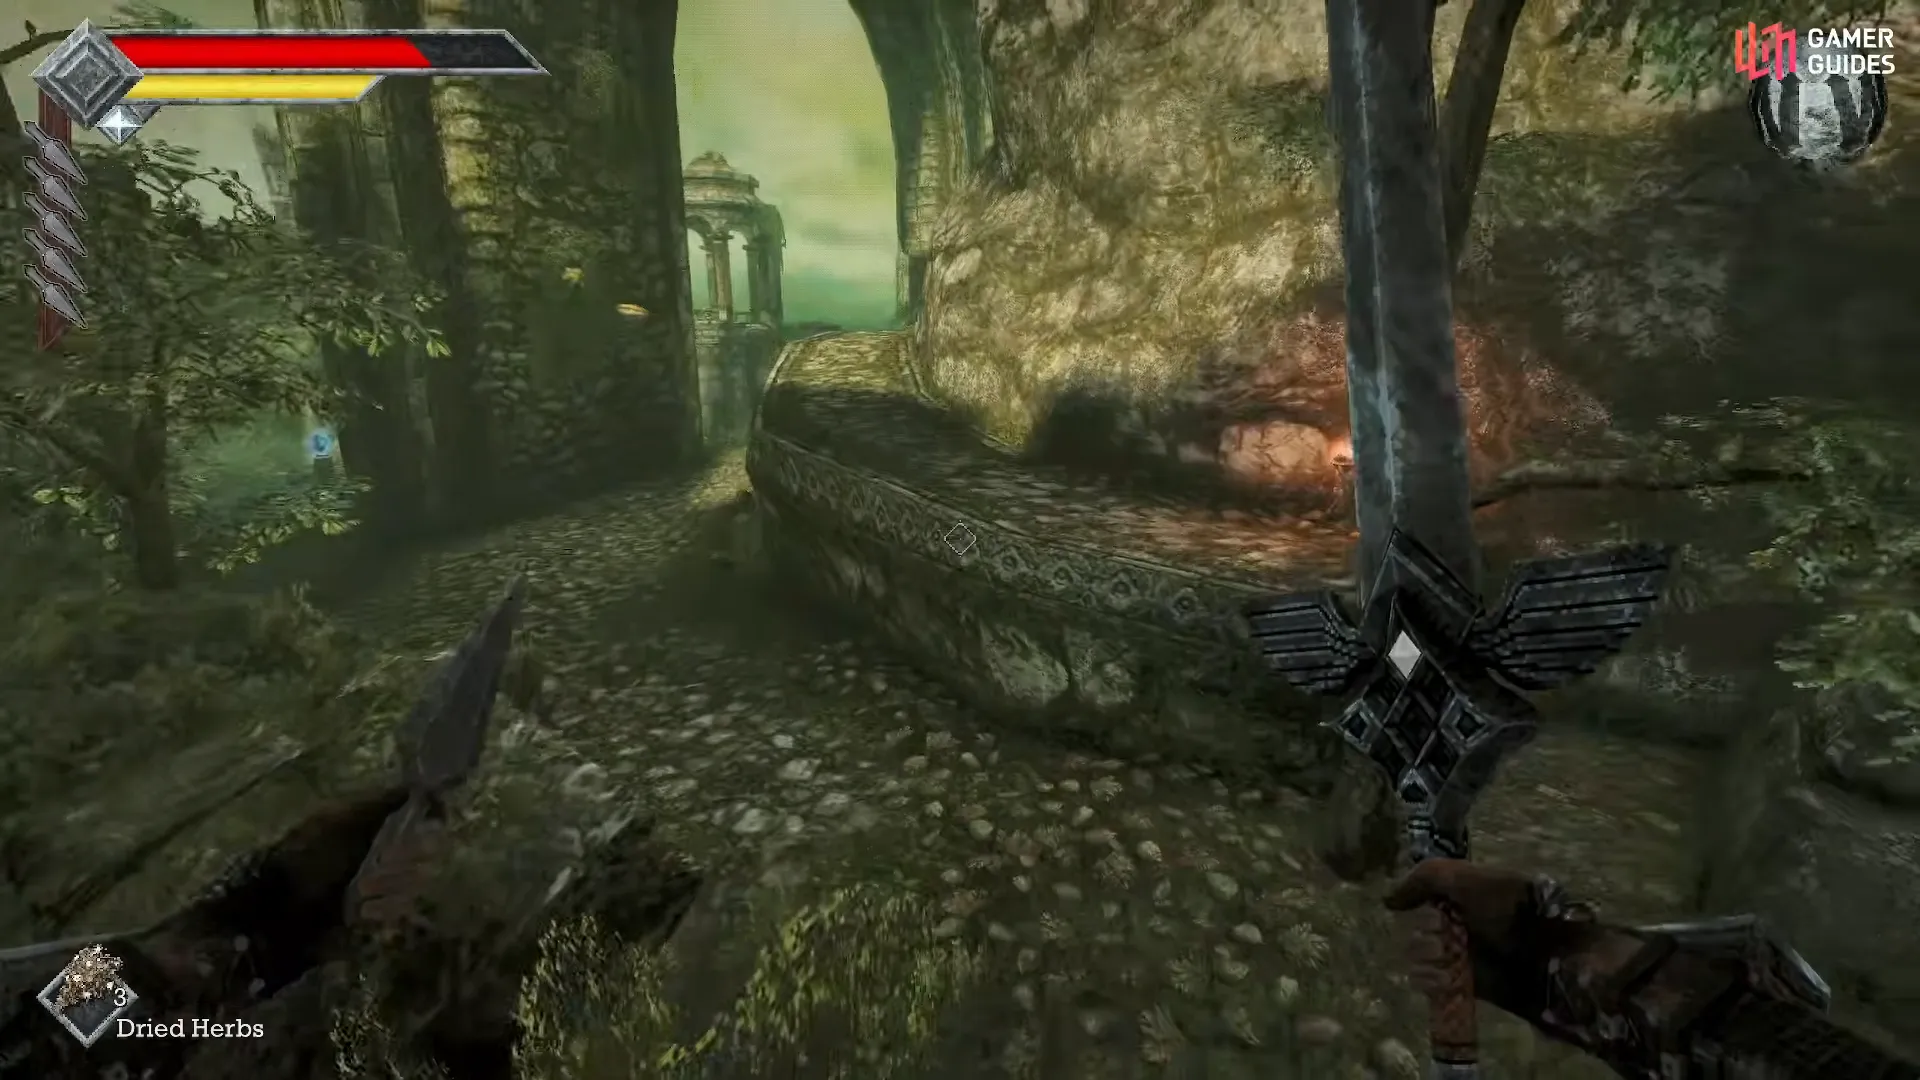
Flying over to the second Wind Gem.
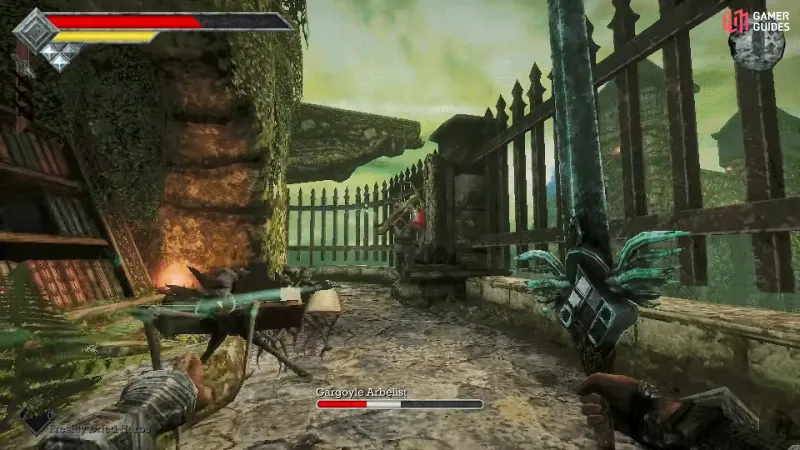
Shown at 02:10 in Gamer Guides’s video.Return to the pillars, reach the blue lantern, and dash toward the broken stairway. Defeat the skeletons at the top and light the first gargoyle with your torch. Reach the higher area above the first save point, then follow the route north from the elevator. Light the second gargoyle near the locked gate.
Next, use two air dashes to cross the broken bridge into the water area leading to Obmuer Temple.
- How to save: pick Save at a Crystal Monument; resting does not save.
- Island map: how the areas connect when you lose track of the bridge or the way back.
Obmuer Temple
You need four triangular slates to enter Obmuer Temple, then a third Wind Gem to cross its large pit.
Collect the slates around the water area before searching for another entrance:
| Slate location | How you reach it |
|---|---|
| Rock guarded by skeletons | Turn east behind the circular area containing small red fish. |
| Broken columns | Head west from the first slate and climb the broken wall. |
| Western corner below the trident area | Drop down from the main area with several skeletons. |
| Large broken platform or column | Air dash to it in the middle of the area. |
Bring all four slates to the door at the back. Inside, collect the first trident key in the watery area near the entrance. Use it to continue toward the second save point.
From that save point, dash into the hole below you in the large pit. Find the second trident key near the skeleton ambush and collect the third Wind Gem in this area. Three air dashes let you cross the large pit near the save point. Here are all four Trident Keys.
The third Wind Gem in Obmuer Temple.
Shown at 04:06 in Gamer Guides’s video.From the room with several trident keyholes, enter the large cavern. Defeat three Royal Guard sub-bosses to open the door to Dagoom the Sea King. Defeat him, leave the dungeon, and light the third gargoyle with the Azure Torch.
Use the nearby fast travel point to return toward the starting area. With all three bells rung, your next destination is the Tower of Knowledge.
Tower of Knowledge
You must ring all three gargoyle bells before the Tower of Knowledge opens.
Inside, light gargoyles 3 and 7 at the numbered balcony puzzle. This opens the nearby door; lighting the wrong gargoyles triggers an attack.
Light gargoyles 3 and 7.
Shown at 06:17 in Gamer Guides’s video.Continue through that door, pass the next save point, and climb toward the upper tower. Collect the Storm Gem above the massive staircase. From beneath its location, air dash to the switch that rotates the stairway.
Climb the rotated stairs and take the elevator down to the NPC holding the Forbidden Archives Key. Use that key on the doors near the Storm Gem. Continue past the save point and elevator, then fight through the enemies to The Necronomicon.
Defeat The Necronomicon to receive the acid vial. It coats your basic throwing daggers with acid, letting you destroy the face-shaped flesh barriers. Your next route begins at the barrier near the NPC who supplied the key.
- Tower of Knowledge: every step inside the tower, with the beacons, the Storm Gem and the key.
Deimpo Mausoleum
You reach Deimpo Mausoleum by destroying the face-shaped barrier near the NPC who gave you the Forbidden Archives Key.
Use an acid-coated throwing dagger after defeating The Necronomicon. Follow the opened passage toward the mausoleum. This route also lets you open the large door near the starting campfire.
Inside the mausoleum, Wind Gem doors block side paths. Past the fourth Wind Gem door, a big door and a staircase lead down to a save point and a shortcut to the entry hall, next to the room with the door to the very first area.
- Hidden passages: the acid barriers and other fake walls.
Siraatsu Castle
You open the castle's giant door by beating all three of its bosses.
- One boss waits at the end of the long upstairs hallway near the save point.
- Another fight is the pair in the bedroom.
- If you can't find the last one, search the rooms near the teleporter.
Every boss found so far is under Queen's Domain bosses.
Forgotten Dungeon
You can escape Forgotten Dungeon by taking the left slope at the burning brazier and following the left wall.
Pass the first two blocks of cells until you reach that brazier. Go left up the slope, hug the left wall, and look for a hole. Jump through the opening to continue out.
Two short videos show the exit if you get stuck down there.
FAQ
Collect the Holy Sword Endu, then visit the Tower of Knowledge entrance for the Azure Torch. Find the second Wind Gem and light the first two gargoyles before continuing toward Obmuer Temple.
No. The four-key reward route is optional loot. You can find two keys inside the temple. Maxing the trident yields another; a shop sells the fourth after you defeat the Tower of Knowledge boss.
Light the third gargoyle after leaving the dungeon, then use the nearby fast travel point. Return to the Tower of Knowledge once all three bells have rung.
Defeat The Necronomicon to obtain the acid vial. Use your acid-coated basic throwing daggers on the barriers. The barrier near the key-giving NPC opens the route toward Deimpo Mausoleum.
Not yet. The route is mapped through Deimpo Mausoleum to Siraatsu Castle, and the rest is added as players get further.